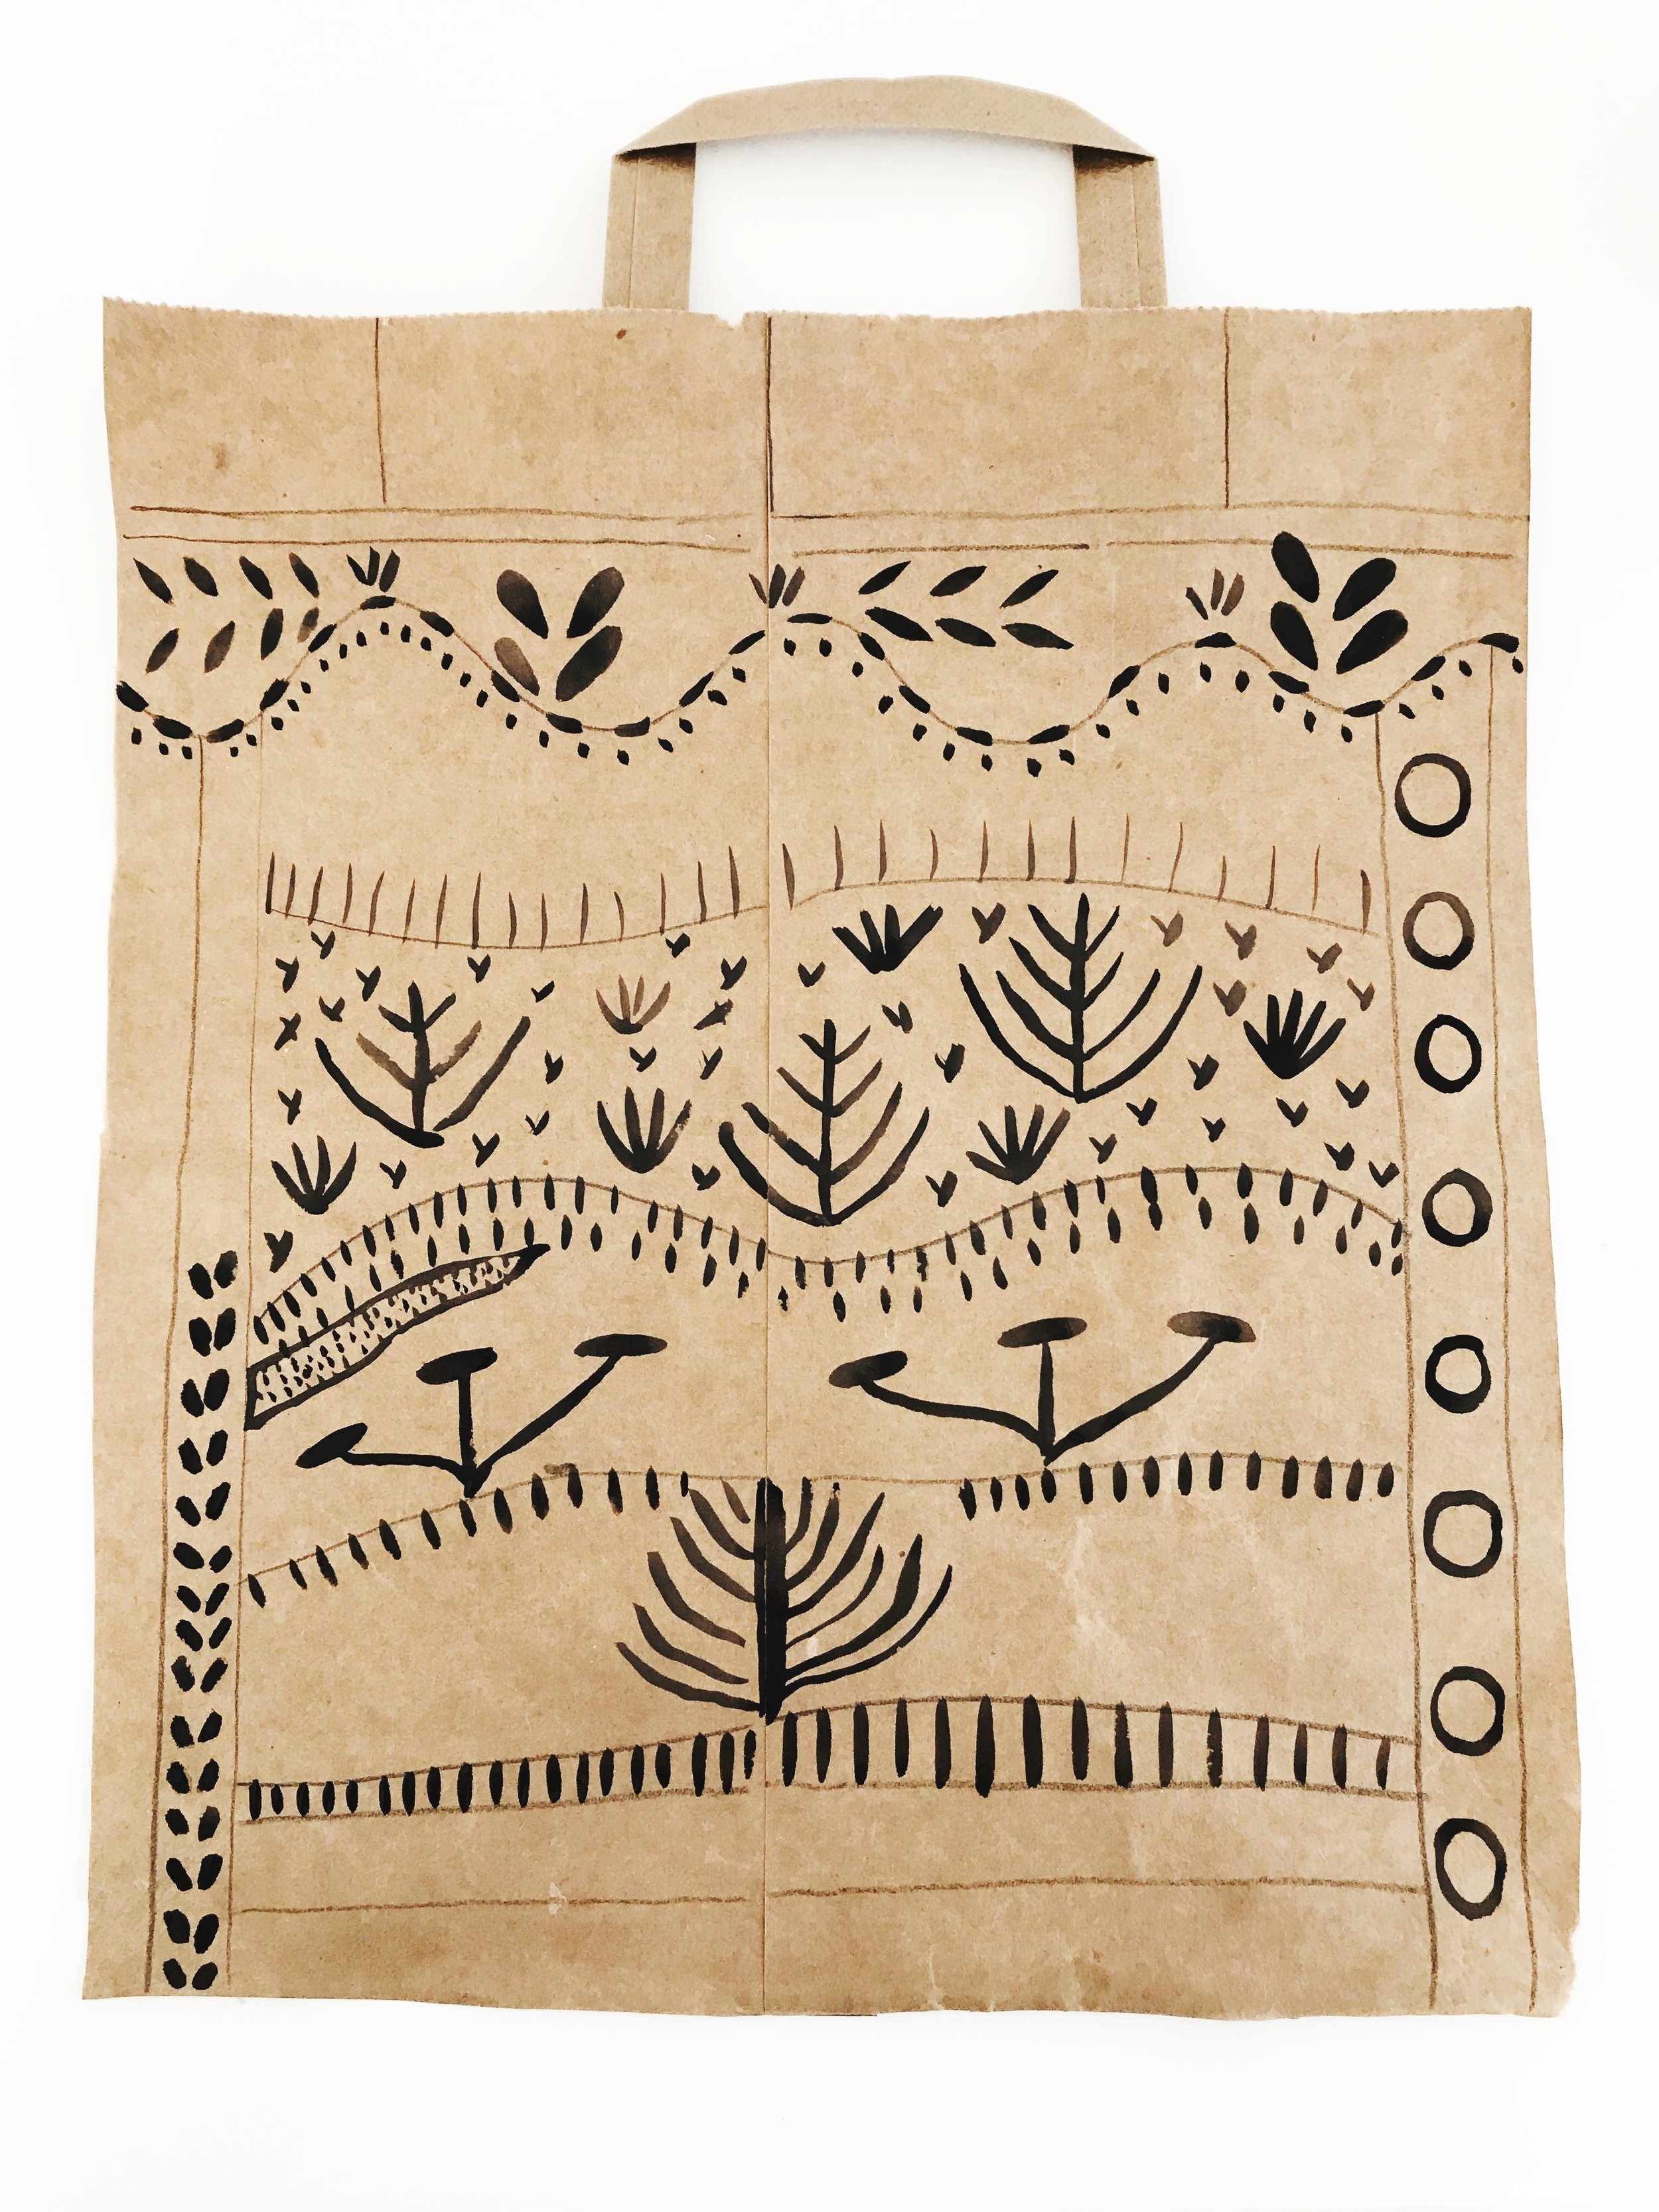
Harvest Wall Hanging
Don't judge each day by the harvest you reap,
but by the seeds you plant.
-Robert Louis
One of the many reasons I love Pinterest is that I have been exposed to so many incredible contemporary artists that I might have never discovered on my own. My current art crush is an Australian artist named Marina Strocchi. She paints intricately patterned landscapes inspired by her desert homeland in central Australia. I was instantly drawn to the primitive shapes and the flattened perspective in her work. Her colors feel like they were extracted directly from the soil, the plants, and the animals that she paints. There is a wildness and a freedom in her work that reminds me of childhood, which is why I have a hunch that her work will really speak to young artists. I am excited to share this lesson with you!
Materials:
large brown paper grocery bag (you could also use brown kraft paper)
masking tape and/or glue gun
** Please note that we participate in the Amazon Affiliate program. This means if you purchase any of the products linked here we will receive a tiny sales commission at no additional cost to you. We only link to products we use and love. Your support helps us keep this site running - thank you!
1. Cut down the side seams of your brown bag until you are left with two halves. We will be using the center section (the one attached to the handles for this project). Throw the other bits into your collage bin to use at another time.
2. Before you start on your painting, you are going to dye the beads. We chose an autumn palette because, after all, this is a 'Harvest Wall Hanging". If you have ever used liquid watercolor or food coloring, you already know about the perma-stain they leave behind on your hands. One nice way to cut down on the stained skin is by dropping your color into a baggie and then adding the beads. You can still coat the beads with your finger tips but now you have a barrier of protection. If you want a lighter dye effect, simply add more water to your baggie to dilute.
3. Set your dyed beads aside to dry.
Voila!
4. Now back to the painting! Start by dividing your canvas into different sections with a colored pencil.
5. Begin to paint your harvest/nature/autumn inspired motifs.
6. Slowly build your patterns and designs. If you are more comfortable planning out your designs ahead of time you can sketch them lightly and then go over your underpainting with your tempera paint.
7. Keep filling in your canvas.
8. Once your painting is finished and has fully dried, it is time to add your beads and hang. We trimmed off our handle at this point and then we added our beads to our dowel. **You want to select a dowel size that fits the center of your beads just right. Then double knot each side with twine to create a hanging rope. We left a little slack at the end of our knots so that we could tape our ends to the back of our painting. If you want, you can reinforce the tape with hot glue for a more permanent bond.


