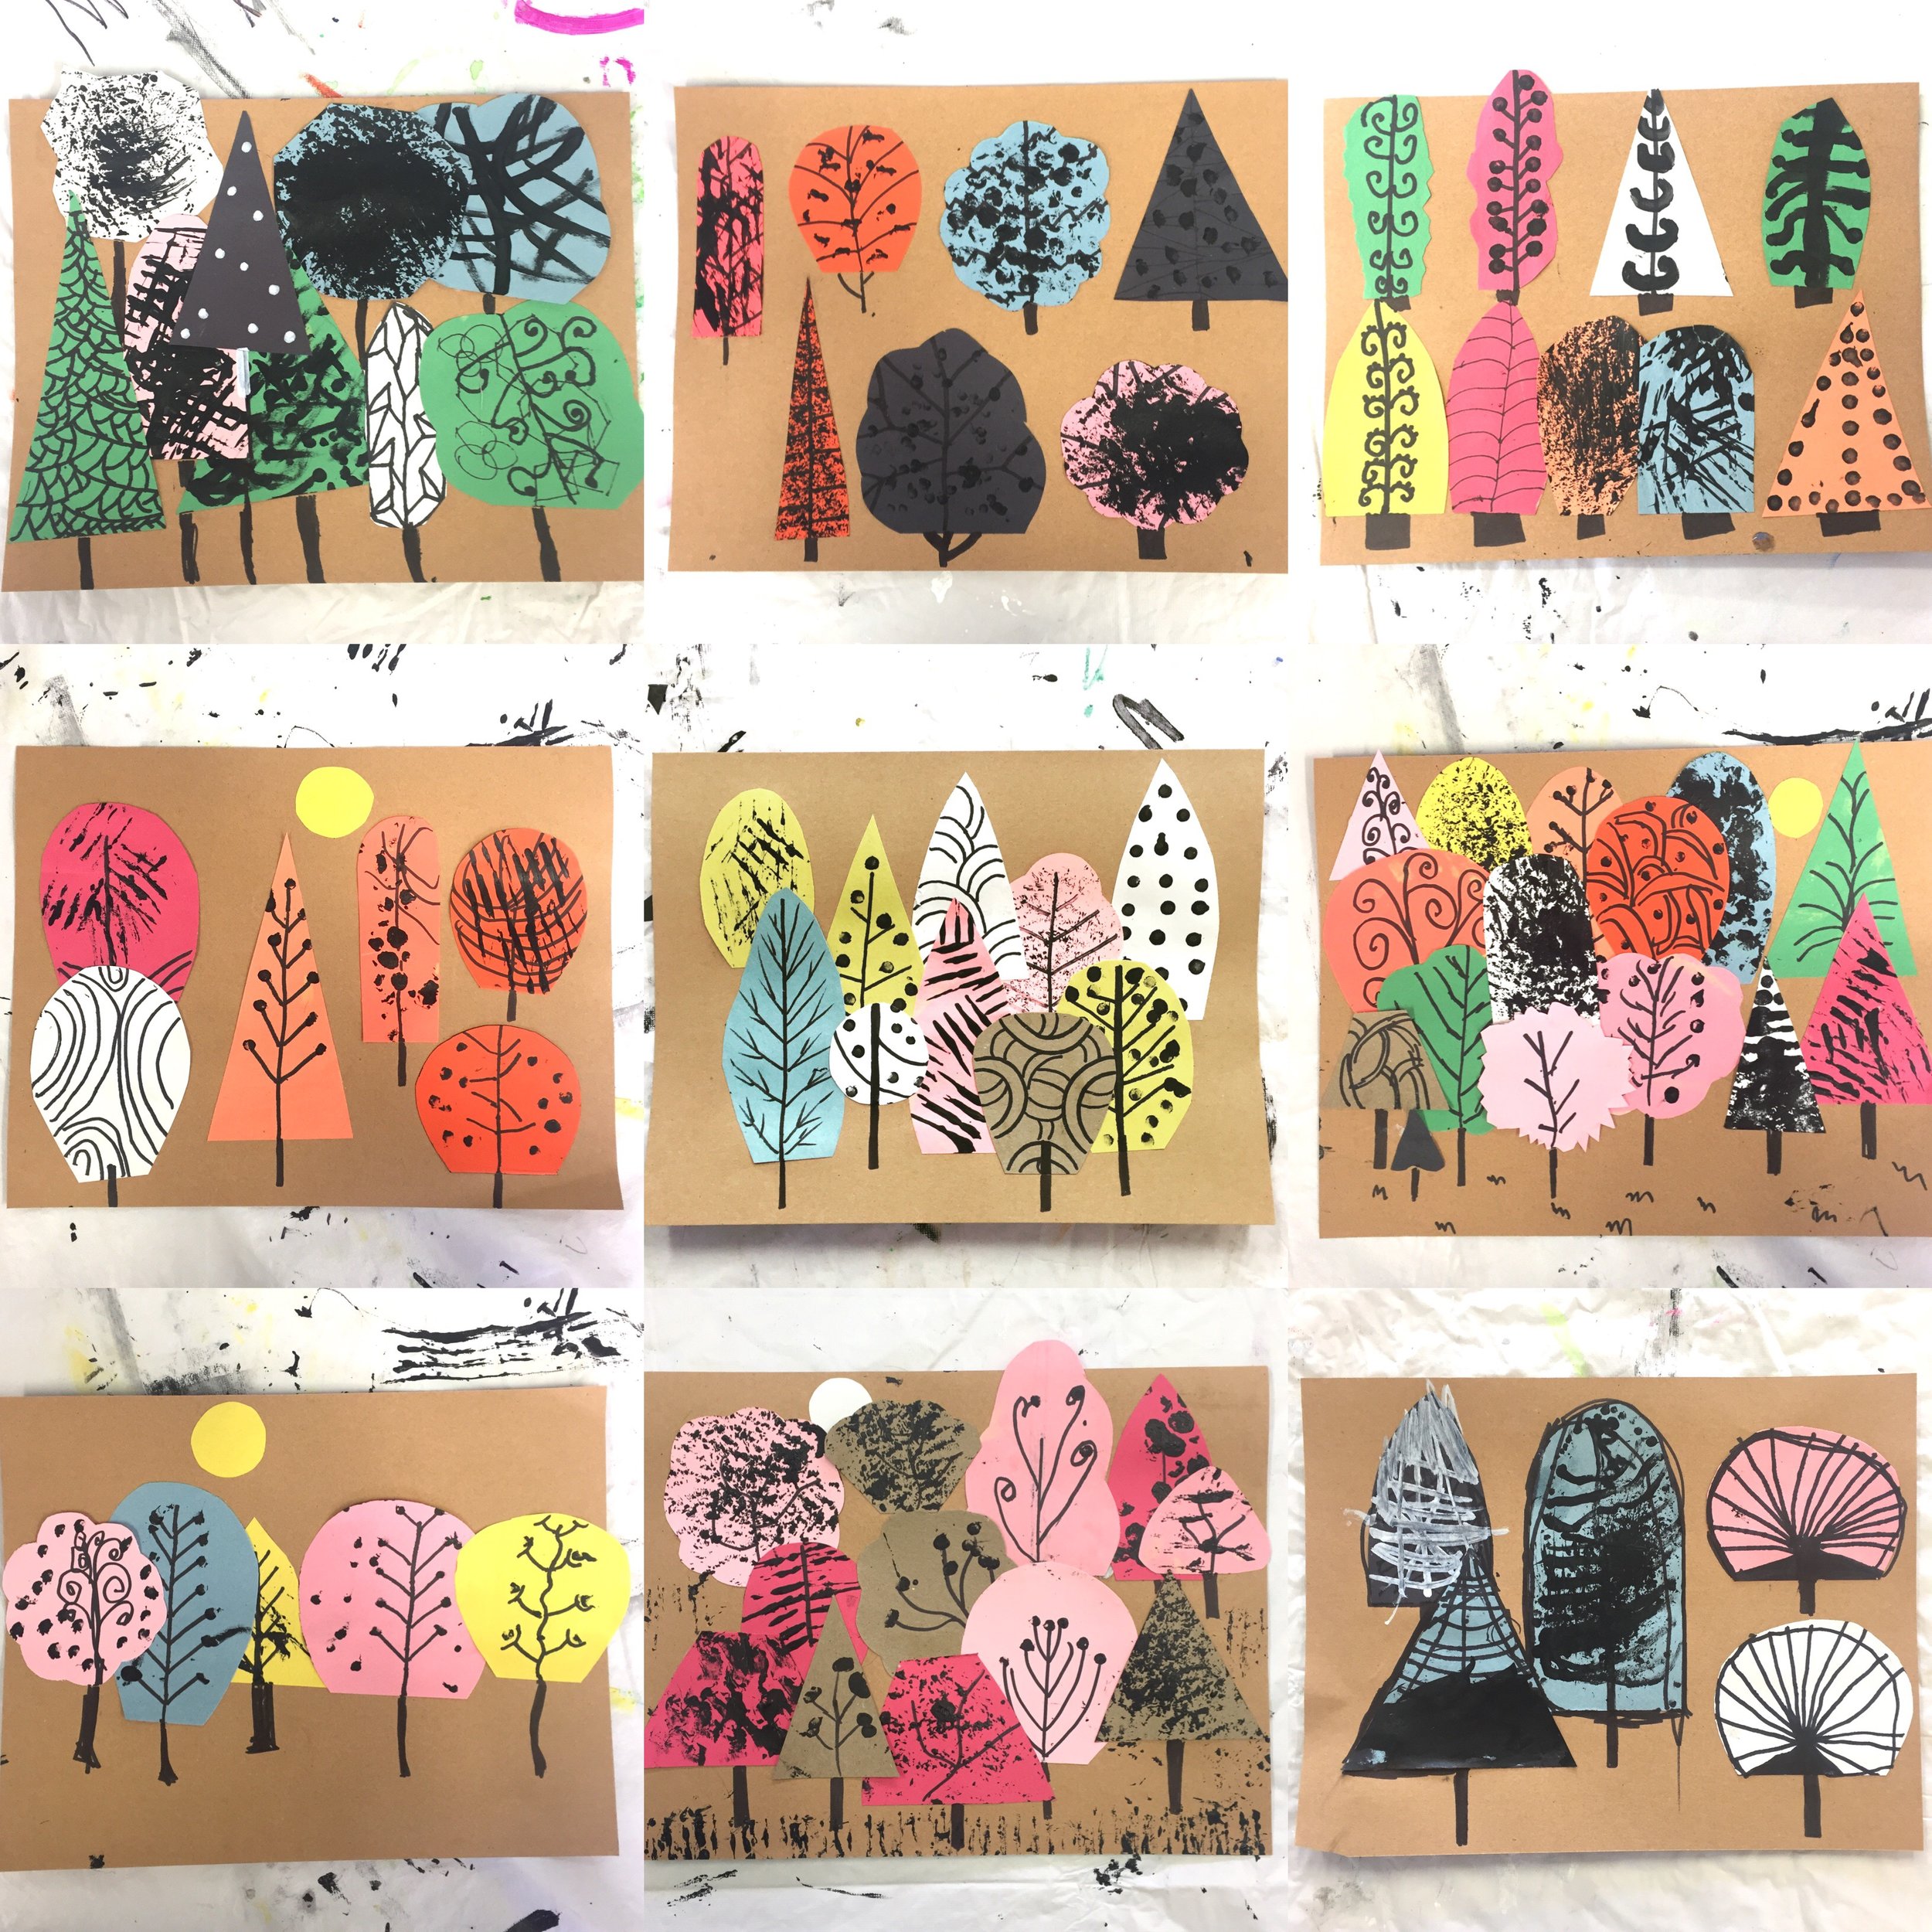
Magical Mark Making Forest
I am going to let you in on a fun little fact. I am a big city girl (born in Manhattan raised in LA) with a country girl soul. Give me rolling green hills and a forest full of trees and I will show you the happiest version of me. When autumn rolls in to the land of eternal summer I have to fill the seasonal void with my creativity. So this magical mark making forest project was sparked by a yearning for a long walk in the woods.
Materials:
geometric tree shapes made out of construction paper or card stock in assorted colors
plates or trays for paint
white chalk marker if you are using black trees
anything else that you think will make a fun pattern
craft colored card stock for background
** Please note that we participate in the Amazon Affiliate program. This means if you purchase any of the products linked here we will receive a tiny sales commission at no additional cost to you. We only link to products we use and love. Your support helps us keep this site running - thank you!
Step 1: Pick out 6 tree shapes. Play with layout before you add your marks. How many colors do you want to use? Are your colors cool or warm? Do they look like they are in the same color family? Do they compliment or contrast with each other? Will you form a single row of trees or a double or triple row? Will there be a giant cluster? Or do you want to see space in front (foreground) of or behind your tree line (background)?
Step 2: Take your Sharpie marker and start making a line down the center of your tree shape. This line is your tree trunk. Do you want to use a single line? Is your line straight? Is it skinny or broad?
Step 3: Start to make your branches. Are you going to draw straight lines or curved lines? Are there a lot of branches on your tree or just a few?
Step 4: Let’s play with print making! Pick a mark making tool. I am going to start with a Q-tip. Are your dots going to be on the end of your branches , above, or below? Do you want to make a repeat pattern or do you want to print dots everywhere?
Step 5: Repeat steps 1-4 but change up the mark making tool. Drag your fork through the black paint this time and see what kind of prints you get.
Step 6: Maybe you want to keep going and make a really dense forest now that you have the process down pat.
Step 7: Acrylic paint dries fast so once your trees are dry to the touch you can add glue to the back and stick them on your background.
Step 8: The final step is to take your Sharpie markers and add the base of your tree trunk to your background.
A holiday take on the mark making forest that cuts the time (and mess) in half. The girls each made one to give to their teachers. You could fold the card stock in half and make a greeting card version. They would also make a great finger puppet back drop!
Materials:
craft paper card stock for background
assorted paper scraps cut in triangles
white chalk marker
black marker
glue stick


