Pop Art Sunset
Surely of all the wonders of the world, the horizon is the greatest.
- Freya Stark
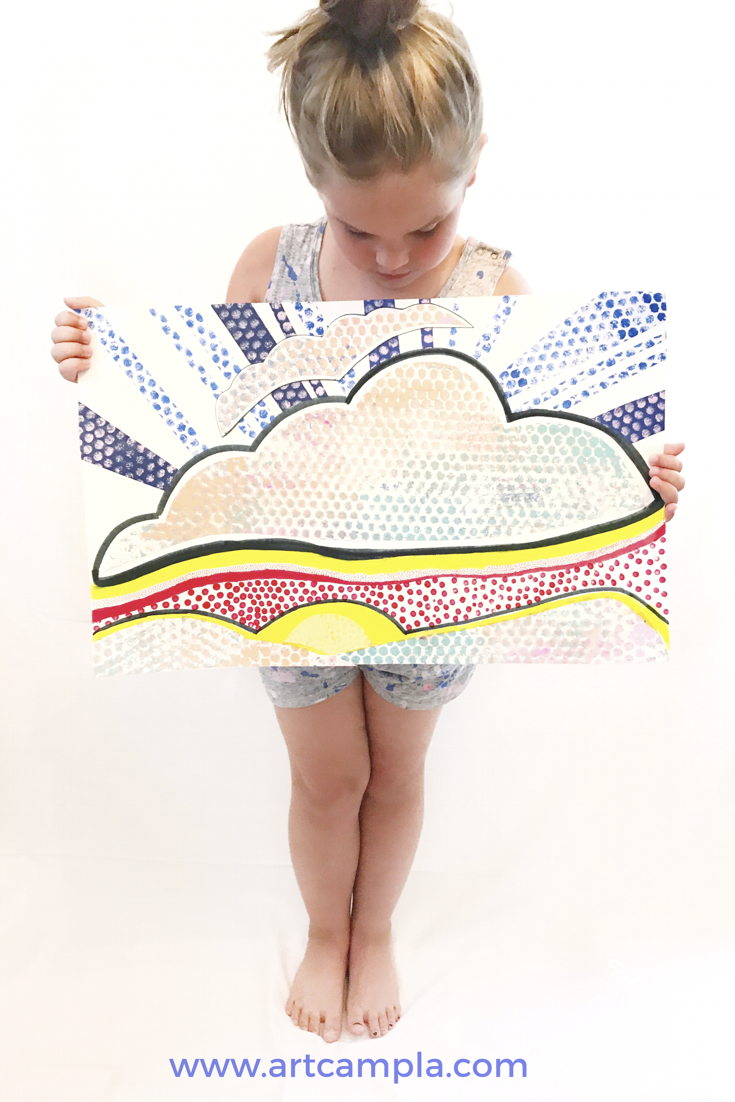
Guys, I have some very exciting news to share. H came home from school and asked if we could “make some art”. I think hearts actually shot from my eyeballs cartoon style because she tilted her head, scrunched up her nose, and then asked me why I was looking at her like, “I was in love with her”. Remember, this is the same girl who decided six months ago that art really wasn't her thing anymore. She then decided to remind me of this most unfortunate news while planning her birthday party a few weeks ago... that there was to be absolutely "NO ART AT ALL" at her party. So I have mostly backed off while quietly hoping that she would come back around. When she initiated the art-ing, I seized the opportunity to explore pointillism. Okay, full disclosure: I knew that I would get major mom points if our art session included bubble wrap... this girl LOVES bubble wrap (check out our Big Pop Art Apple). So the art history piece was kind of like throwing veggies in the milkshake. I also didn't want to push the Seurat style micro dotty with a luke warm student of the arts, so we went a little bigger with our dots in the style of Roy Lichtenstein via bubble wrap, fine point magic markers, and Q-tips dipped in red paint. Happy to report that she was engaged from start to finish and at the very end she asked to have her picture taken! Don’t wake me if I'm dreaming.
Materials:
14 x 22 poster board (this is what we used but you could also use regular paper
tinfoil
bubble wrap
black broad tip marker
red thin tip marker
kwik stix tempera paint in yellow and red (you could also use oil pastel)
scissors
glue stick
acrylic or tempera paint
foam brush
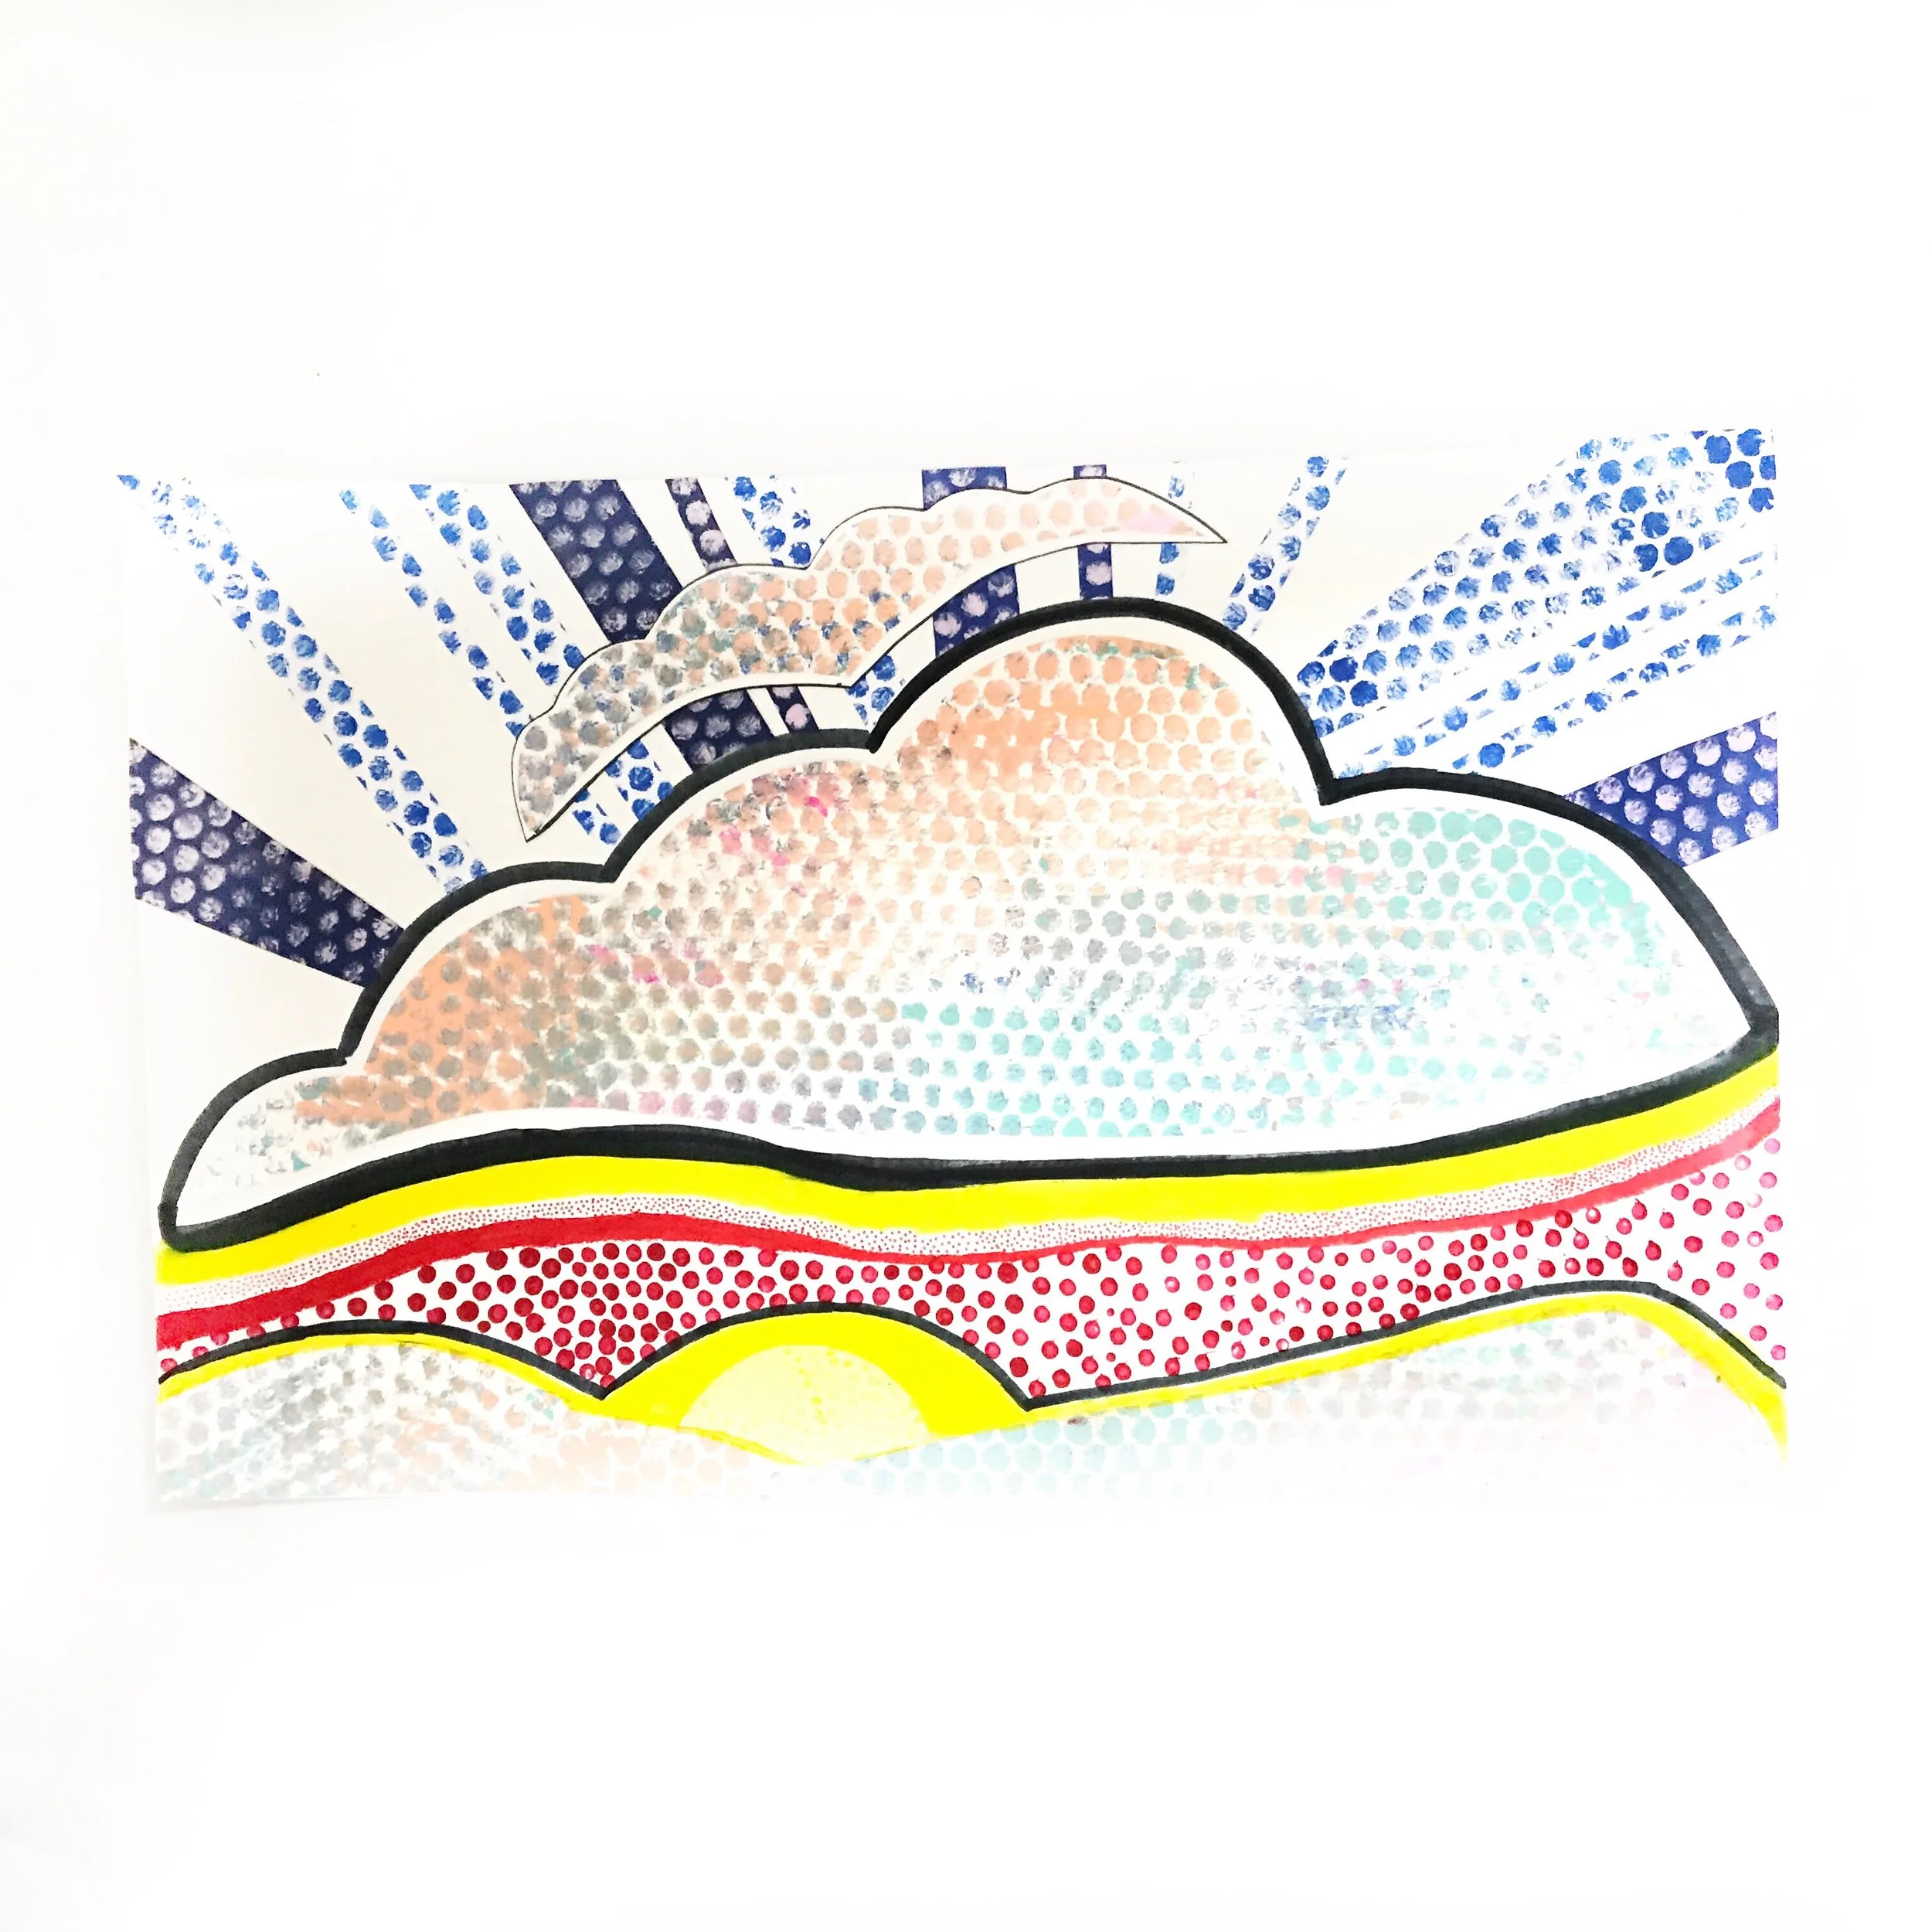
The inspiration: The Sinking Sun, 1964 Roy Lichtenstein Oil and Magna on canvas
1. Tear a large sheet of bubble wrap and paint on the surface of the bubbles with a light hand and a moderate amount of paint. If you use too much paint it will seep in the spaces in between and you will lose the white spaces between the bubbles when you print. H decided she wanted to paint "sunset colors" and that she liked the spots where she used a lot of paint. : )
2. Next make a few painted sheets with a solid color for your sun rays. It is nice to have some contrast between your first prints and your second.
3. Once your prints have dried you will draw a large cloud shape and cut it out.
4. If you want to color in the style of the original, you will leave a little white space between the bubble print and your black outline.
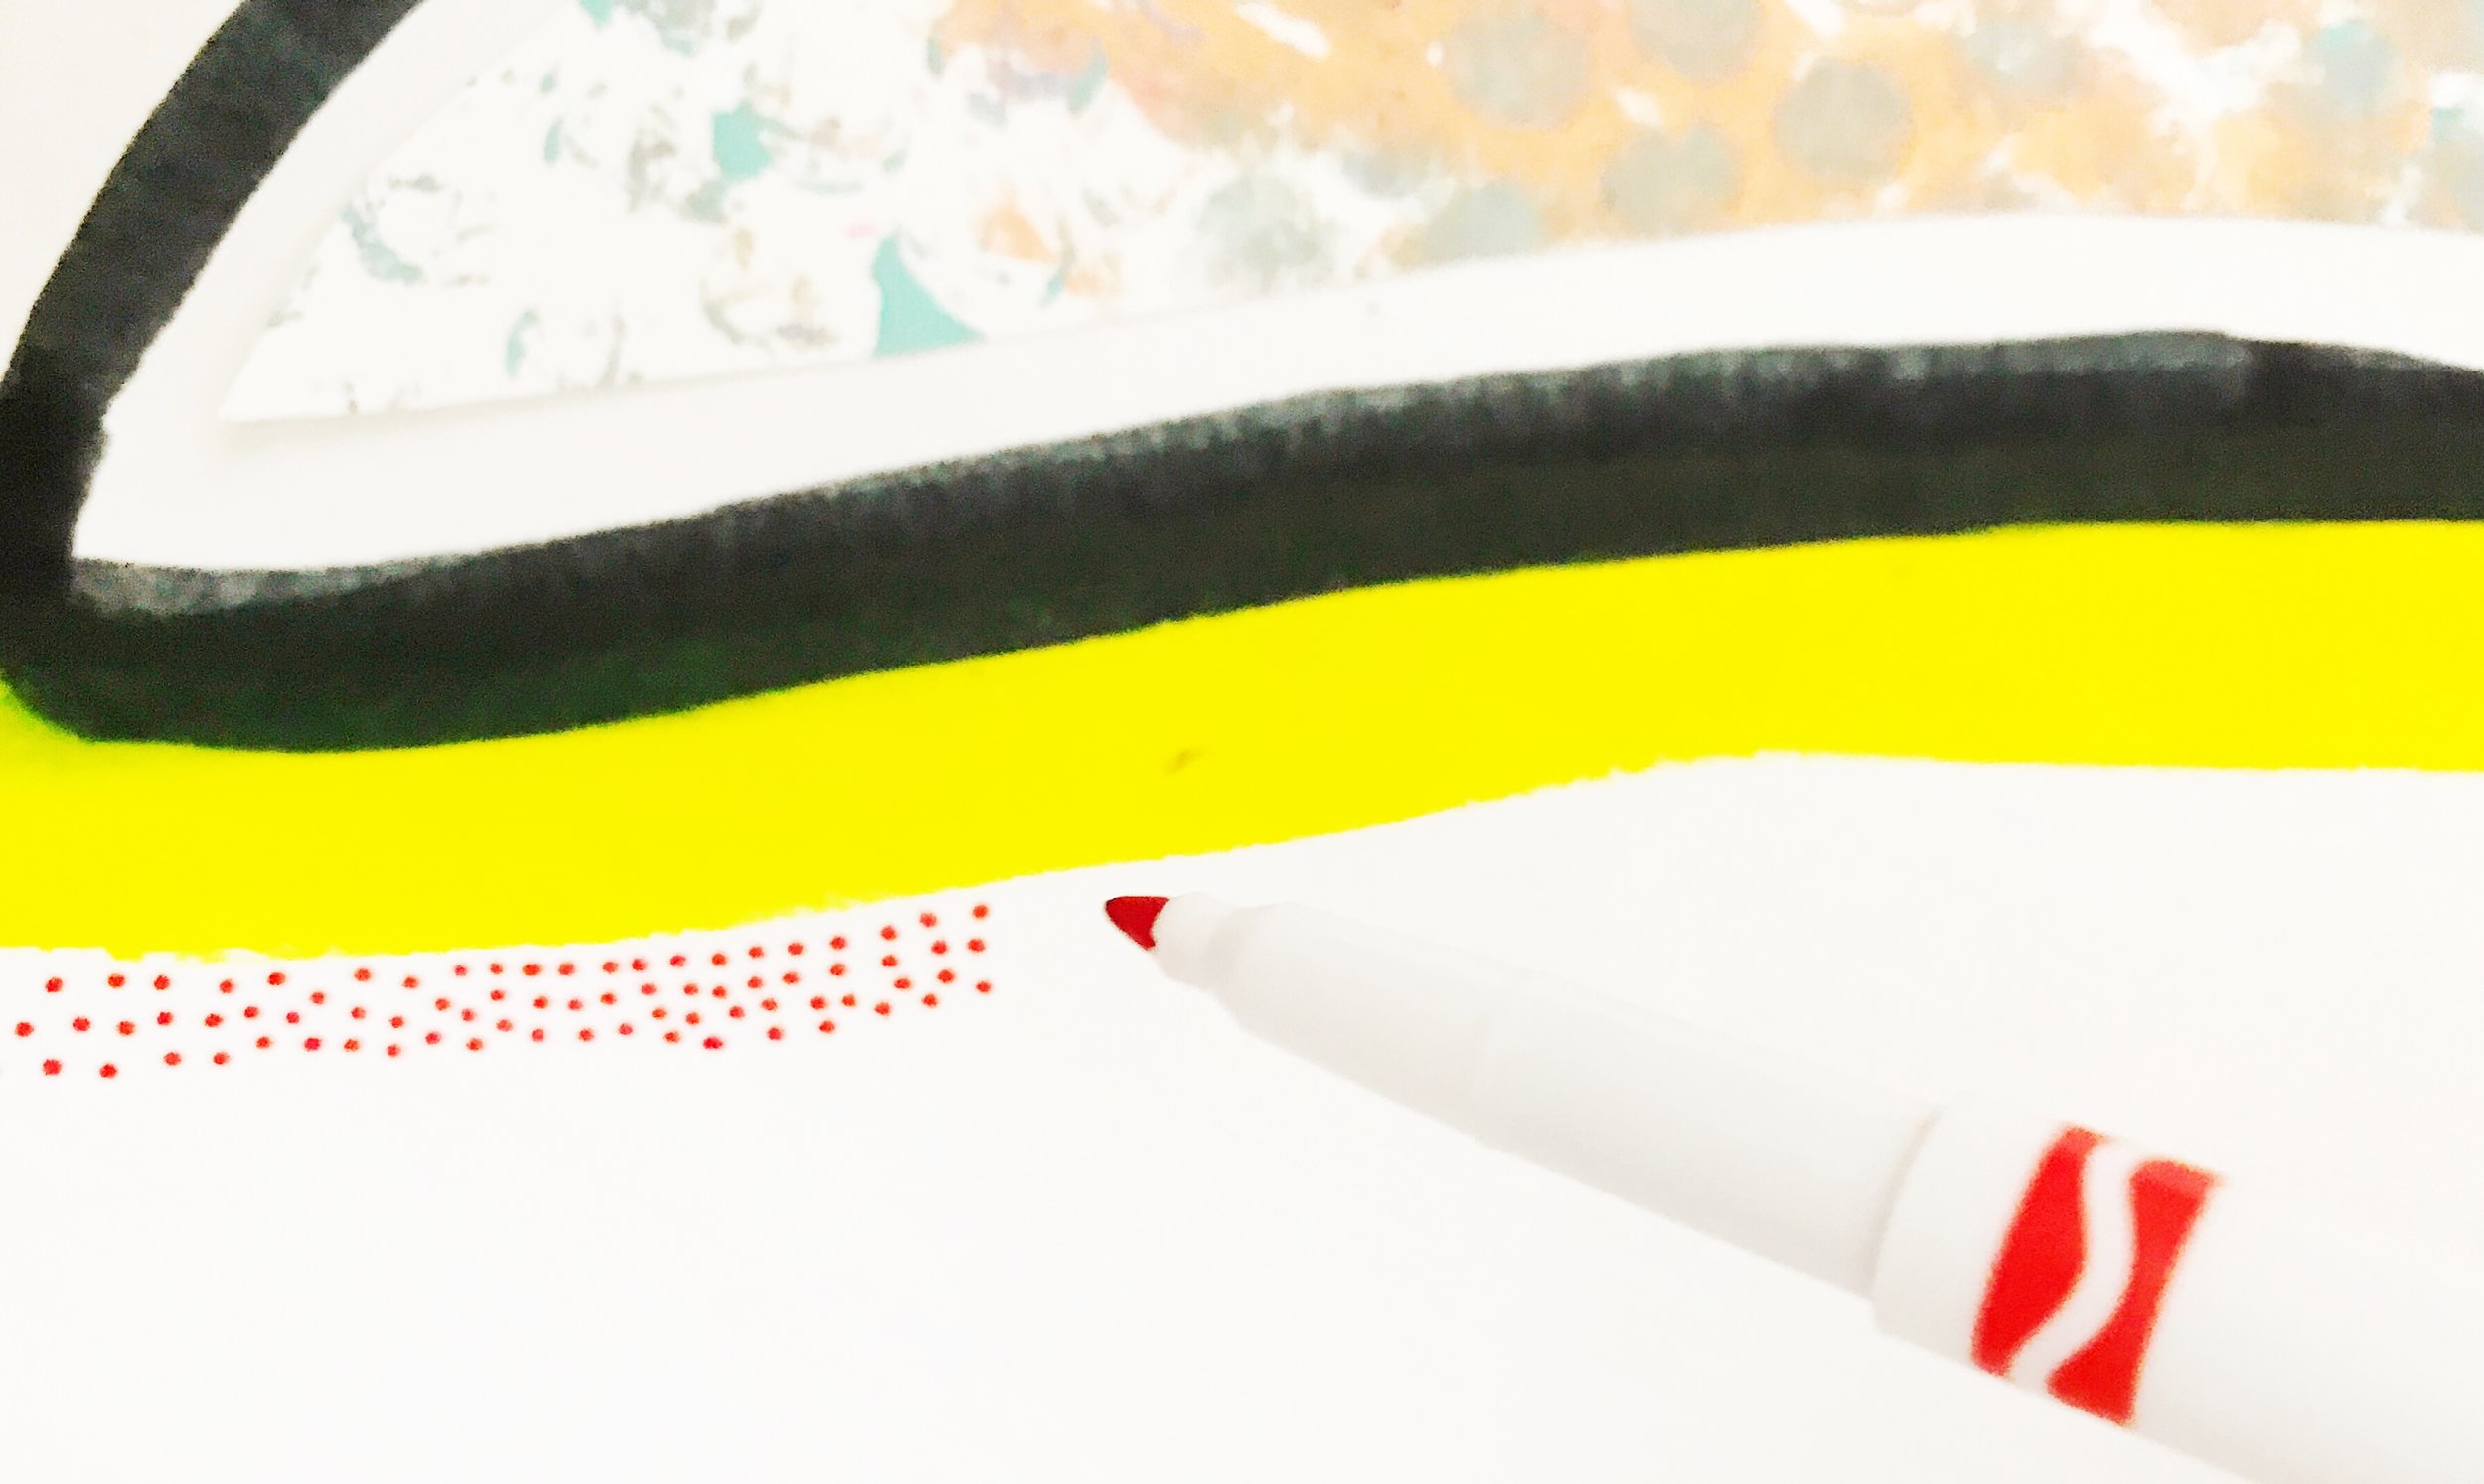
5. Time to add some POP! We added a stripe of yellow with our tempera stick and a few rows of smaller dots with a red fine point marker.
6. Dip your Q-tip int red paint and create the slightly larger dot section.
7. Remember that solid color print you made in the contrasting color? Now it's time to practice your cutting skills. Make some long sun ray strips in various widths and glue them outside of the black outline on the upper section of your sun.
8. Use the rest of your leftover multi-colored prints to create your sloping hills. If you have some leftover scraps add a rogue cloud or two. Don't forget to add the sinking sun!


