Polar Bear Snow Globe - Little Button Diaries
There are no strangers here;
Only friends you haven't yet met.
- William Butler Yeats
A couple of months ago the lovely ladies of Little Button Diaries rang (there was no phone involved but it just sounds a whole lot cooler, so let’s pretend) to ask if I wanted to join them on a worldwide holiday craft collab. I said ‘yes’ before they could finish their sentence because I ADORE them. These crafty babes from Brighton keep me laughing and utterly inspired on a daily basis. They are so likable and lovely that I would watch them empty the contents of their handbags… I have actually... more than once. So it was an obvious ‘yes’ for me, but the cherry on top of this sweet deal is all the other creative-maker-mamas who said ‘YES’...
Oh Creative Day, Make It Your Own, Handy with Scissors, Brainy Beginnings Network, Art Garden Blog, Smocks.on, Hobby Craft, Barley and Birch, Teach Investigate Play, Creating Creatives, The Harmony Tree, Raising Kinley, Momma Teaching, Toddler Tornado.
A whole lotta love went into this project and we are so excited to finally get to share it with you!
Please give a warm welcome to our first ever guest bloggers on the ART CAMP site: Tia and Laura!
xx
Oh! one last thing...your next stop on the CRAFT MAS train is Hobby Craft HQ.
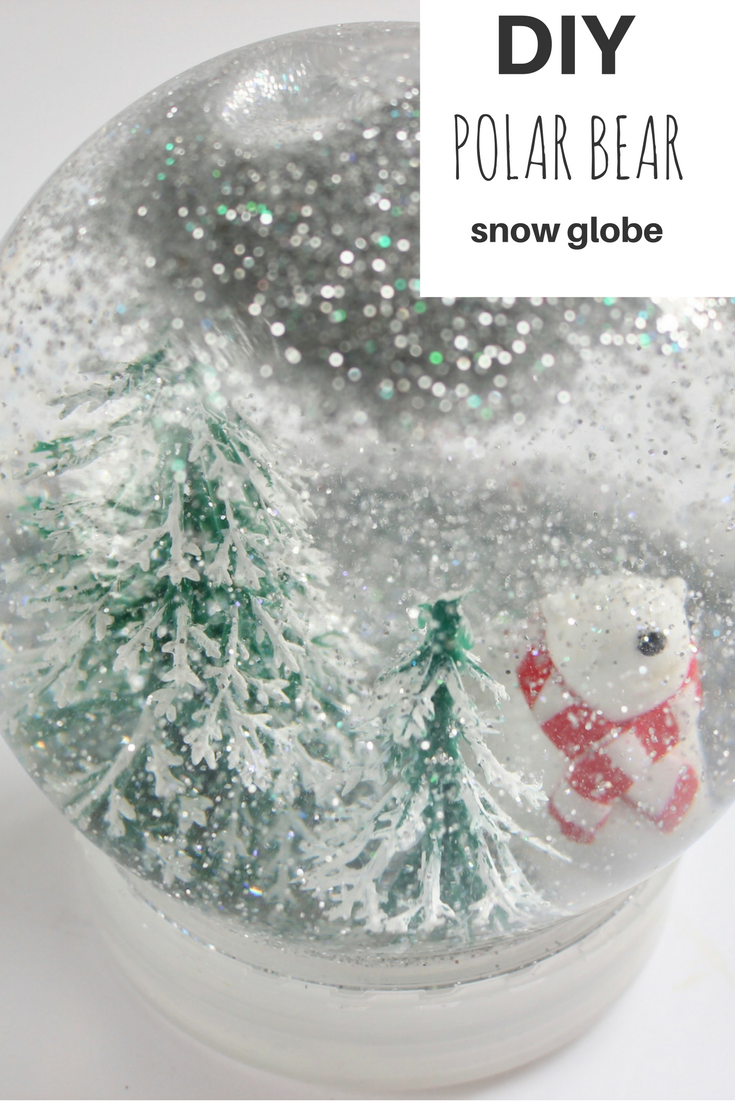
This easy snow globe is the perfect kid’s craft for a cold afternoon, armed with a large mug of cocoa, of course. We’ve made a little polymer clay polar bear, but you could make anything you like - a snowman would be easy for little fingers, or you could try making Father Christmas himself.
Materials:
plastic fillable snow globe or jam jar
white, black and red polymer clay (we use FIMO)
2 small plastic tree decorations
white acrylic paint
glue gun (or strong glue and a bit of patience)
glitter
cling wrap
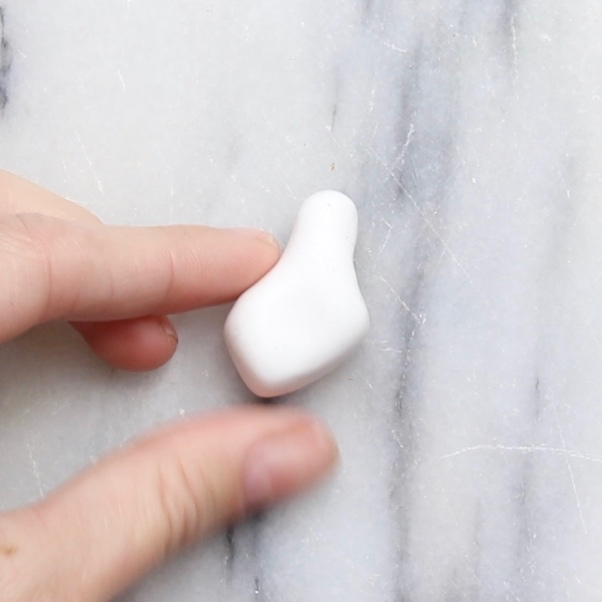
To make the polar bear, roll a grape-sized amount of white clay and squash it into a bear shape.
Cut a little section out the bottom of the bear (approximately 5mm) and squash the side together to make it look like the polar bear is sitting. Use the cut-out bit to roll two ears and press them onto the head, using a knife to secure in place.
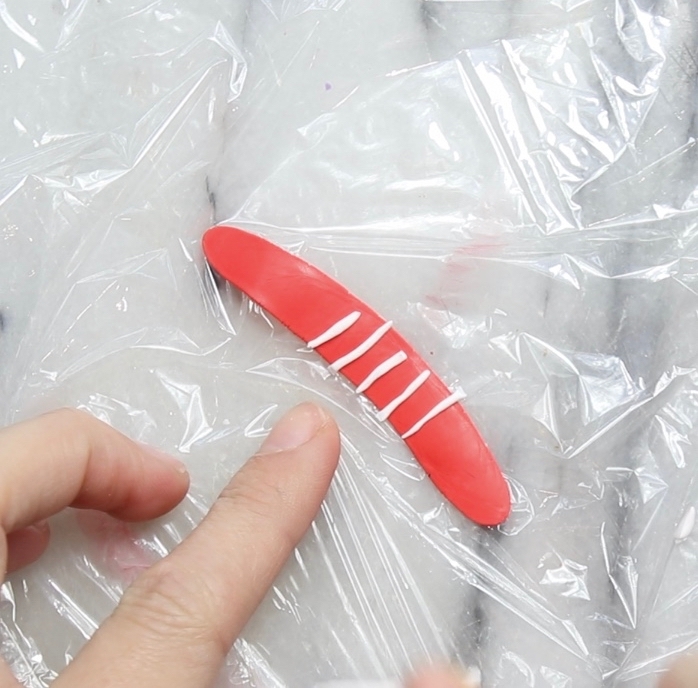
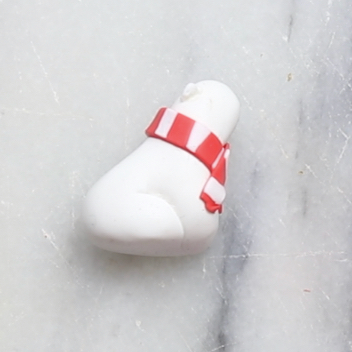
To make the scarf, roll a strip of red clay between two sheets of cling wrap. Add tiny lines with white clay and roll flat. Use a knife to cut a scarf shape and wrap it around the polar bear’s neck.
Add a tiny black nose and press in place. Following the manufacturer’s instructions, cook the clay and leave to cool.
Add white paint to the tips of the plastic trees and leave to dry. Cut one in half so they are different heights. Use a glue gun or strong glue to attach the trees and polar bear to the base of the snow globe.
Add the glitter into the globe and fill to the rim with water. Pop the lid on and screw it tight. You can add a line of glue if you want extra security!


