Modern Clay Stacked Sculpture
space is the breath of art.
- Frank Lloyd Wright
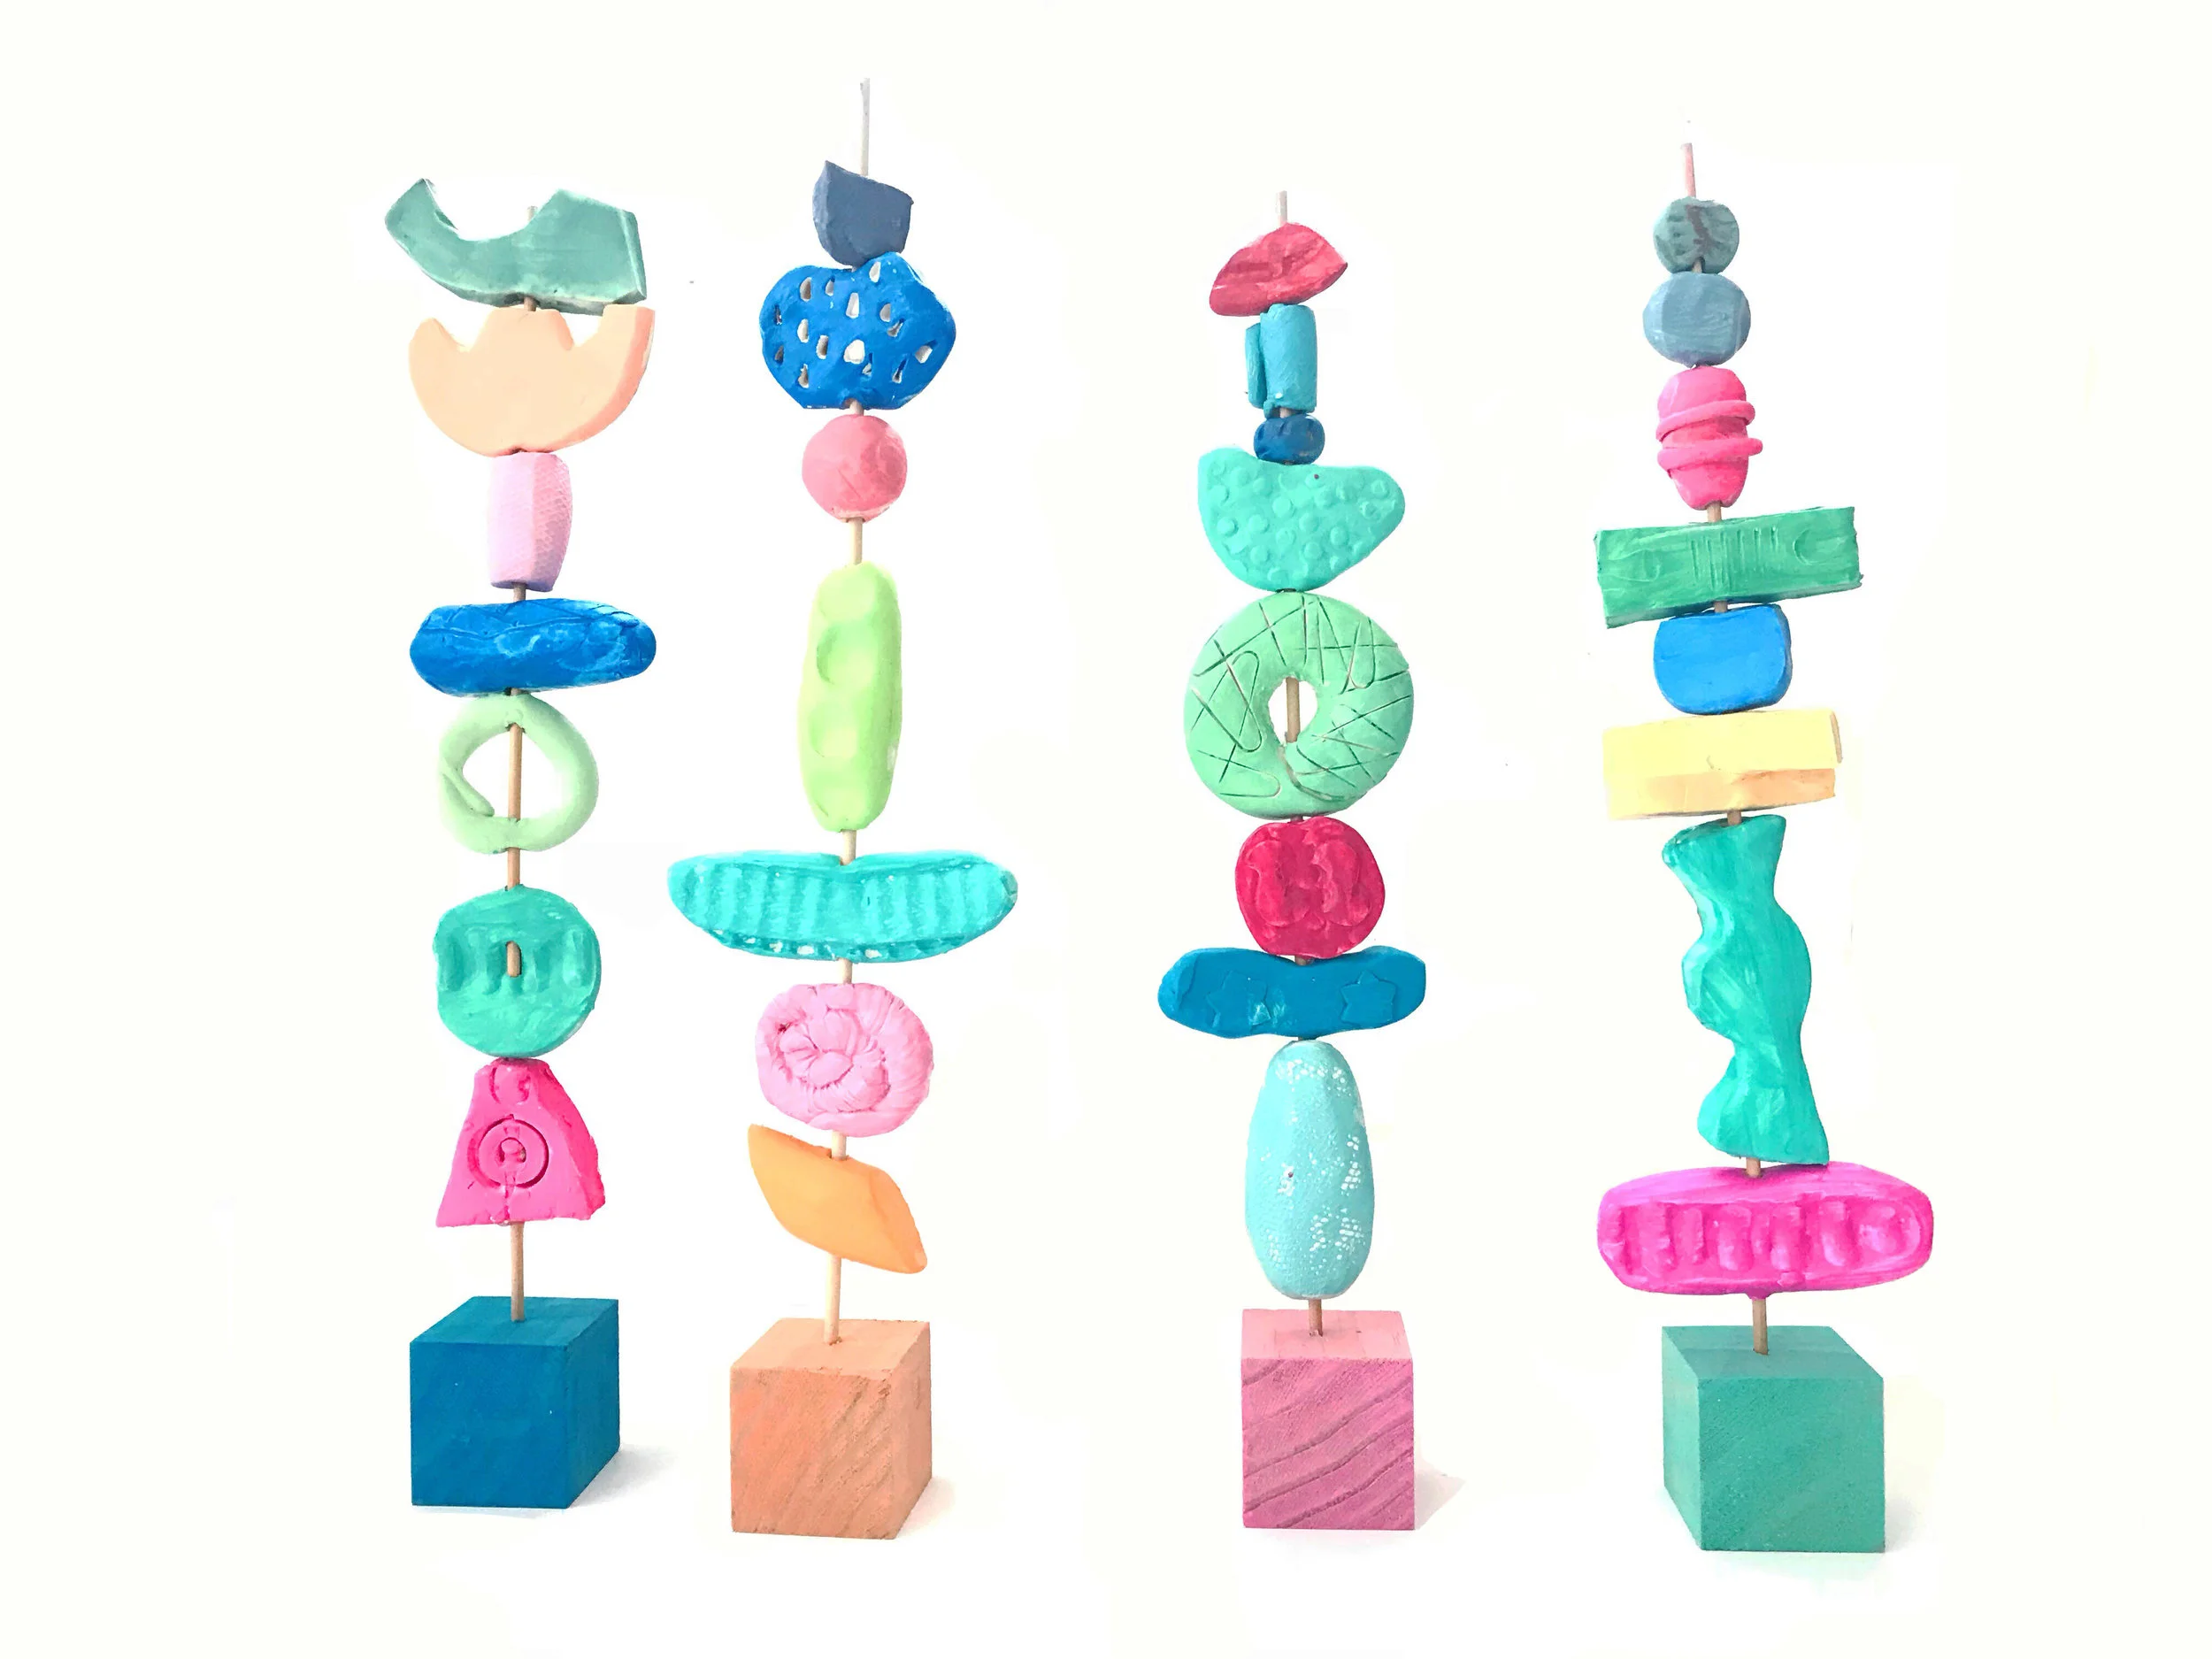
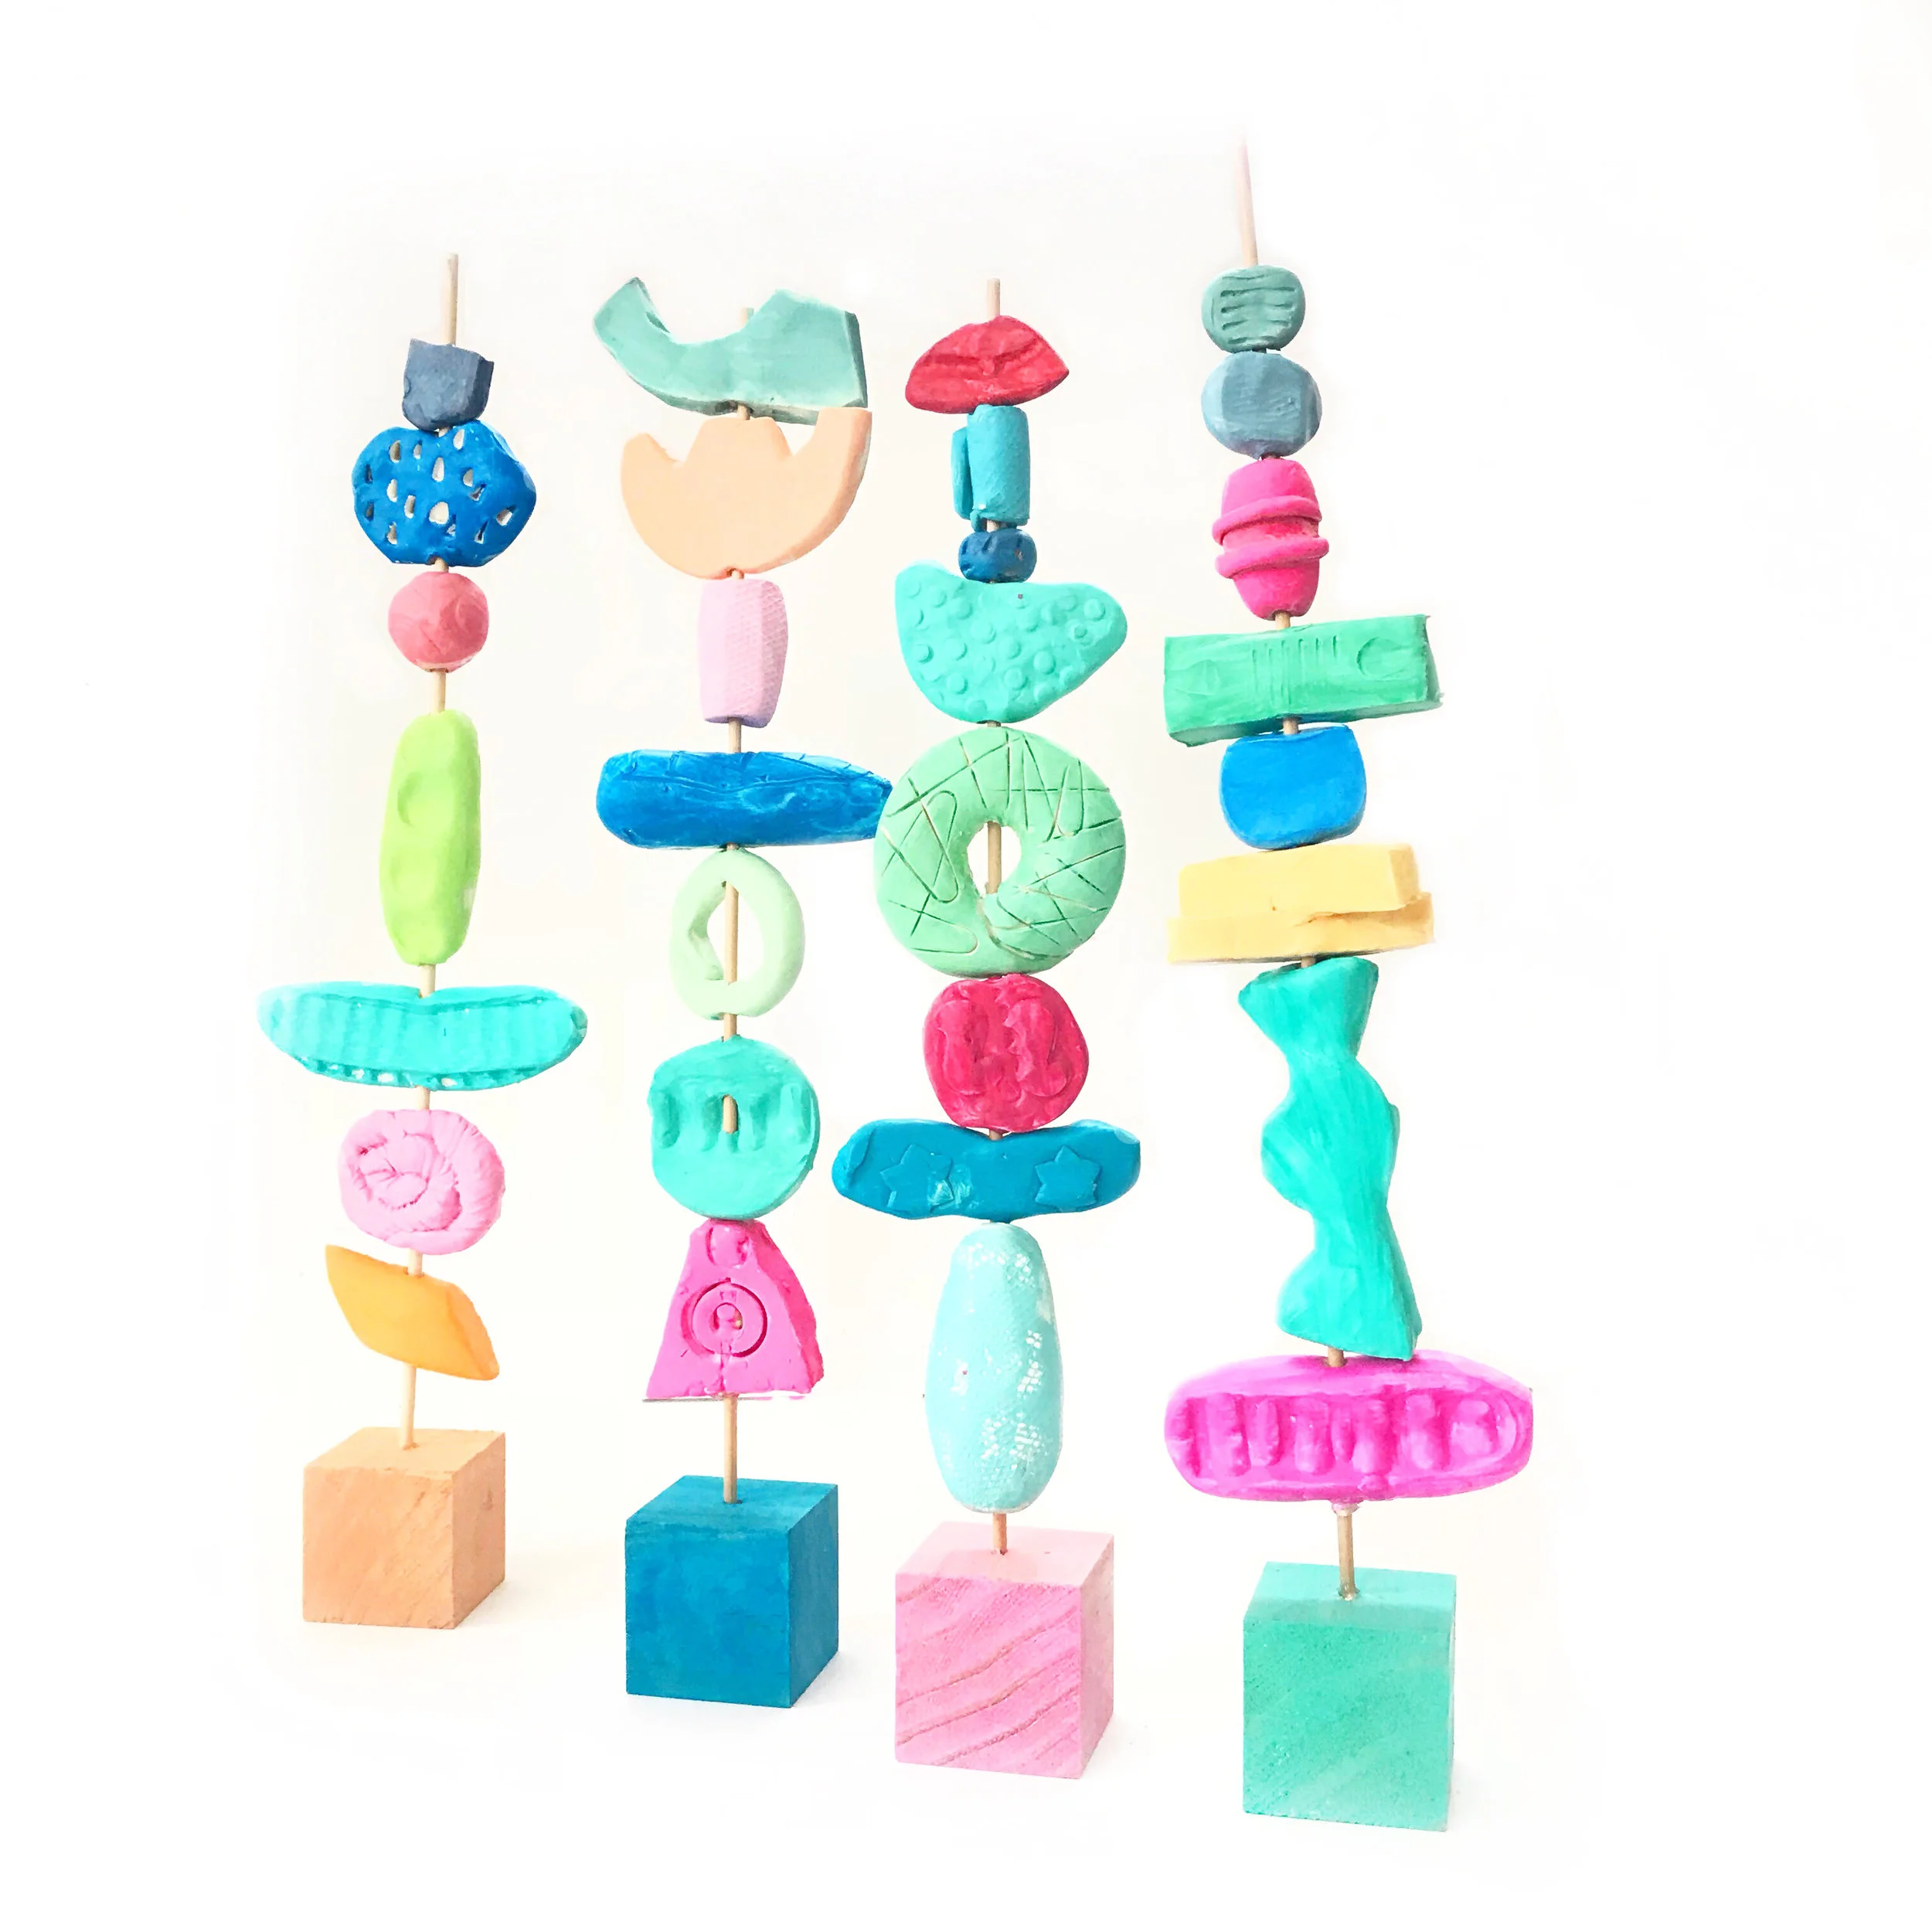
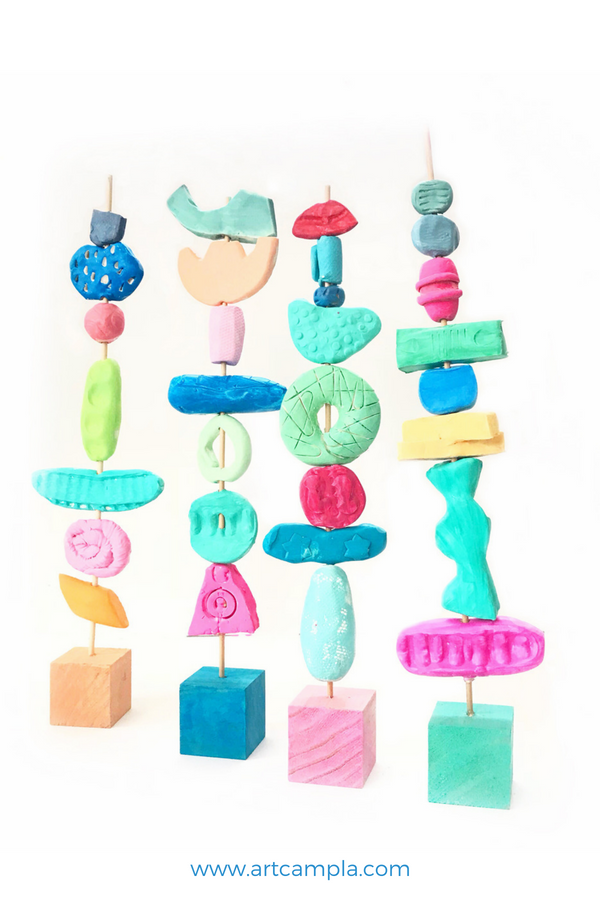
This is one of those projects that has been curing in my mind for months and it finally saw the light of day during week 1 of summer break. I think it was waiting for the days to get longer, the stone fruit to arrive, and the last day of school to come and go. They just feel summery, don't they? What do you see in these sculptures? I see plant pods, bubblegum, river rocks, ancient ruins, lips, jungle fruit, jewelry beads, and a donut (ha!). The process is open-ended and the supply list is short. I think you are going to love this one!
Materials list:
oven for baking clay
acrylic paint
push drill or electric drill
**This post contains affiliate links. This means we earn a tiny % of your purchase at no additional cost to you. We only link to materials that we use and love. Thank you for your support!
I divided a block of polymer clay in half, set out a random assortment of tools and objects with good texture, and just let the girls go to town. While they were creating their clay pieces I drilled holes into the wooden blocks. Make sure your drill bit matches the same diameter as the dowel.
As you finish your shapes, push a skinny dowel through the center to create a hole.
Next you will bake them in the oven. Follow the baking instructions on your clay package. Keep in mind that smaller/thinner pieces will bake faster than the biggies so you will want to remove the littles before the bigs.
When the clay pieces have baked and cooled it is time for paint!
When the painted pieces have dried you will start to stack them kabob-style. When you have a nice stack you will insert the end of your dowel into the wooden block base.


