Mark Making Jungle Snake
A brave heart and a courteous tongue.
They shall carry thee far through the jungle, Manling.
- Rudyard Kipling, The Jungle Book
What is mark making? Each time your brush, pen, pencil, fork, bubble wrap, twig, charcoal, crayon, pastel... hits your "canvas", you are mark making. Mark making is a fundamental element of every type of art work. Making marks is one of the first ways we communicate as children. A pointer finger pulling lines in the sand box. A stubby crayon looping round and round a sheet of construction paper. Colorful chalk scratches making their way across a sunny sidewalk. These basic, primal forms of visual communication are the foundation of early learning. They are springboards for writing and reading and number recognition, so they obviously play a central role in the art experiences for children ages 18 months to 5 years.
But what about older students? I like to introduce them to the work of Cy Twombly. Generally their reaction is something along the lines of, "I used to draw like that in kindergarten... this guy was a famous artist?!"
Cy Twombly, Untitled (Bolsena), 1969, pencil, wax crayon, and felt-tip pen, 27 3/4 × 39 3/8 inches (70.3 × 100 cm) © Cy Twombly Foundation
Untitled, Rome - Cy Twombly 1960
So I am always trying to incorporate mark making into our lessons. One of our favorites is the Magical Mark Making Forest project. But it really feels more like a fall/winter project, so it was time for something summery, humid, tropical... jungle even. Are you with me? Sssssssstill?
Okay, good.
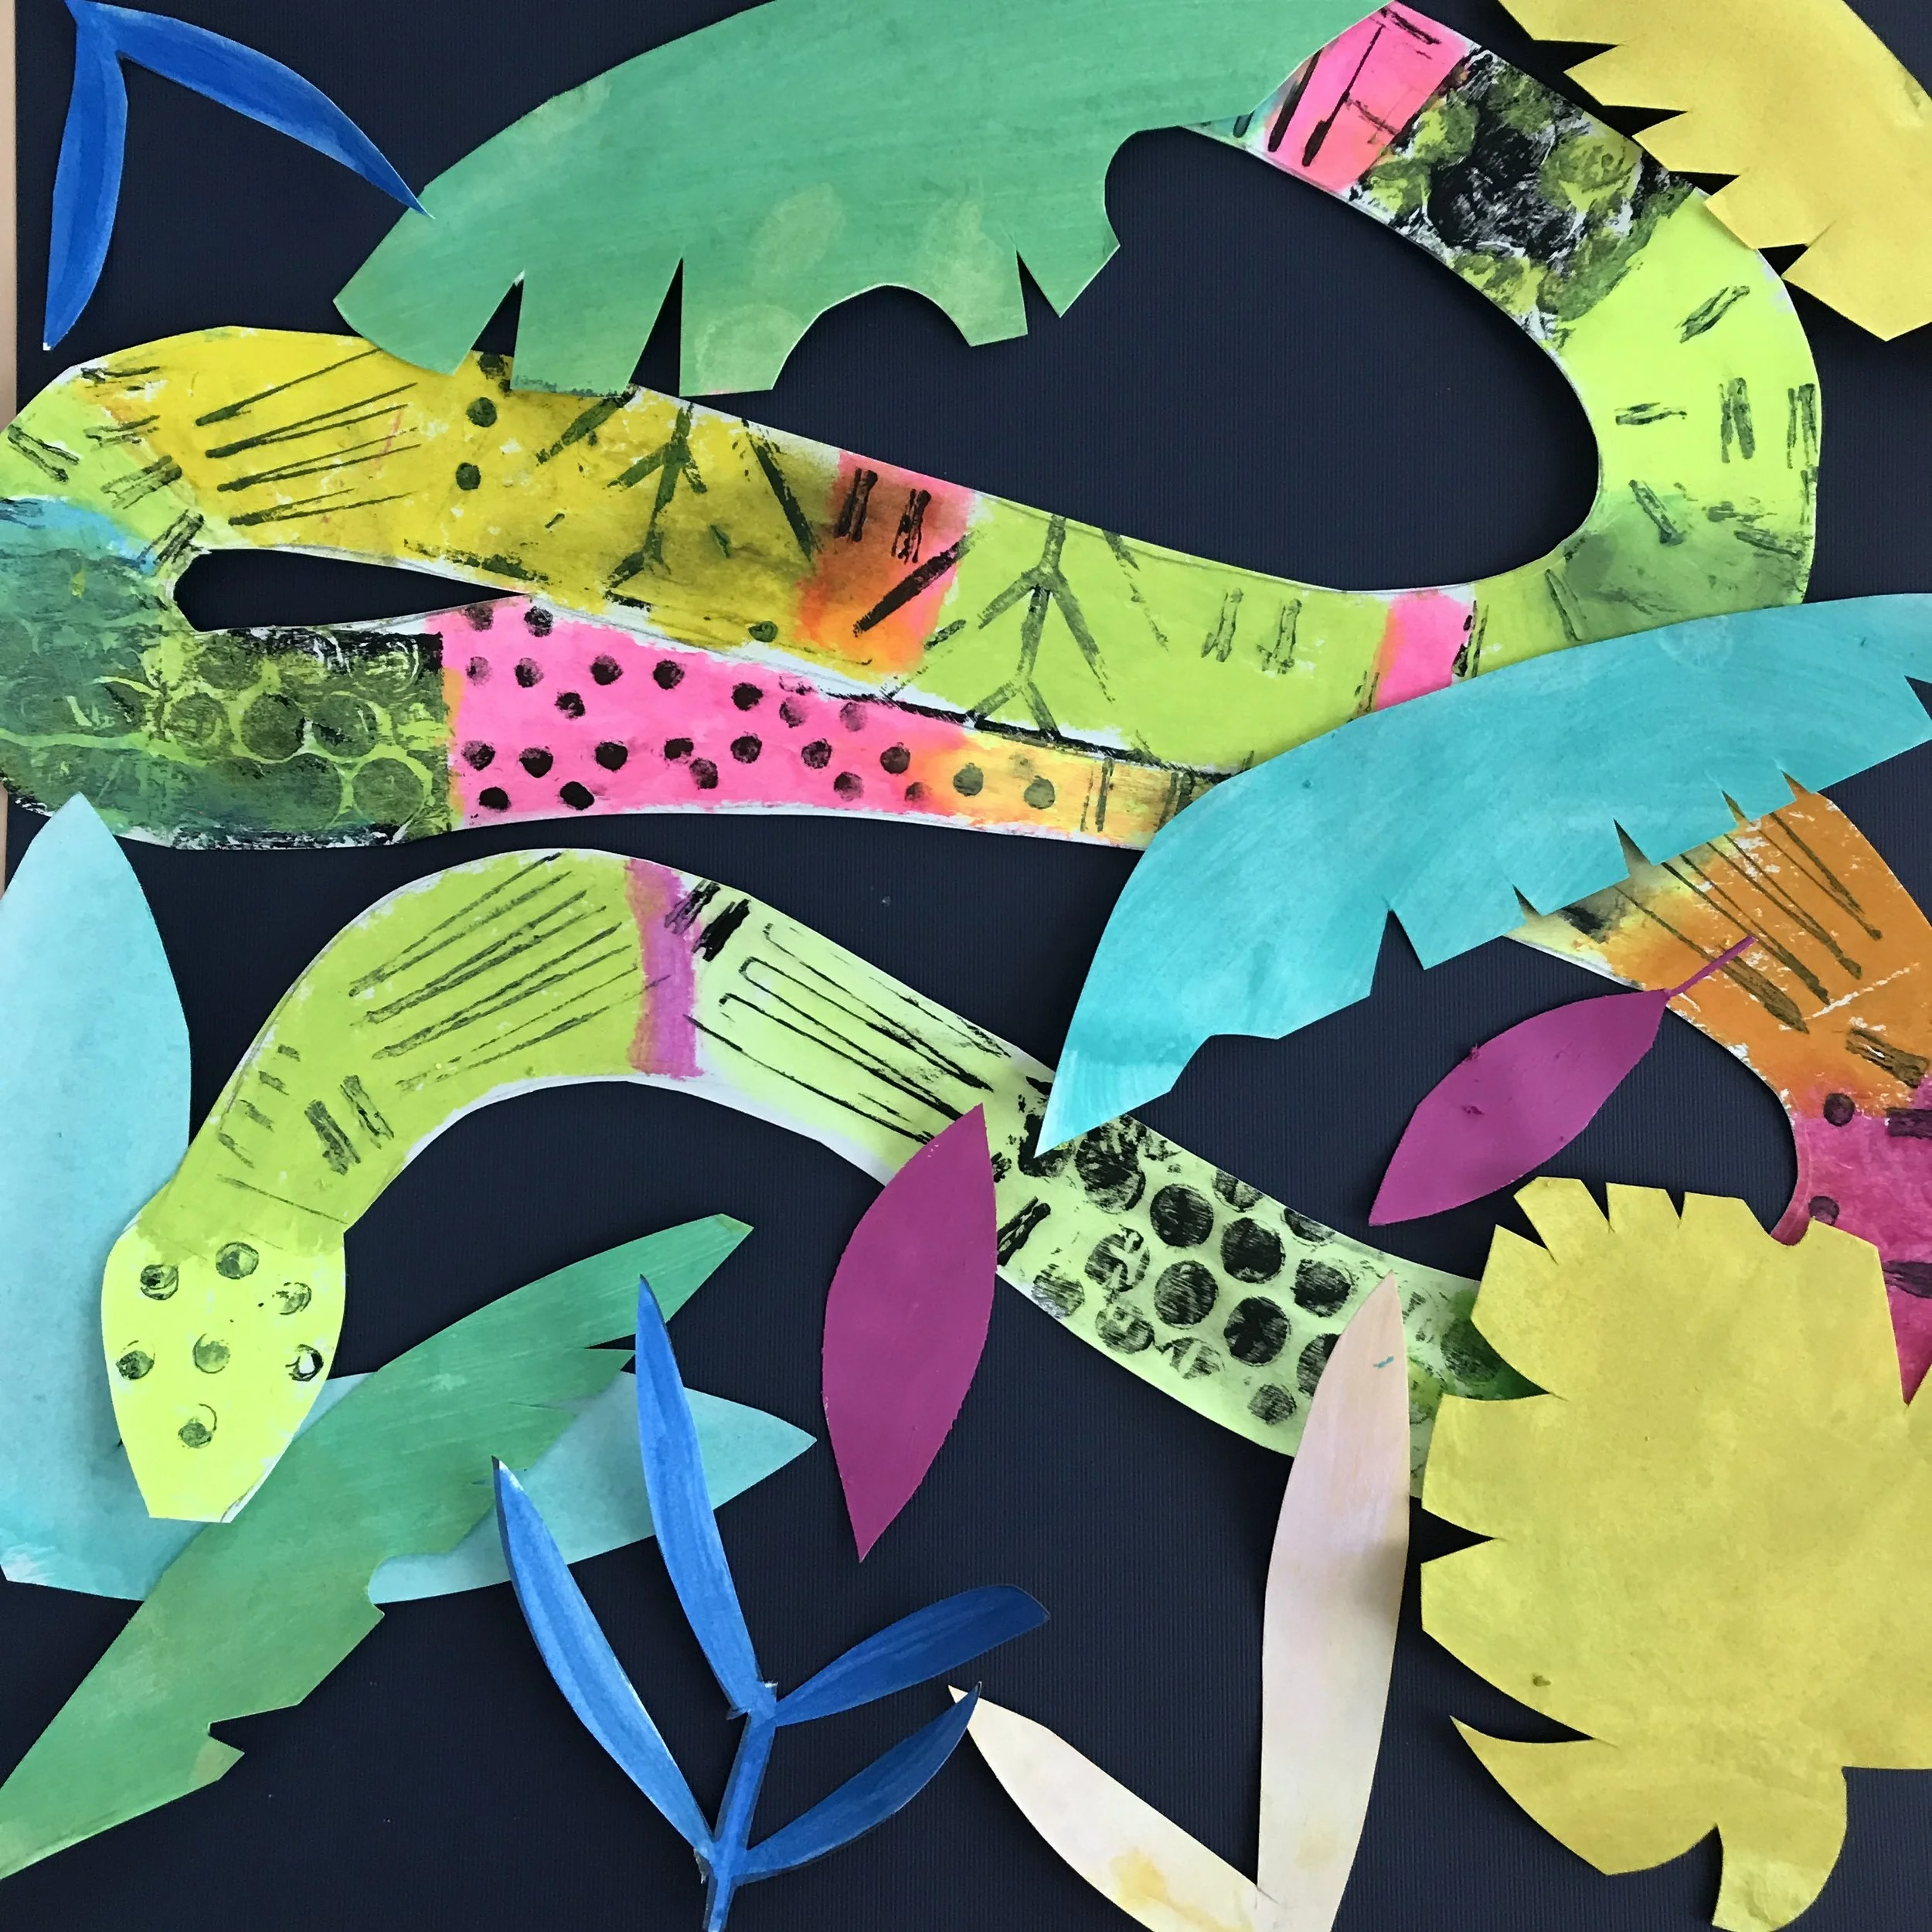
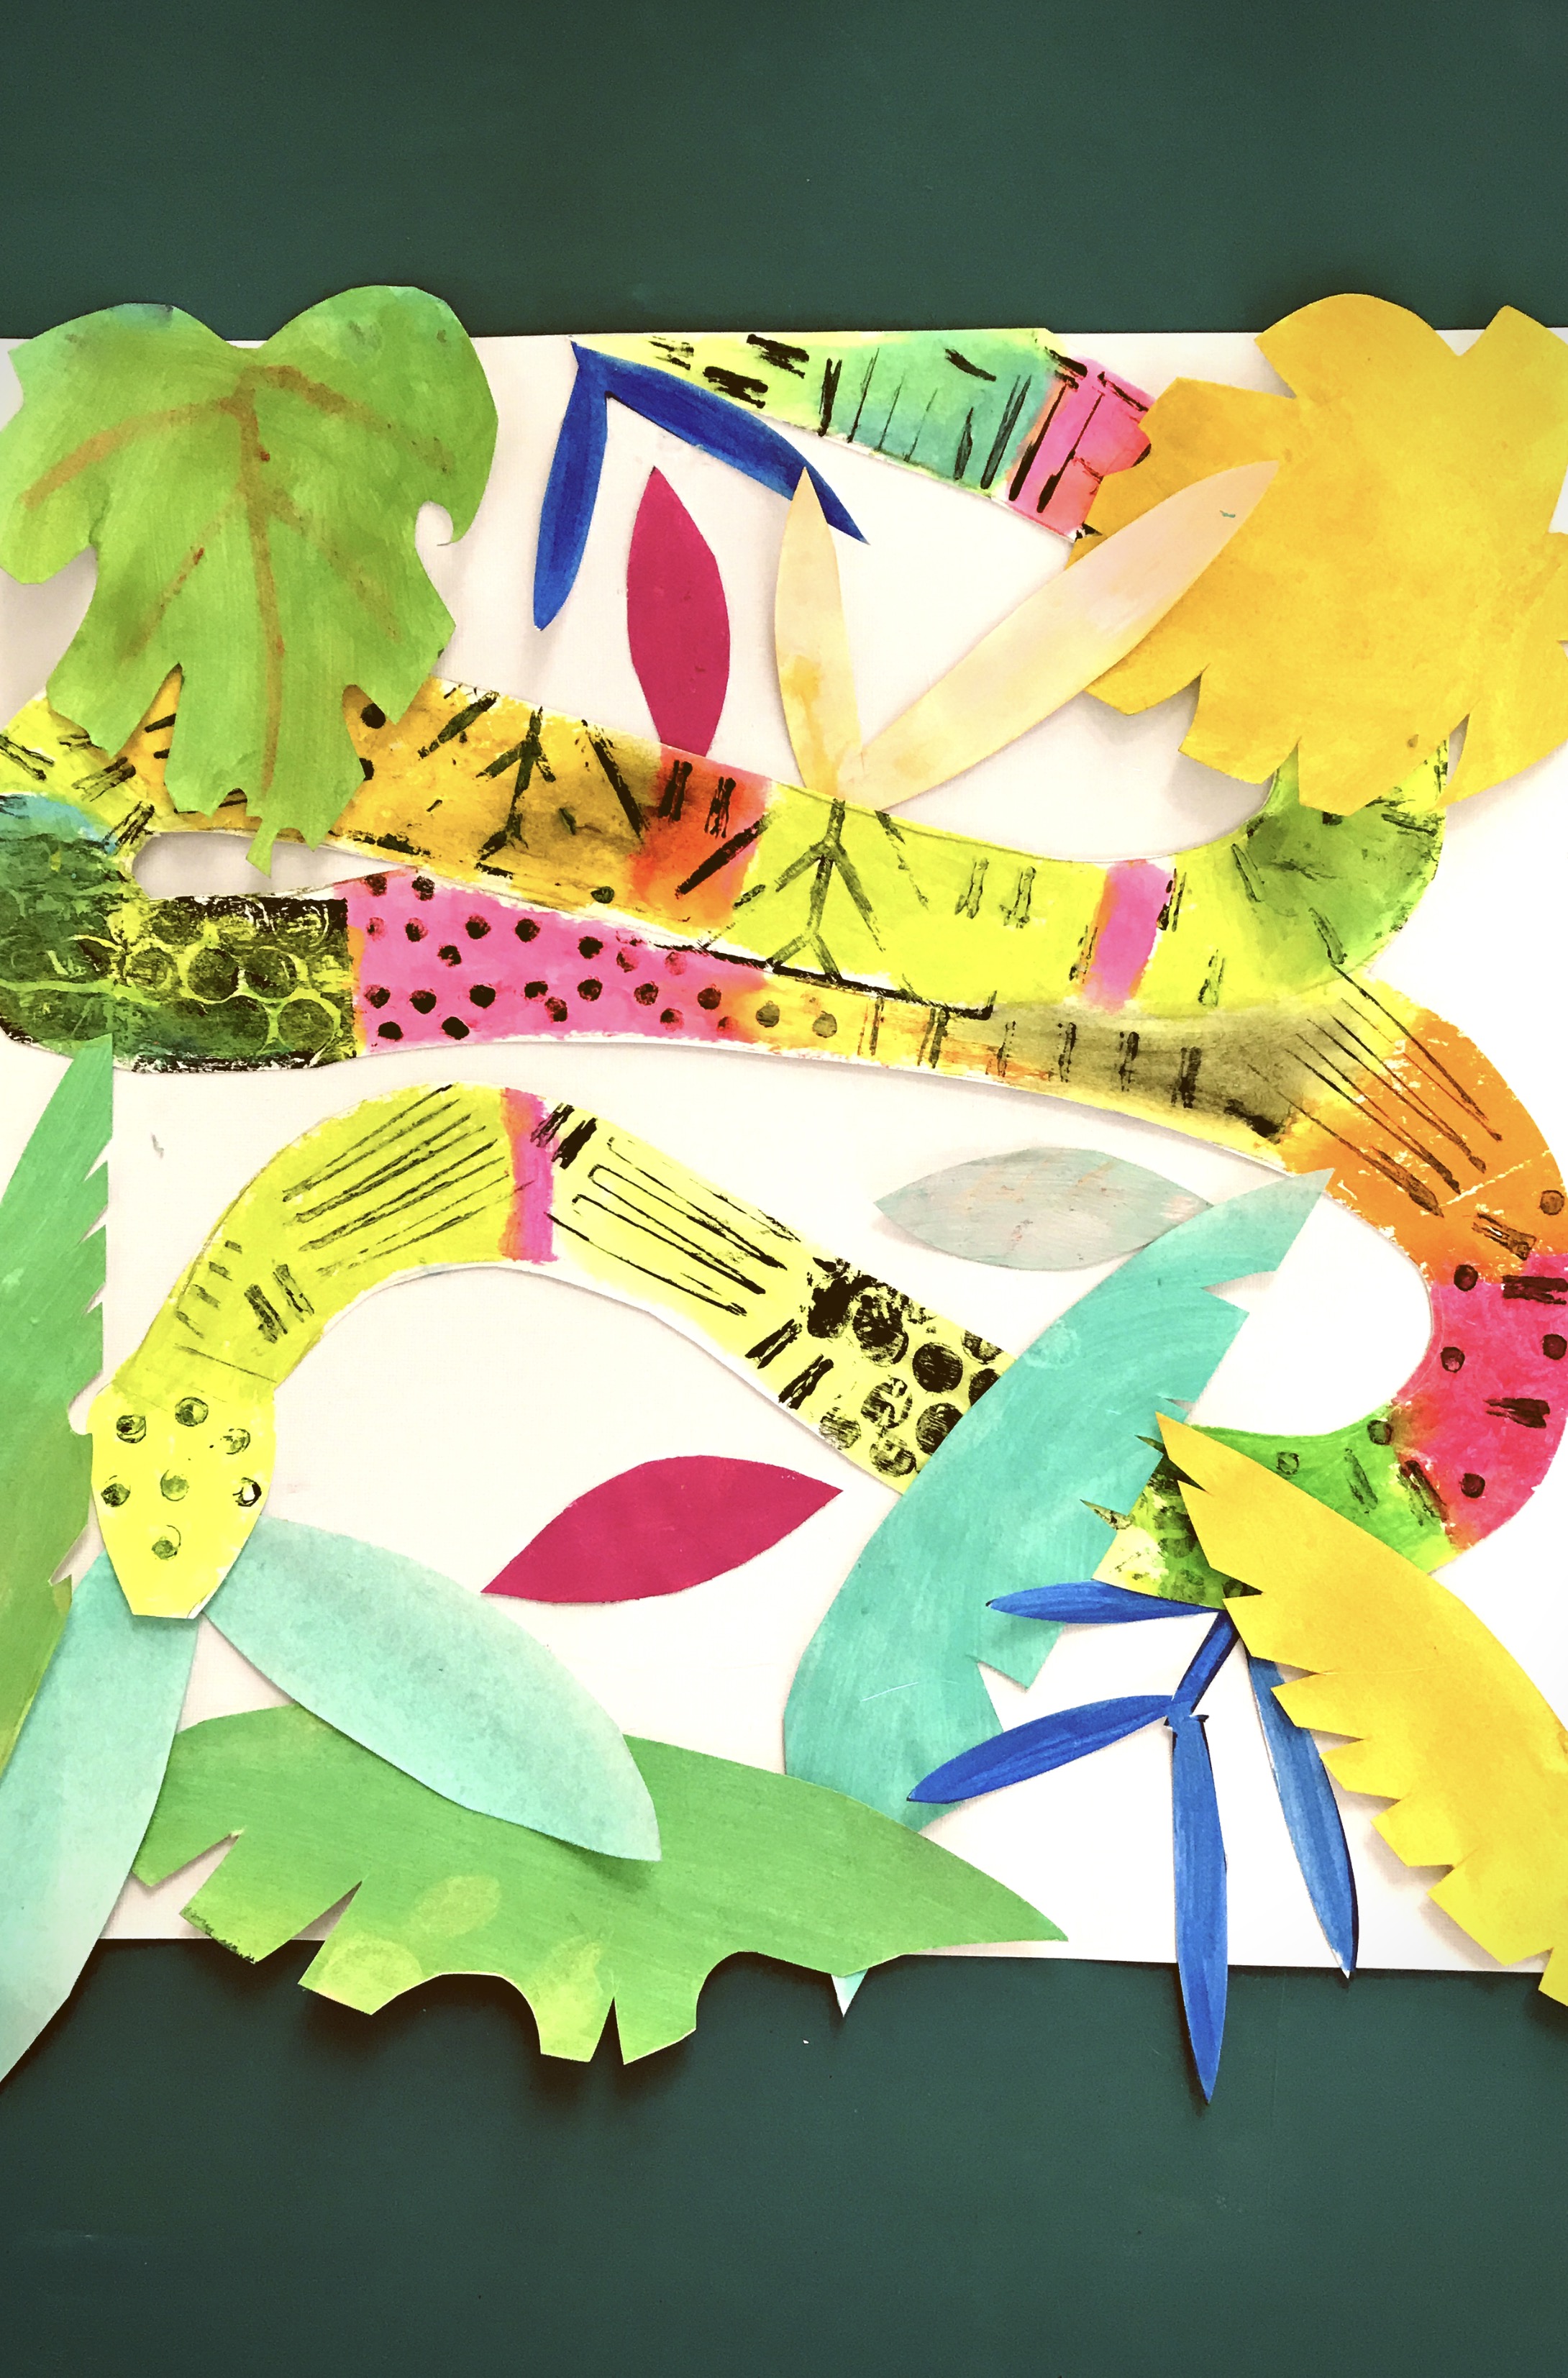
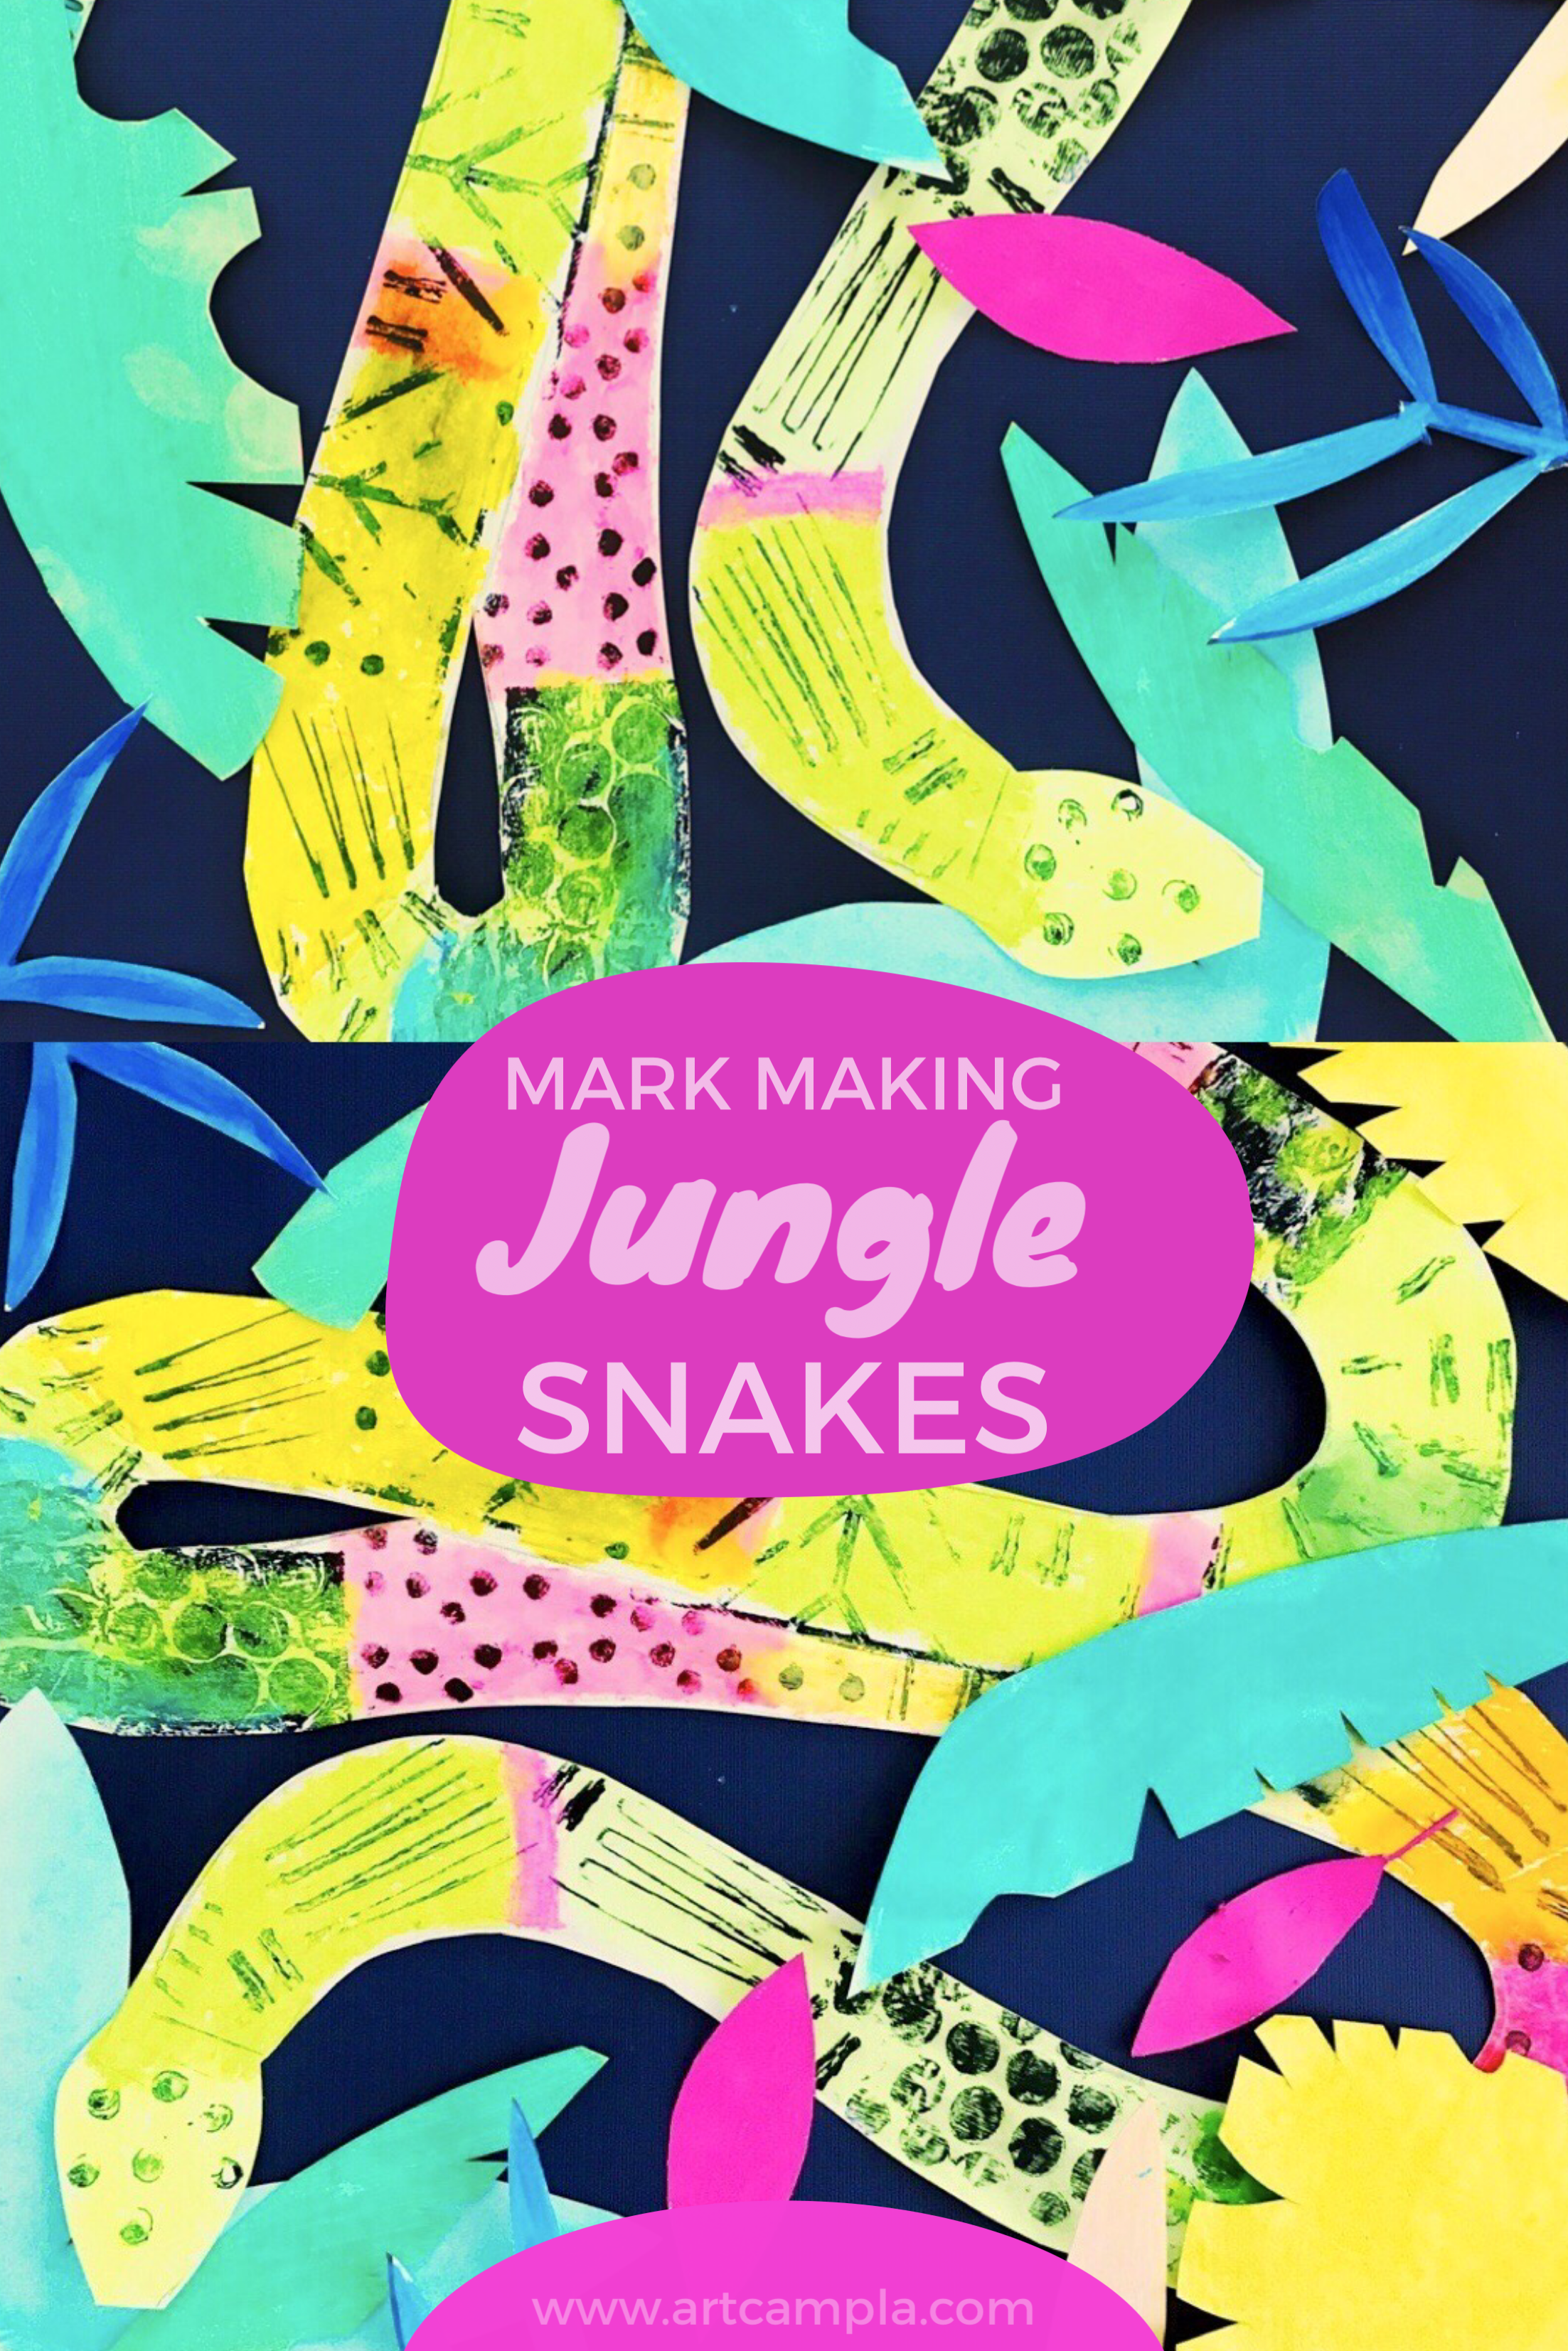
Meet the Mark Making Jungle Snake...
Materials:
thick sheet of white paper (we used 11"x14" for ours)
scrapbook paper square for background
black acrylic or tempera paint
Q-tips
bubble wrap
new pencil with eraser top
plastic fork
Kwik Stix, Gelatos, chalk pastels, watercolor, tempera cakes, or marker for coloring
Optional add-ons:
masking tape - black
duct tape - silver or gold
dot stickers
glitter glue
1. Sketch out your snake shape with pencil.
2. Lay out your mark making station: black paint on a tray or plate, Q-tips, bubble wrap, plastic forks, cardboard scraps, and any other interesting mark making instruments.
3. Start making your marks!
4. Once you have made all your marks you will set your paper aside to dry. Acrylic and tempera paint dry pretty fast but you can speed up the drying process with a fan or hair dryer set on the cool setting.
5. Once your black prints are dry you will add color. We used neon Kwik Stix and Gelatos. Both are nice because they add rich pigment but they are sheer enough so they do not cover up the black snake prints.
6. Once you are finished coloring in your snake skin you will cut your snake shape out.
7. Time for finishing touches. How about adding some stripes of tape or shapes made out of metallic duct tape? Or a little sparkle?
8. Print out our jungle leaves template (see form below) and color them with Kwik Stix and/or tempera cakes.
9. Cut your leaves out and start to arrange them around your snake. When you are satisfied with their placement, attach them with glue!
How amazing would they look hung in a group?


