Layered Landscape Art Project for Kids - inspired by artist Carolyn Gavin
like art, revolutions come from combining what exists into what has never existed before.
-gloria steinem
I am so delighted to be welcoming Cara of The Arterie Studio to the blog today. Cara is an artist, educator and studio owner who has been teaching art for 20+ years. She owns a fine art studio in thousand oaks, California called The Arterie. I have had the pleasure of getting to know Cara over the last couple of years but our friendship was solidified in the shadows of 2020. We exchanged digits and the rest is history. You never really know what you are going to find when you meet the person behind a social media account. Cara is the REAL DEAL. She is wise, funny and super kind. She’s the kind of girl that will send a slice of pumpkin pie to your doorstep when you are having a really $hi+ day (a keeper). So go say hi to her on instagram and then run over to her personal art account called small works where she shares her own dreamy little watercolor paintings.
a small sampling of projects from cara’s studio the arterie
I was over the moon when Arielle paired me with artist Carolyn Gavin for the Women’s Week Collective. Like most things these days, I discovered Gavin on Instagram and was hooked at first sight. I love all of her work but her landscape work really speaks to me; shocks of vibrant color, layer upon layer of paint, and those delightful striped lollipop trees! Carolyn’s vibrant art has definitely inspired projects that we’ve done with students at the studio. If you aren’t following Carolyn on Instagram - you are missing out on the process videos she shares. I could sit and watch them for hours! Carolyn’s “daily practice” has paid off because her work can be found on fabric, house-wares, packaging, bedding and books. She also sells her own brand of eco-friendly paper goods and art journals under the brand name Ecojot.
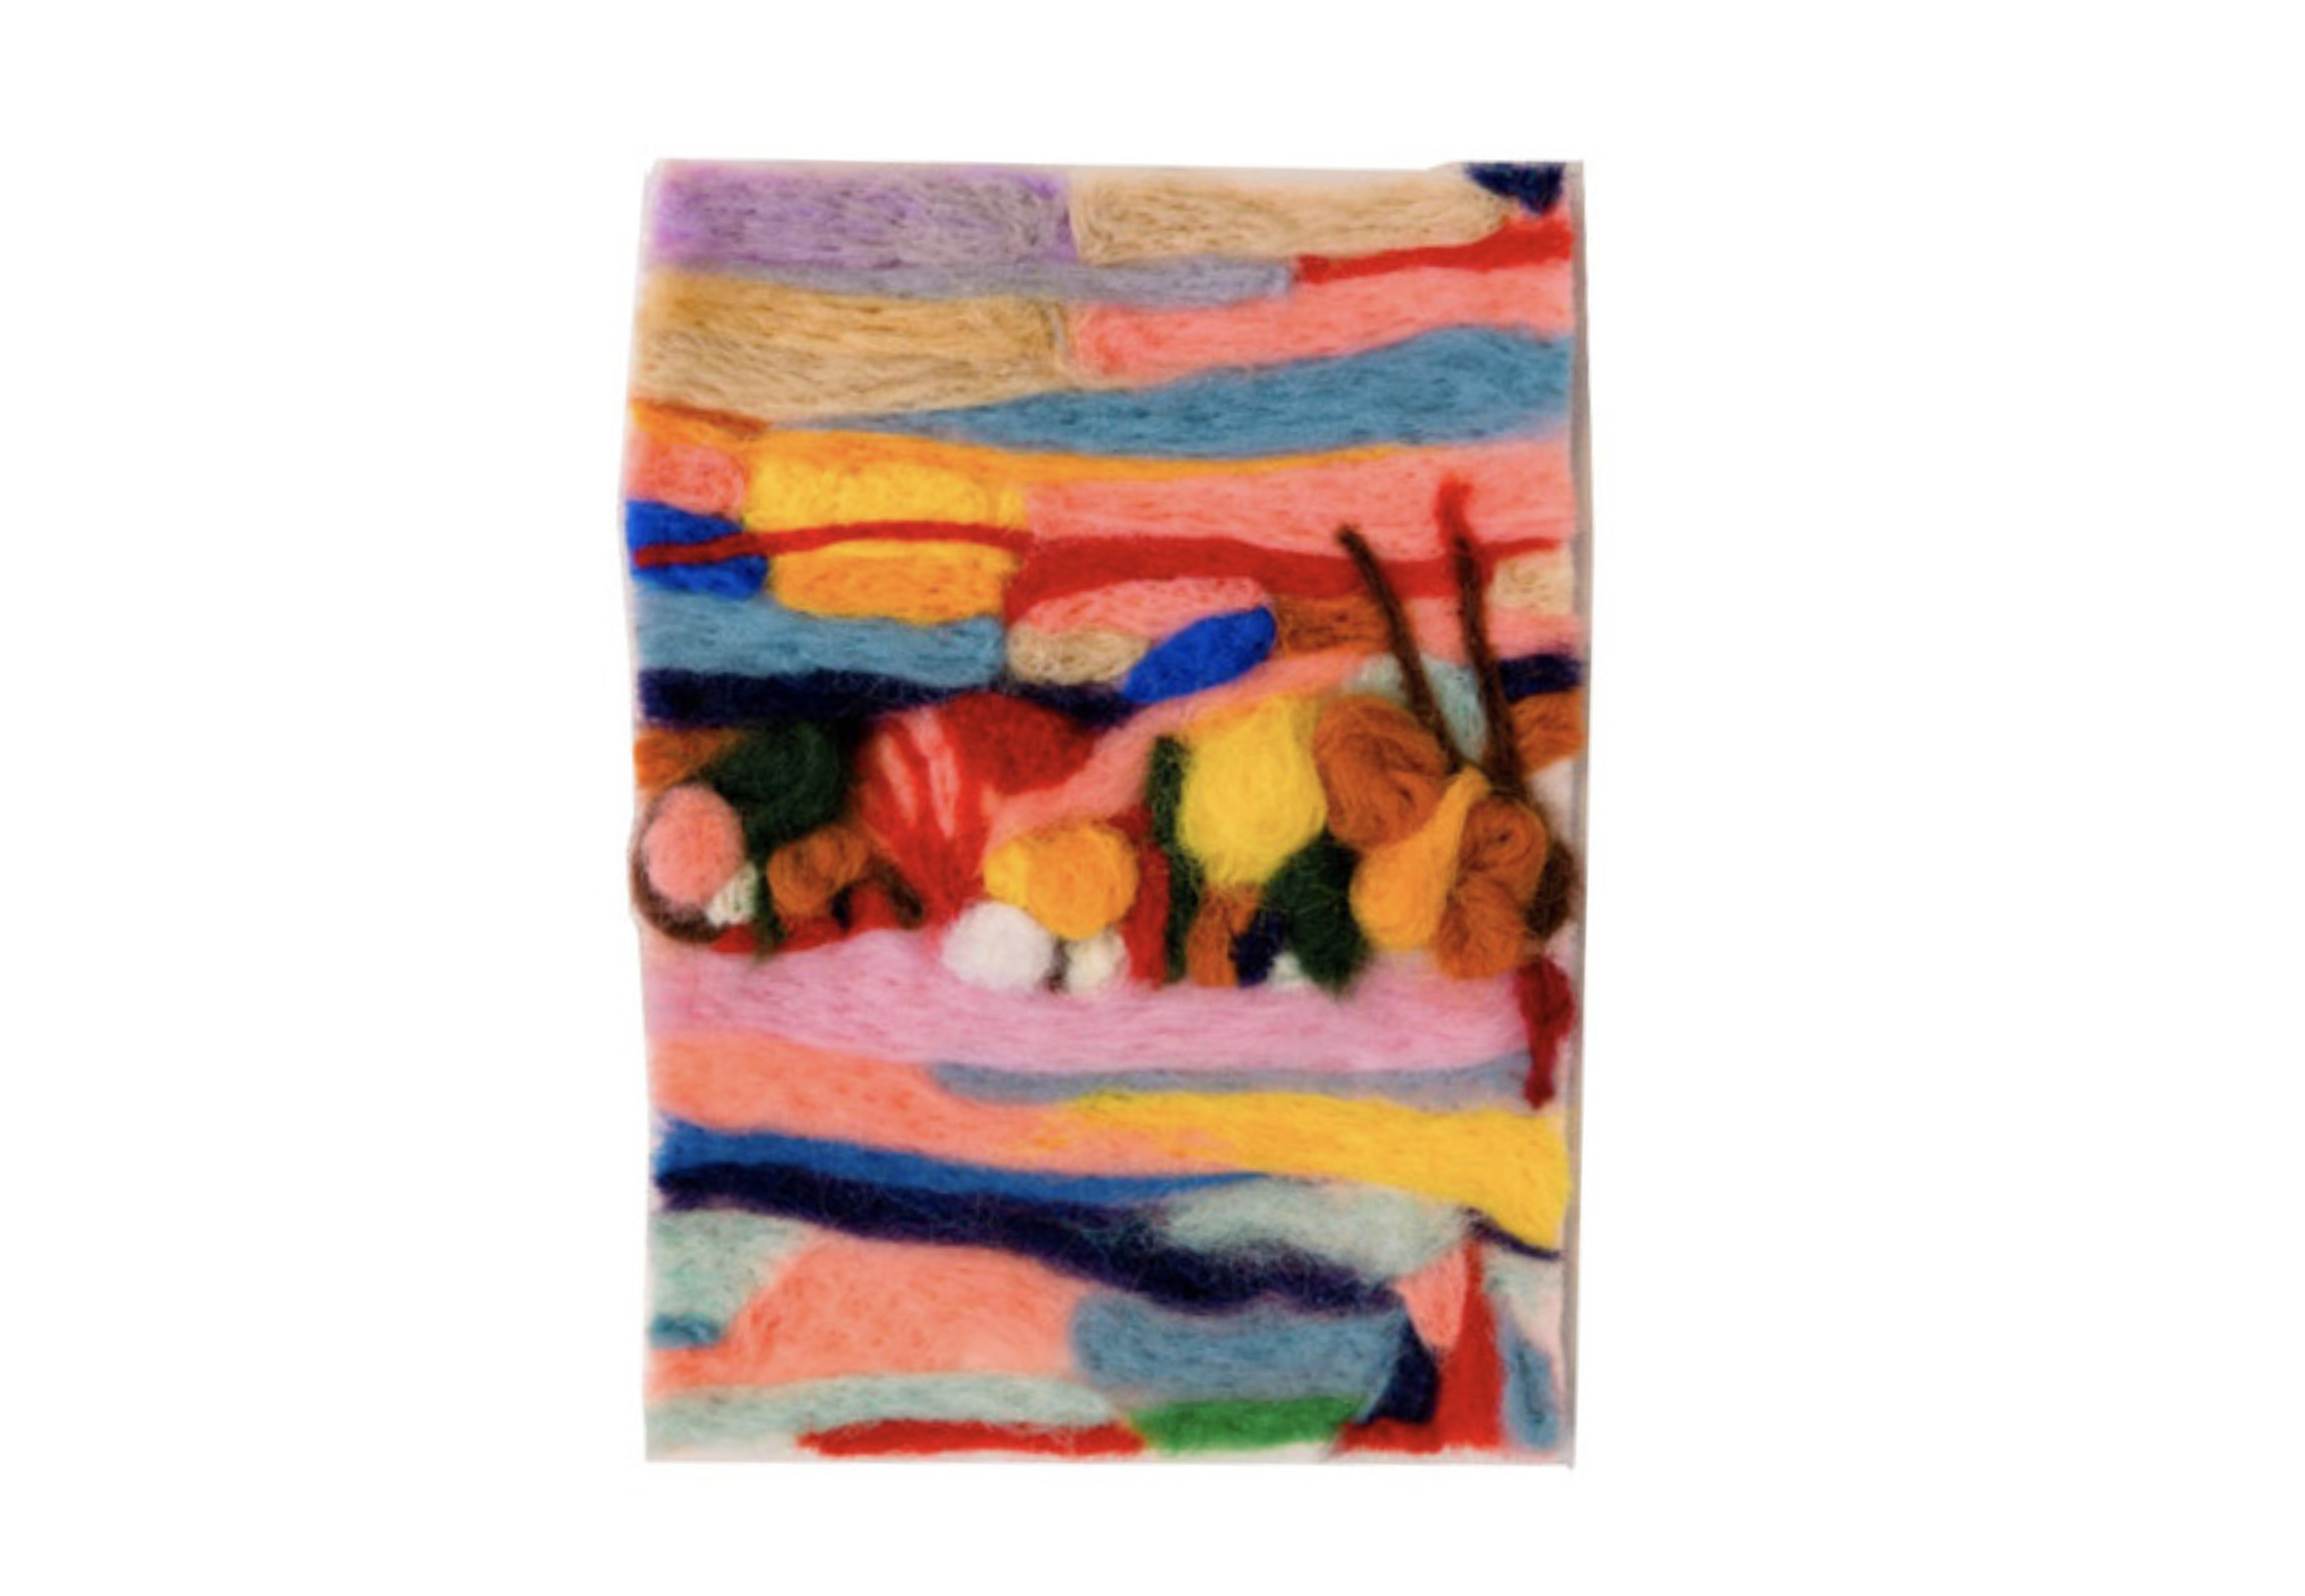
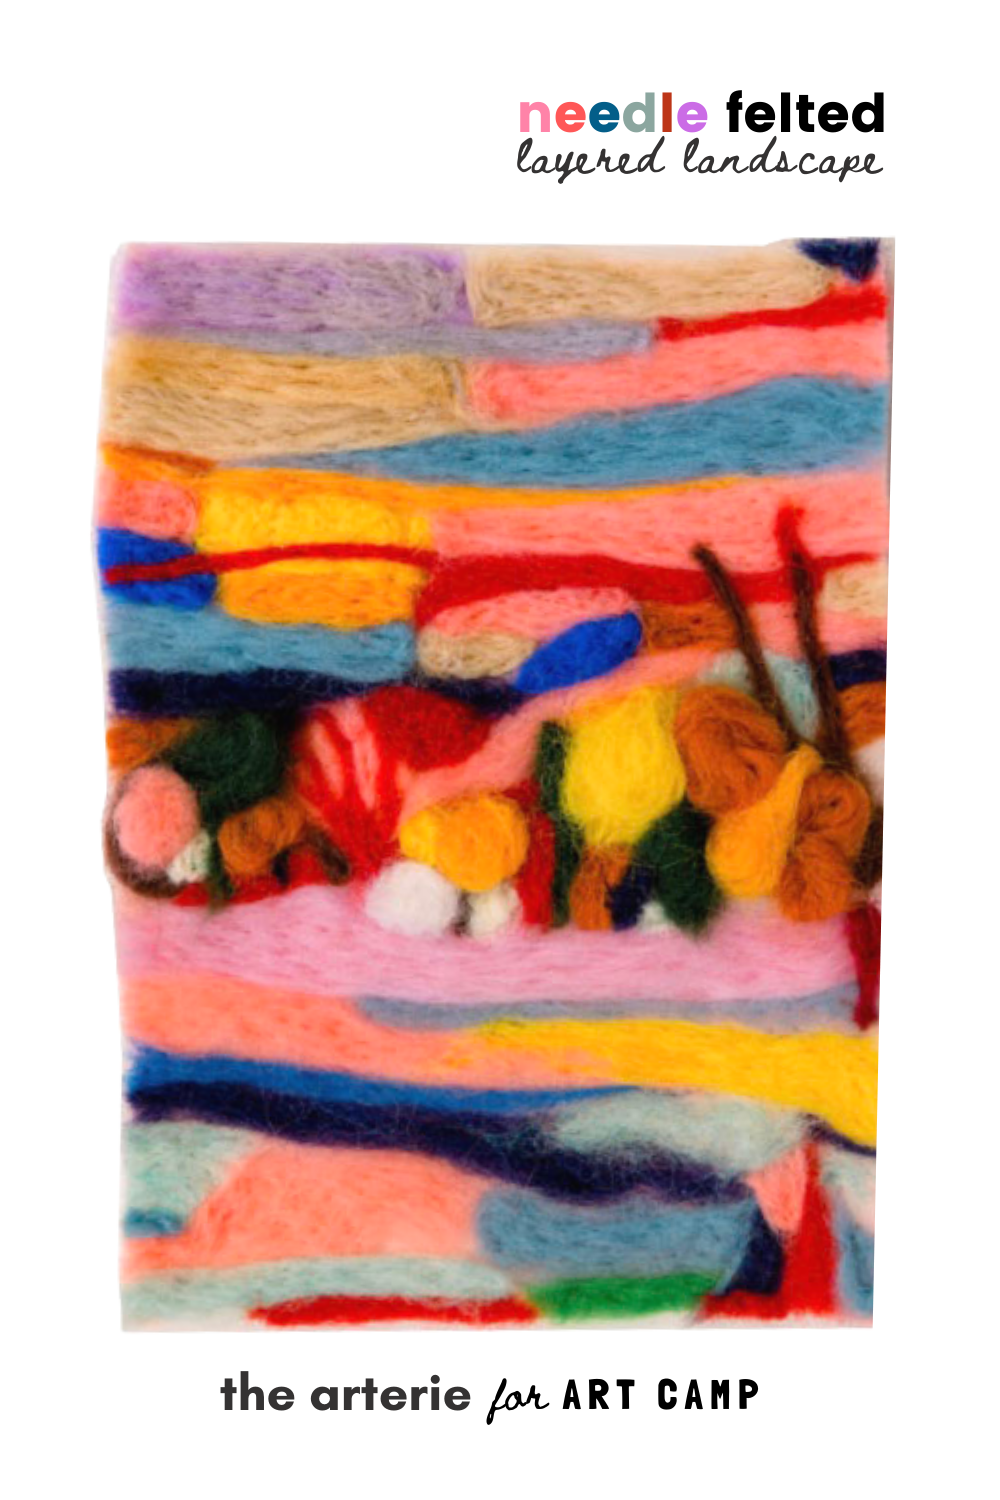
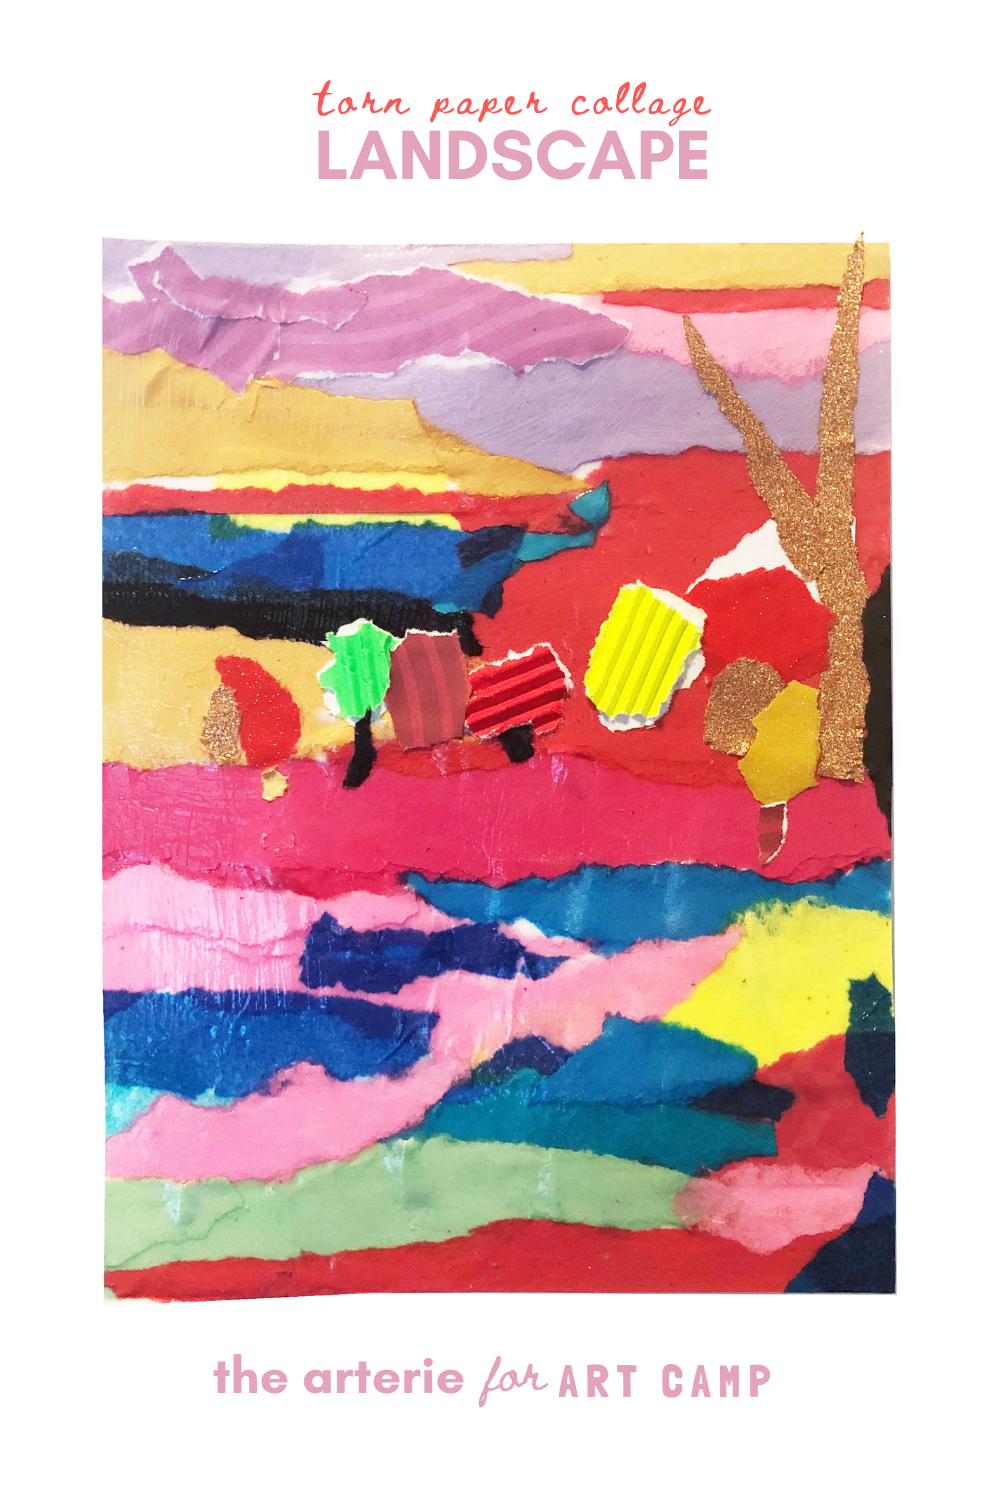
When Arielle and I were discussing a “stacked landscape project” inspired by Carolyn Gavin I knew I did not want the project to be a replication of her work. I thought the idea of exploring her colors and composition through the process of needle felting might be really fun. Once I started working on the needle felting I realized the supplies might not be something everyone has access to or wants to invest in. So I decided to create 3 different versions of the “stacked landscape project” using a different material for each one so that a student at any age or ability could have fun exploring Carolyn’s work with supplies that they could probably find at home. I hope you enjoy them!
Torn Paper Layered Landscape (beginner)
Materials:
Various papers (I used construction paper, glitter paper, corrugated paper, patterned paper)
** Please note that we participate in the Amazon Affiliate program. This means if you purchase any of the products linked here we will receive a tiny sales commission at no additional cost to you. We only link to products we use and love. Your support helps us keep this site running - thank you!
Tips:
Cover work surface to protect from Mod Podge.
If variety of paper isn’t available, use newspaper! Apply oil pastels or crayons or even paint to different sections to create color variety.
Always add more Mod Podge before and after each addition of torn paper.
Steps:
Tear pieces of paper as you go. For first piece, tear and apply thin layer of Mod Podge to 6x8” paper, apply torn paper and another layer of Mod Podge on top.
Continue to layer, thinking about sections and sizes of colors.
Add trees at the end, as well as small details.
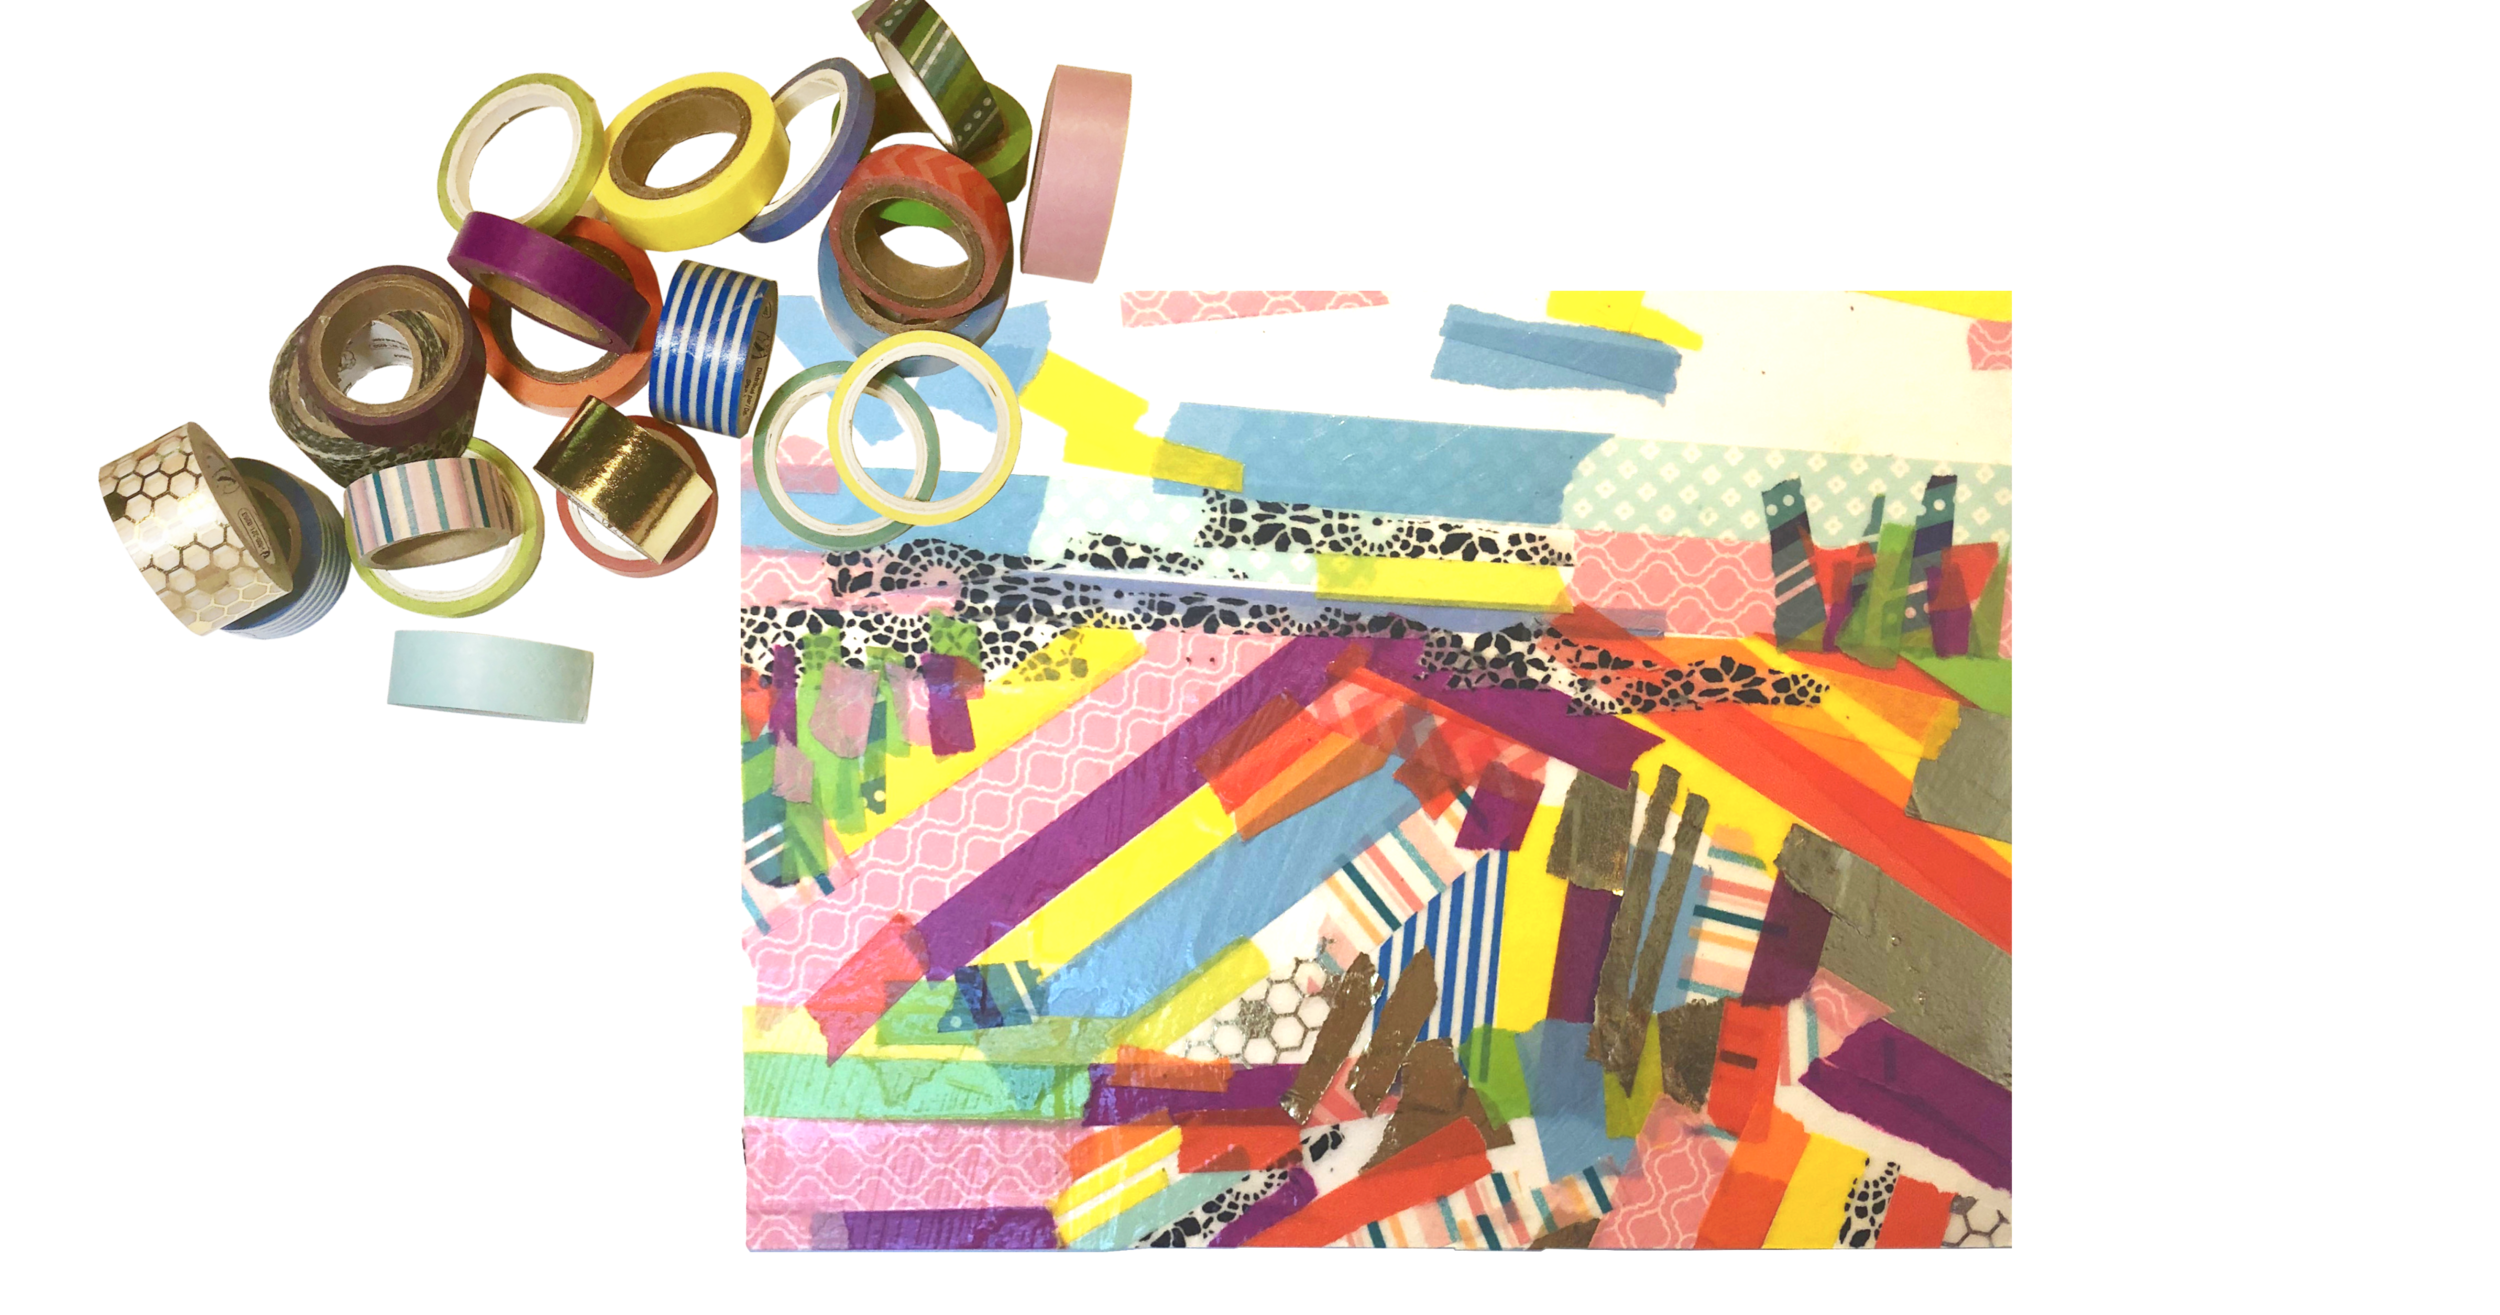
2. Washi Tape Layered Landscape (intermediate)
Materials:
Tips:
Only apply Mod Podge (or watered down white or clear glue) if tape doesn’t stick.
Save those itty bitty torn pieces for details or to decorate scrap paper with.
Steps:
Spread rolls of washi tape out to assess colors and patterns.
Begin with largest areas of colors first. Think about line direction.
Tear washi tape or cut, as you go. I like the torn edges because they are reminiscent of Gavin’s textural paintings.
Apply a thin, even layer of Mod Podge over the top of the finished piece and set to dry.
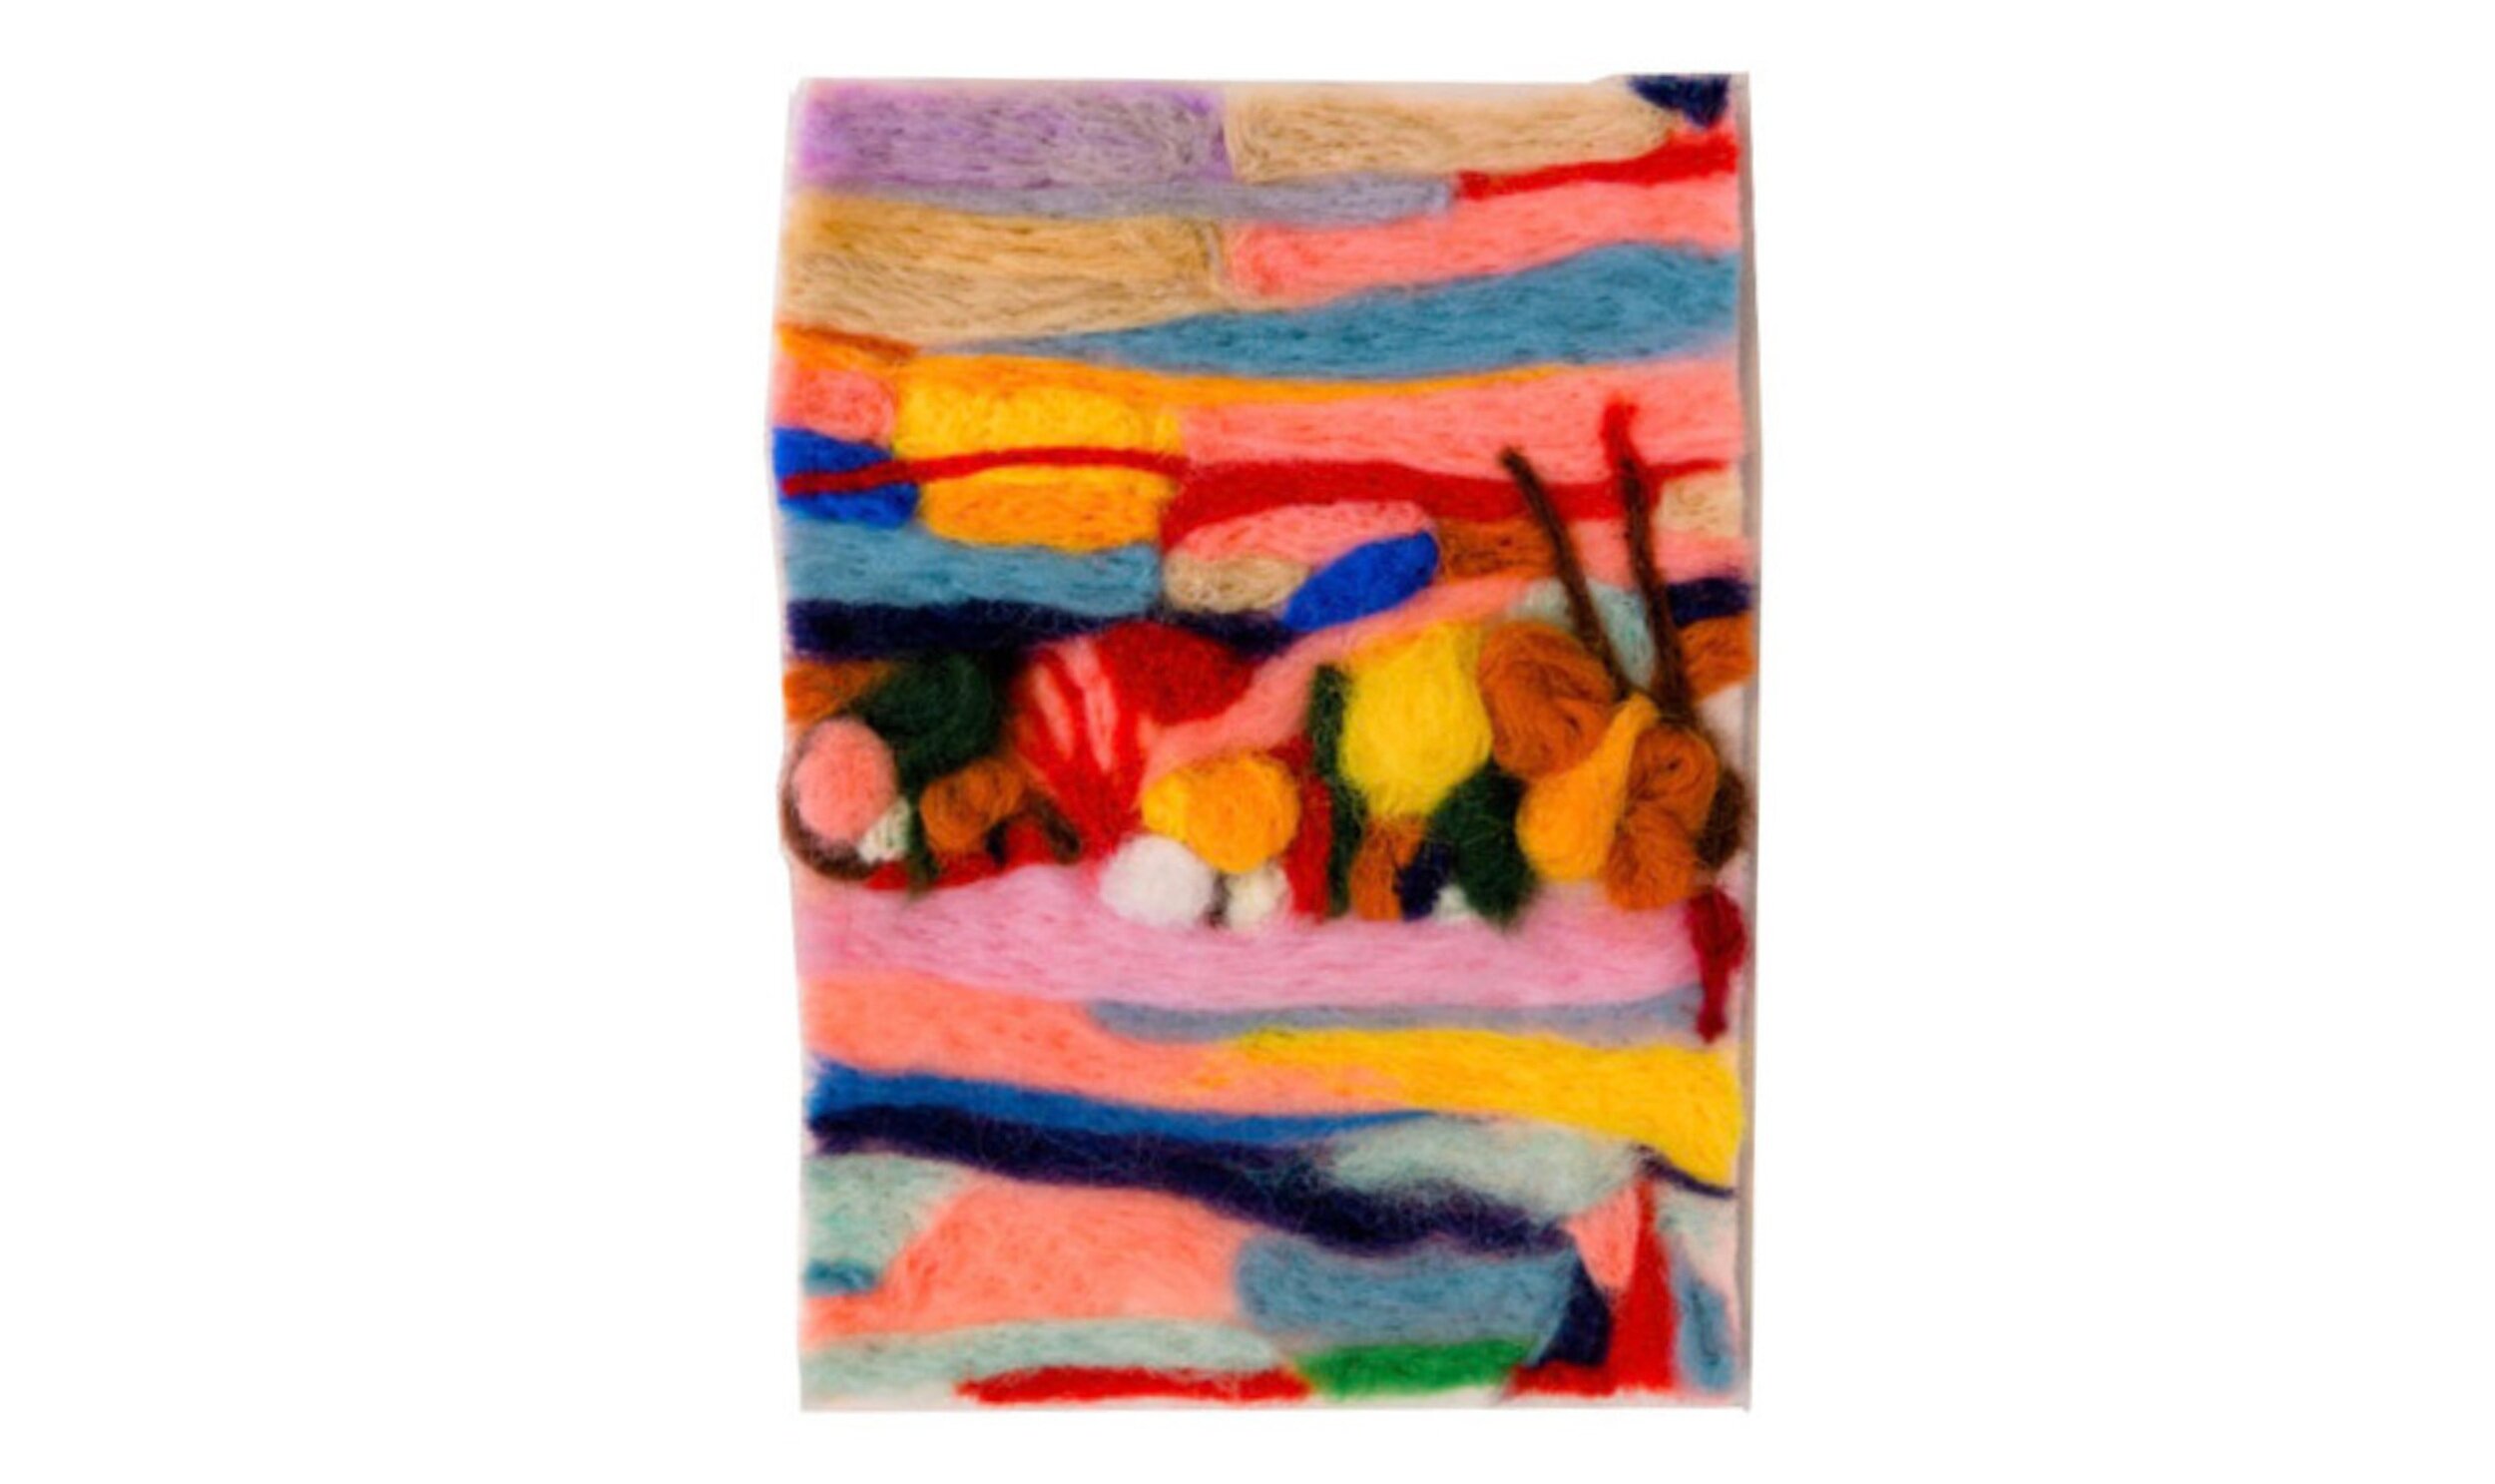
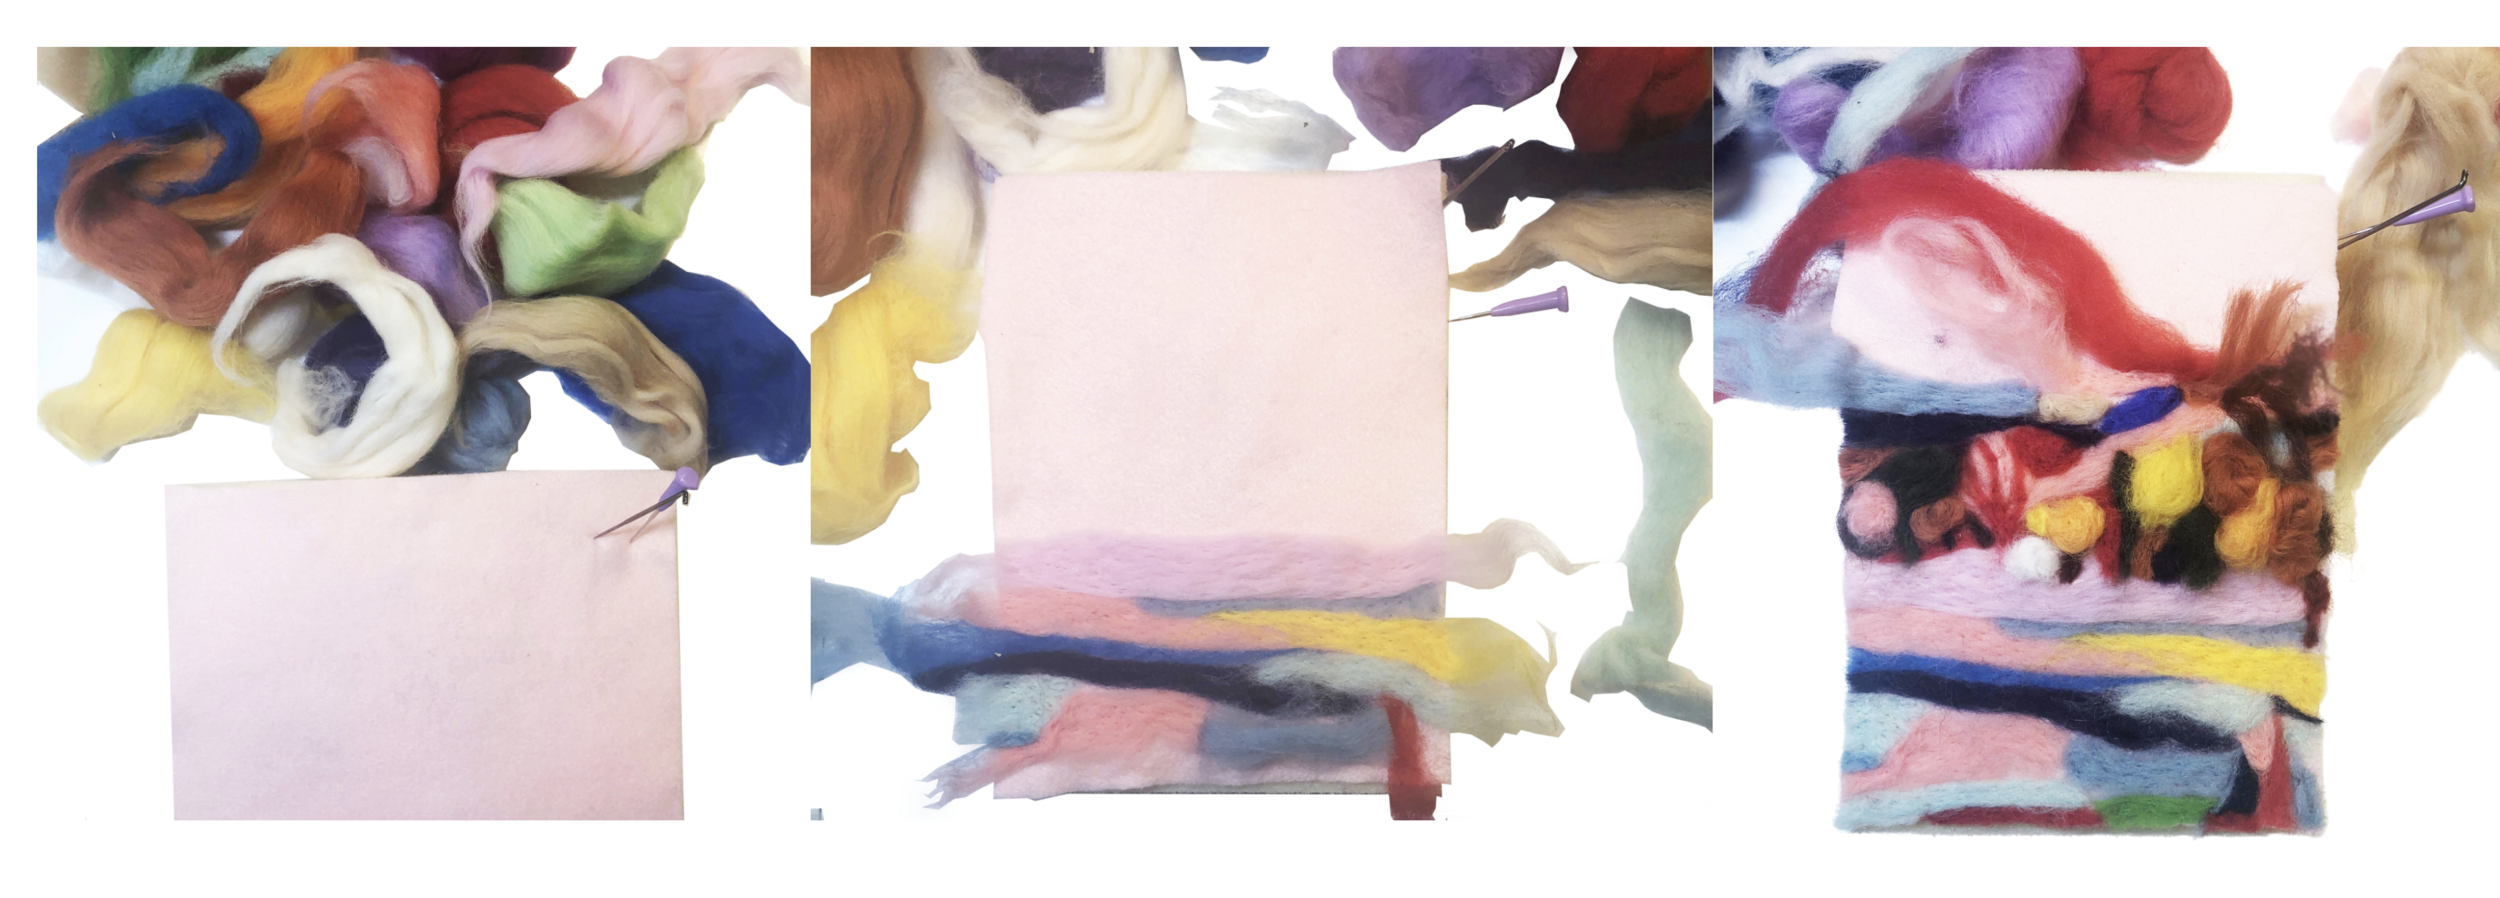
3. Needle Felted Layered Landscape (advanced)
Materials:
6x8” felt (I used a light pink as pink is a dominant color in much of Gavin’s work)
Various wool roving (like these)
Tips/Steps:
Start with the biggest section first. For me, it was the thick panel of pink that went across the middle, bisecting top from bottom.
Don’t be afraid to layer wool atop other wool or make items “poofy”, as in the lollipop-like trees.
Needles are sharp! For little fingers, using a round cookie cutter around the section being needle-felted is good practice and protects hands.
It’s important to work on top of the foam block to avoid breaking needles and damaging work surfaces.
remember:
With all versions, picking out the main idea first, isolating color/shapes/sizes, and embracing the process are key!
Cara Franke is the owner of The Arterie art studio in Thousand Oaks, California, where students are encouraged to express themselves freely through visual art using a variety of mediums and techniques. Cara believes the creative process isn’t linear, and that artists take different approaches to attain a finished piece, sometimes through process art and sometimes with a product in mind. She teaches the foundations of drawing and painting, fosters an appreciation of art and artists, and allows for finding one’s artistic voice and personal style. Cara is formally trained in watercolor painting, holds a Bachelor of Arts degree in Art History and Art Education from the University of California, Santa Cruz and completed her graduate work in Art Education and Fine Arts at CSUN. When she’s not in the studio, Cara can be found outside, reading a good book, painting, or hanging with her husband and their super cute kiddo.

