Hanging Sculpture DIY for kids inspired by Ruth Asawa
When you put a seed in the ground, it doesn't stop growing after eight hours. It keeps going every minute that it's in the earth. We, too, need to keep growing every moment of every day that we are on this earth.
- Ruth Asawa
Today we are joined by Krisanne of the Making table who is sharing a beautiful hanging sculpture DIY inspired by Ruth’s wire sculptures.
Before I turn it over to Krisanne I wanted to take a moment to talk about the extraordinary life and work of Ruth Asawa. Ruth had a personal and professional ethos that resonates deeply with me, one that is closely aligned with the core of who I am as a teacher and the “art for all” studio I set out to create when I founded ART CAMP. Ruth believed that anybody who wanted to could make art and everyone had a part of them which was artistic. She believed that people (especially young children) learn by doing and that a foundation in art provides many skills. Skills lead to opportunity and opportunity broadens the view of what is possible. Ruth was familiar with adversity but she never let it stop her. She looked at it as a guiding force that placed her on the next right turn of her path. When she started working in schools she wasn’t limited by budget constraints; she seized the opportunity to get more creative with the materials that were available (milk cartons, egg cartons, scraps of yarn, and flour, salt and water.) She spent her life creating and creating change and it is an honor to share her work here on the ART CAMP site.
“Art is for everyone. It is not something that you should have to go to the museums in order to see and enjoy.”
Art played a vital role in Ruth’s life from beginning to end. Ruth was born in Norwalk, California in 1926. She was the 4th child out of seven. She spent her early life helping tend the fields on her family’s farm. When she was 16, Ruth and her family were sent to a Japanese internment camp built on the race track in Santa Anita, California. It was here that Ruth met Disney artists Tom Okamoto, Ben Tanaka, and Chris Ishii. The three artists gave Ruth her first drawing lessons. Ruth and her family were moved to a camp in Arkansas where Ruth attended and graduated from Rohwer High School.
I hold no hostilities for what happened; I blame no one. Sometimes good comes through adversity. I would not be who I am today had it not been for the internment, and I like who I am.
After graduating High School Ruth attended Milwaukee State Teachers College hoping to gain a teaching degree in arts education. She completed her coursework, but was not able to complete the student teaching requirement because it was determined that it would be too dangerous to do so at a time when anti-Japanese sentiment was running high. Undeterred, Ruth decided to continue her studies refocusing on art at Black Mountain College in North Carolina. Black Mountain was a liberal and inclusive school known for welcoming students from all races, religions and ethnicities. This is where she met teaching artists Josef Albers and Iliya Bolotowsky. Both teachers played an integral role in her development as an artist. Her early works on paper explored line, pattern, and repetition. It was on a field trip to Toluca, Mexico, where she learned the wire-crocheting technique that would allow her to “draw in space" via the wire loop sculpture.
Ruth was as passionate about accessible arts education as she was about creating her own art. She believed in a hands-on art experience for children, led by professional artists. This followed the holistic "learning by doing” approach she experienced at Black Mountain. Asawa helped co-found the Alvarado Arts Workshop for school children in 1968. Which went on to become the model for the Art Commission's CETA/Neighborhood Arts Program. In 1980 Ruth played a key role in founding a public arts high school, in San Francisco. The San Fransisco School of the Arts (SOTA) was renamed the Ruth Asawa San Francisco School of the Arts in 2010.
“Learn something. Apply it. Pass it on so it is not forgotten.”
Please join me in welcoming the lovely Krisanne of the Making Table! Krisanne’s approach to art history is always informative, playful, and hands-on and her Ruth Asawa inspired hanging sculpture project is no exception! I will let Krisanne take it from here..
A selection of artist studies for kids from the Making Table L to R: Jean-Michel Basquiat - Joan Miro _ Roy Lichtenstein - Alma Thomas
If you are looking for a book pairing for this project for young artists age 5-8: Try A life Made by Hand the story of Ruth Asawa written and illustrated by Andrea D’ Aquino.
DIY Hanging Sculpture
inspired by artist Ruth Asawa
contributed by: The Making Table
Dew drops, waxy green leaves, and spiraling snail shells. Tart pink berries, dusty pine cones, and sticky spider webs. Japanese American artist Ruth Asawa’s undulating wire sculptures are a love letter to nature’s simplest details. Ruth spent her childhood in Southern California growing and harvesting strawberries, green beans, carrots, and tomatoes with her parents and six siblings. Those years on the farm, picking and planting, gifted her the time and solitude to explore the natural world around her, informing the art she would create decades later. She reflects, “I used to sit on the back of the horse-drawn leveler with my bare feet drawing forms in the sand, which later in life became the bulk of my sculptures.”
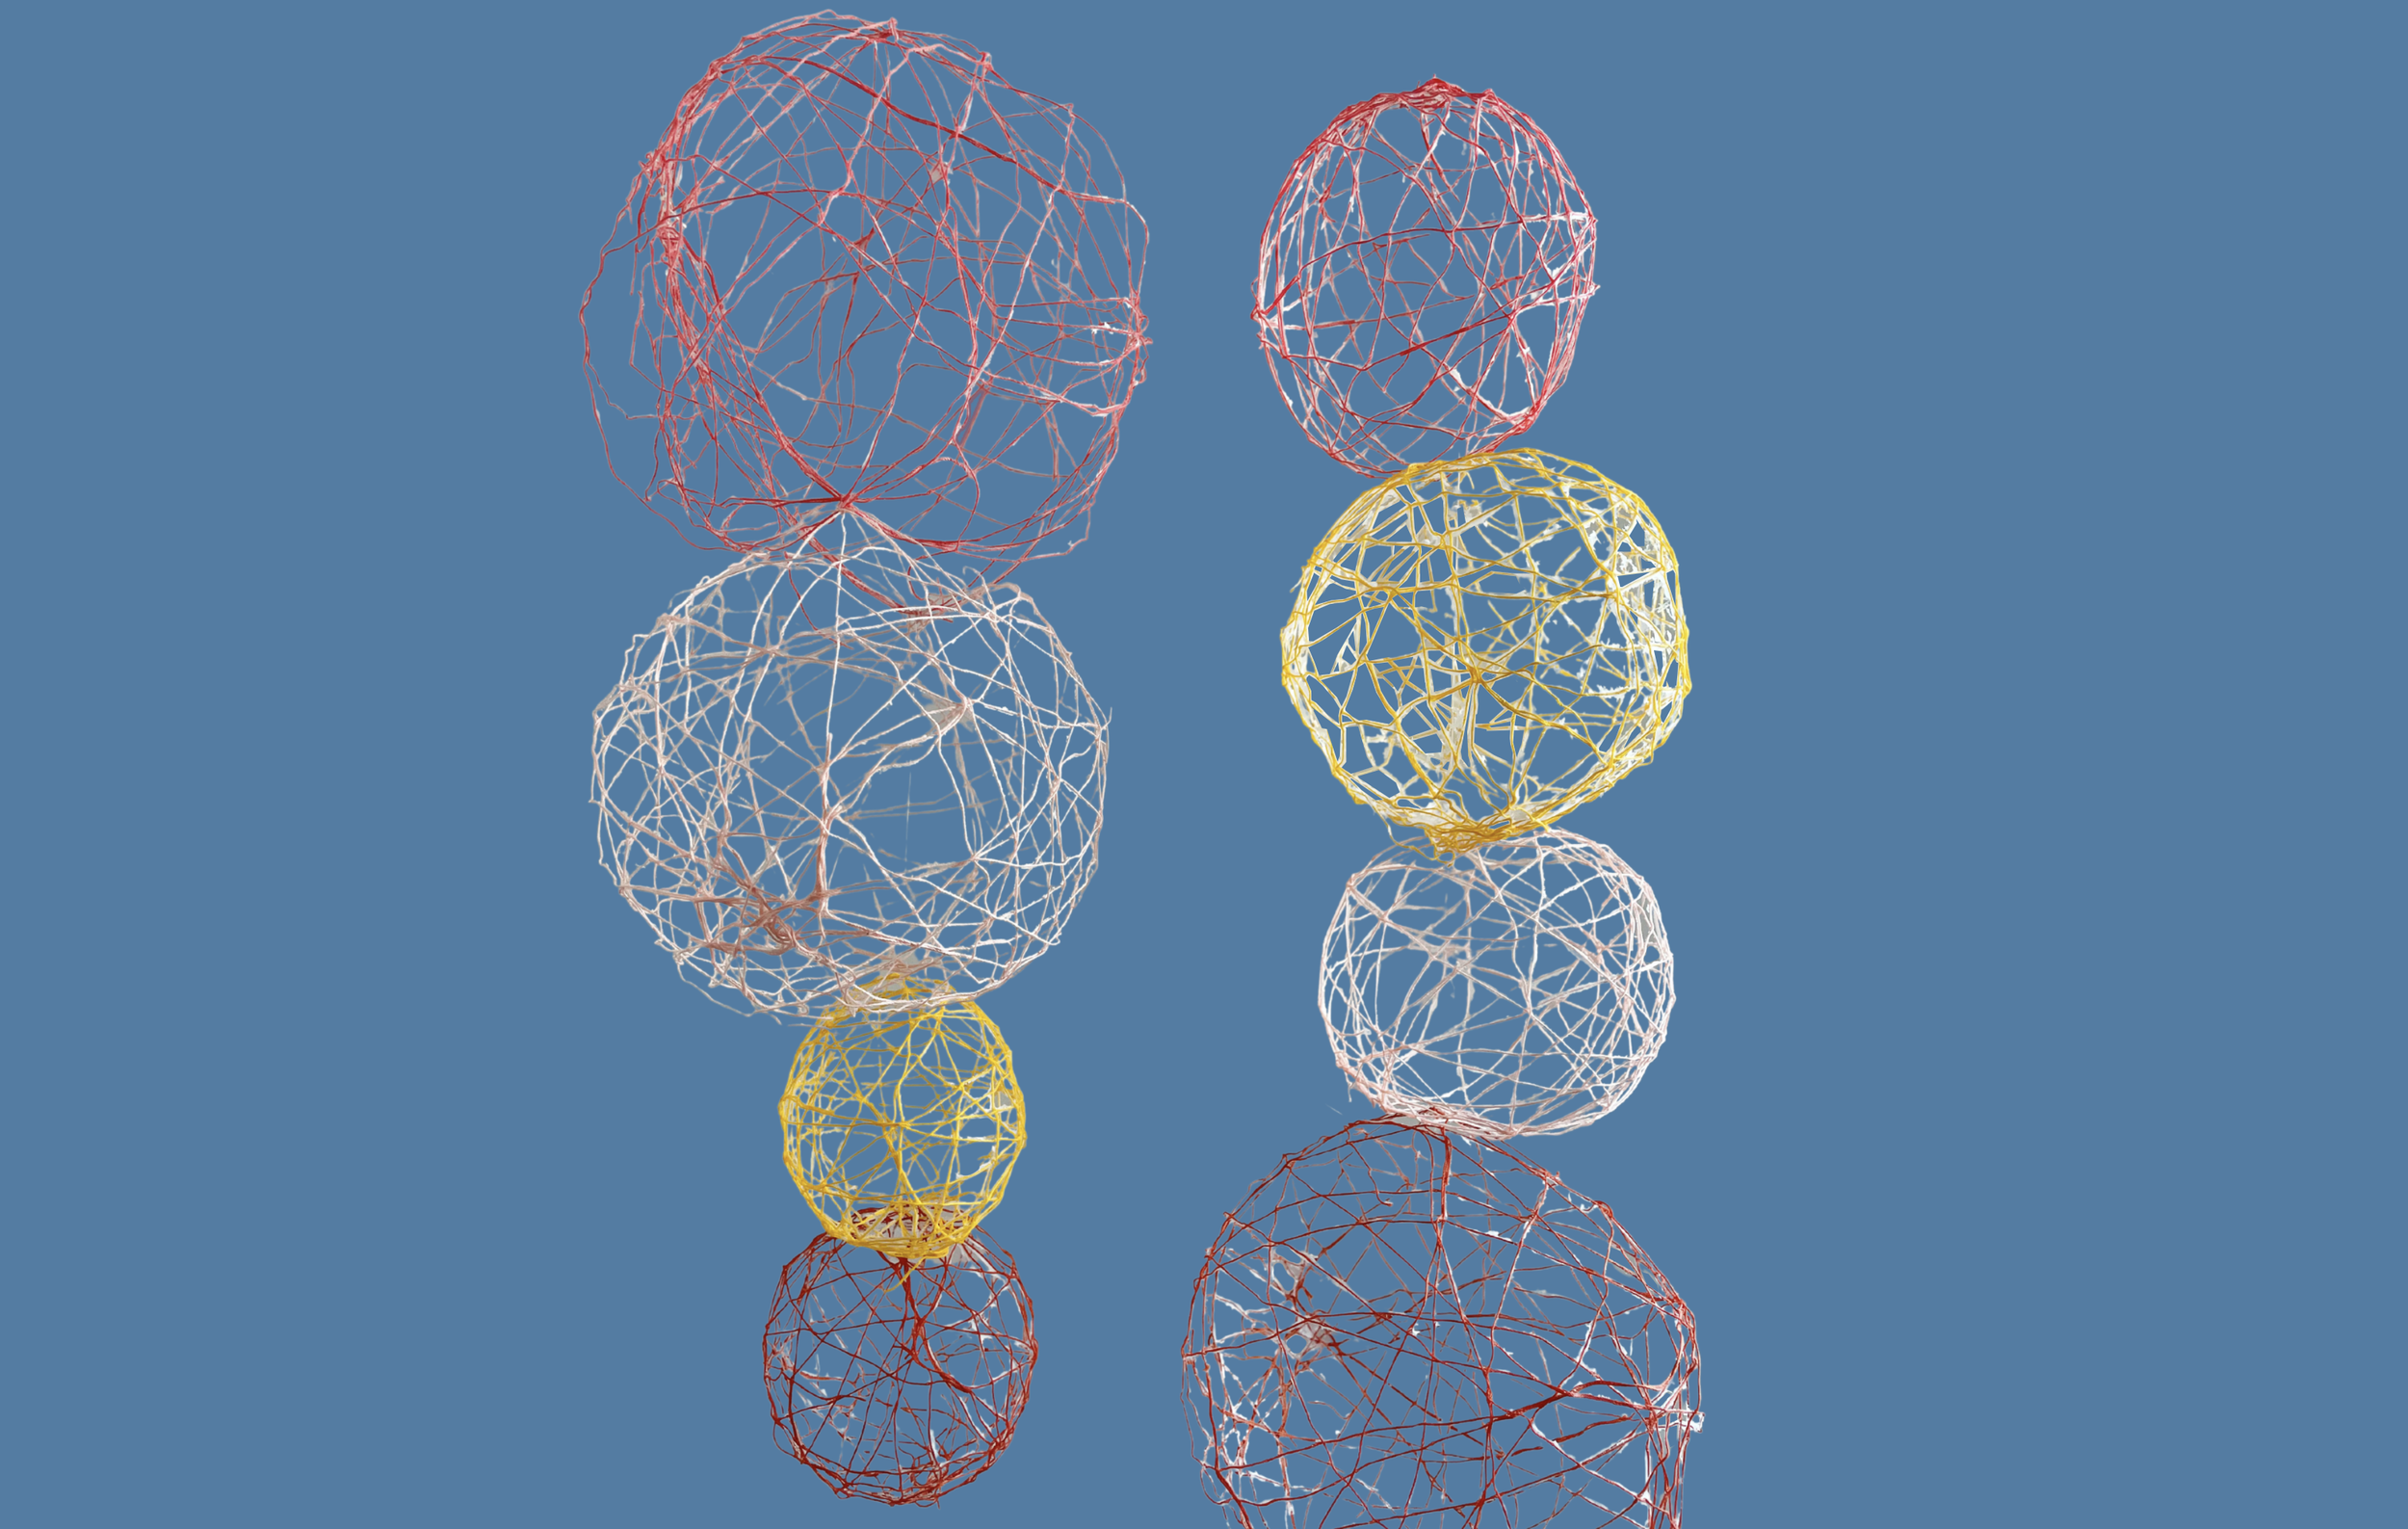
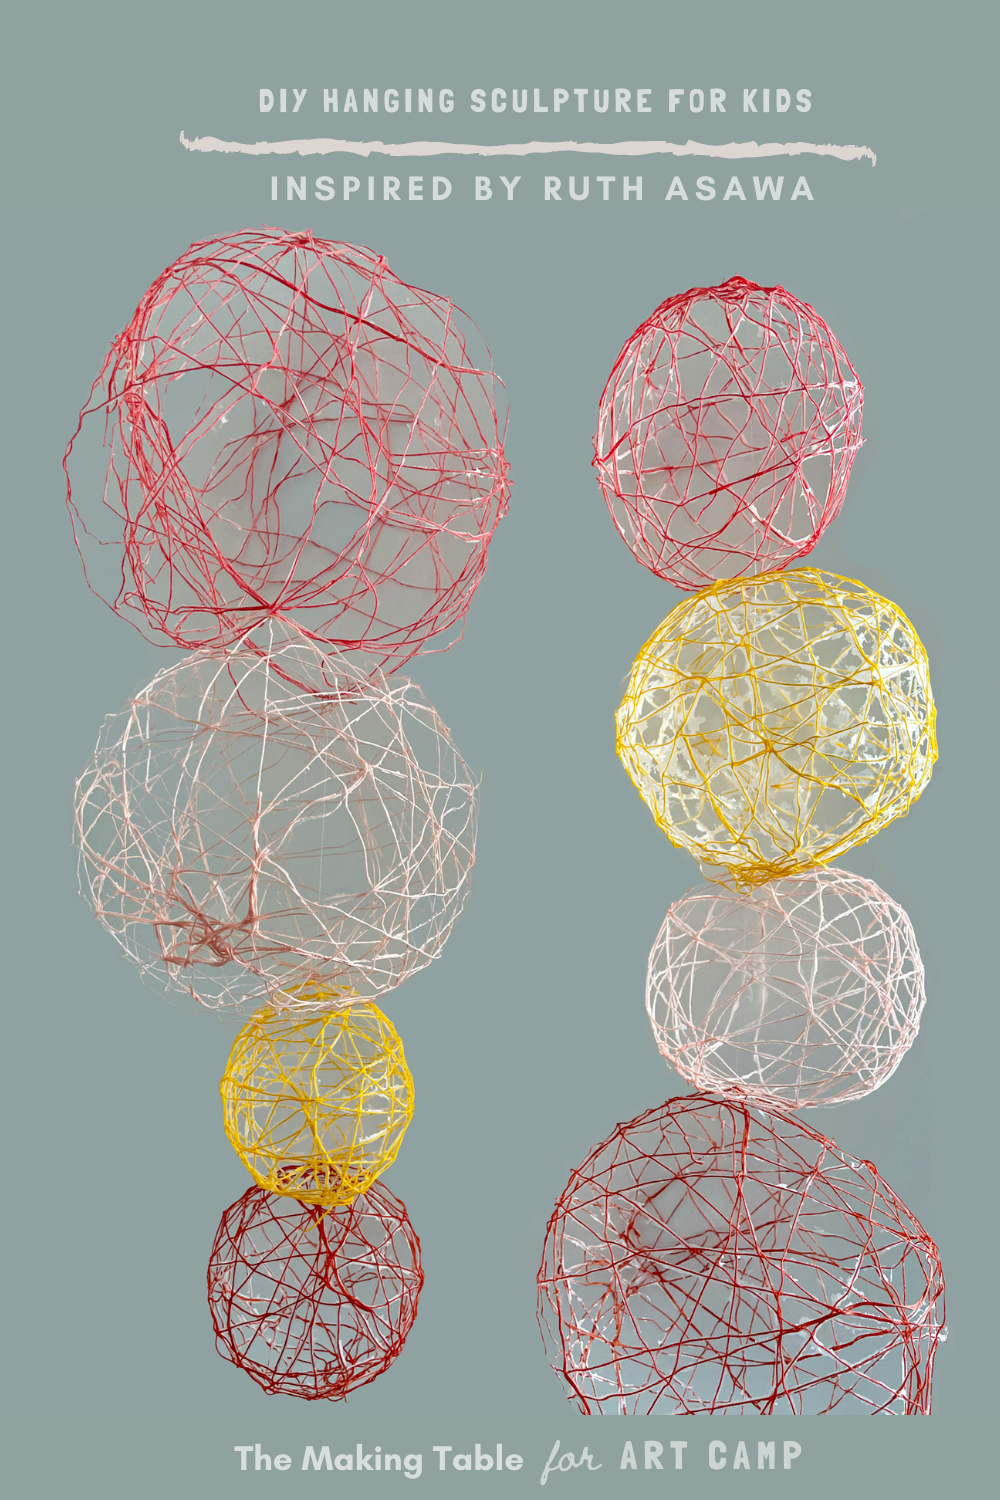
Ruth wove her childhood memories of nature into strands of wire to create her extraordinary hanging sculptures: one a galaxy of somersaulting orbs, another an ocean of languid, rolling waves, and another a family of spiky barrel cacti. For this project, we’ll be creating our own delicate, nature-inspired hanging sculptures in the spirit of Ruth Asawa!
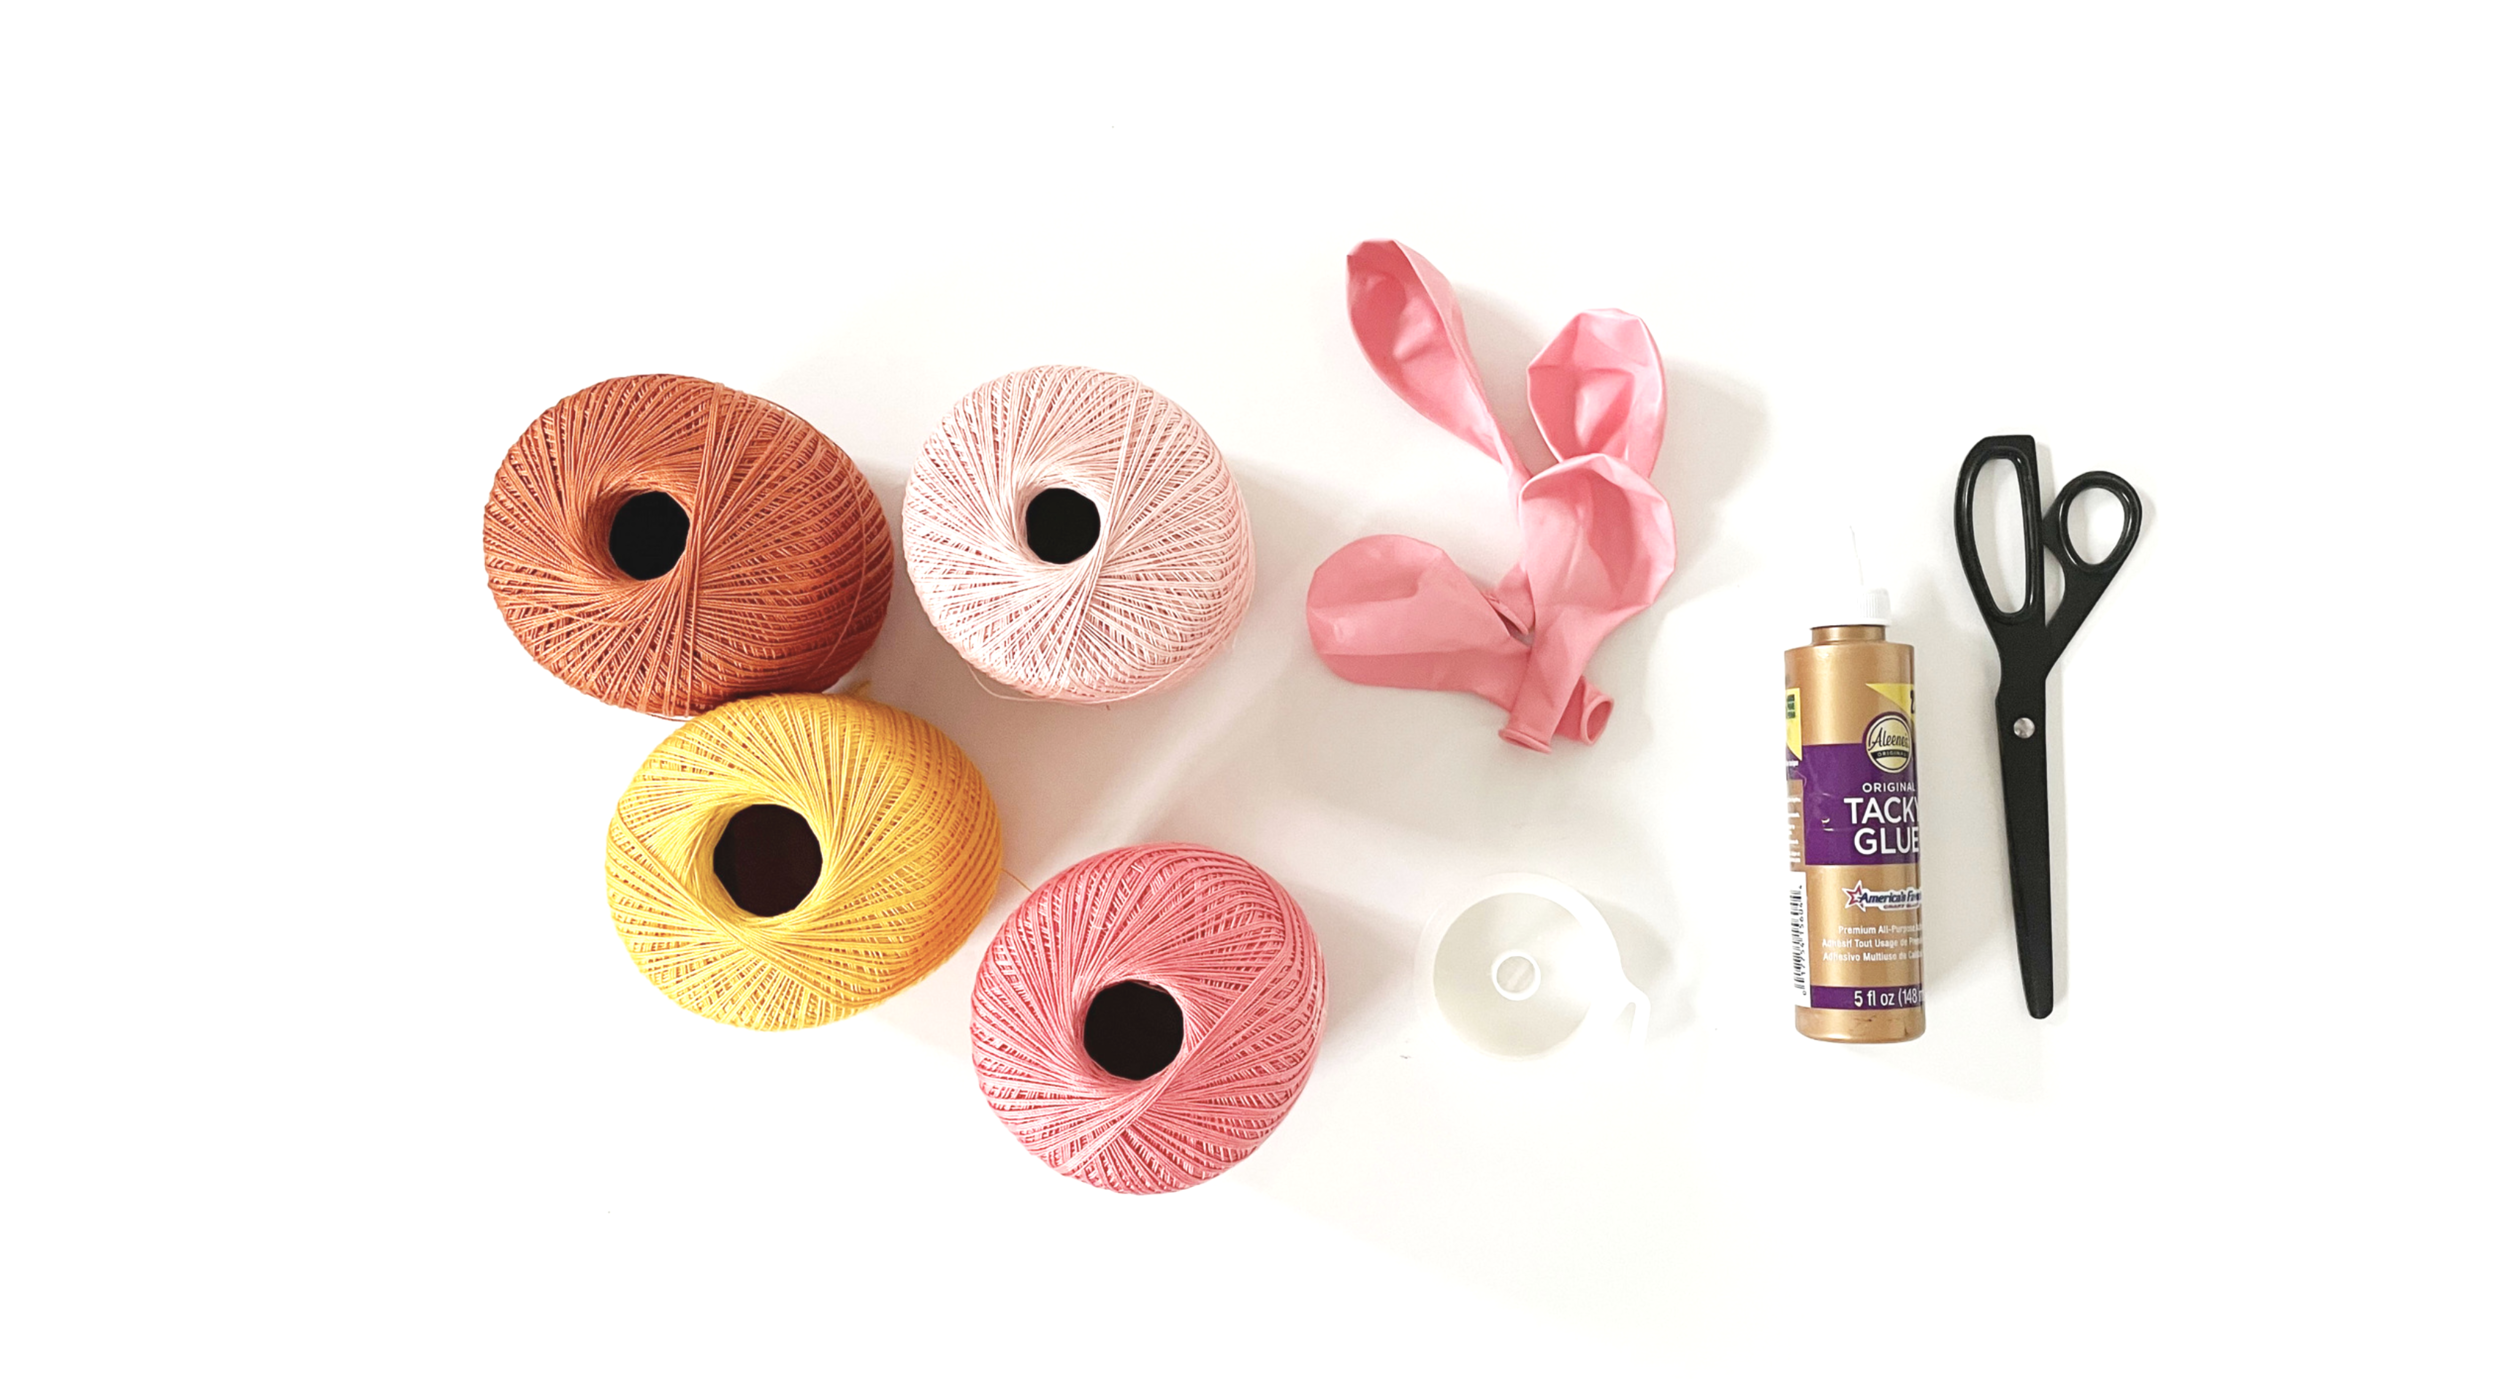
Materials:
Thin string or embroidery thread in various colors
** Please note that we participate in the Amazon Affiliate program. This means if you purchase any of the products linked here we will receive a tiny sales commission at no additional cost to you. We only link to products we use and love. Your support helps us keep this site running - thank you!
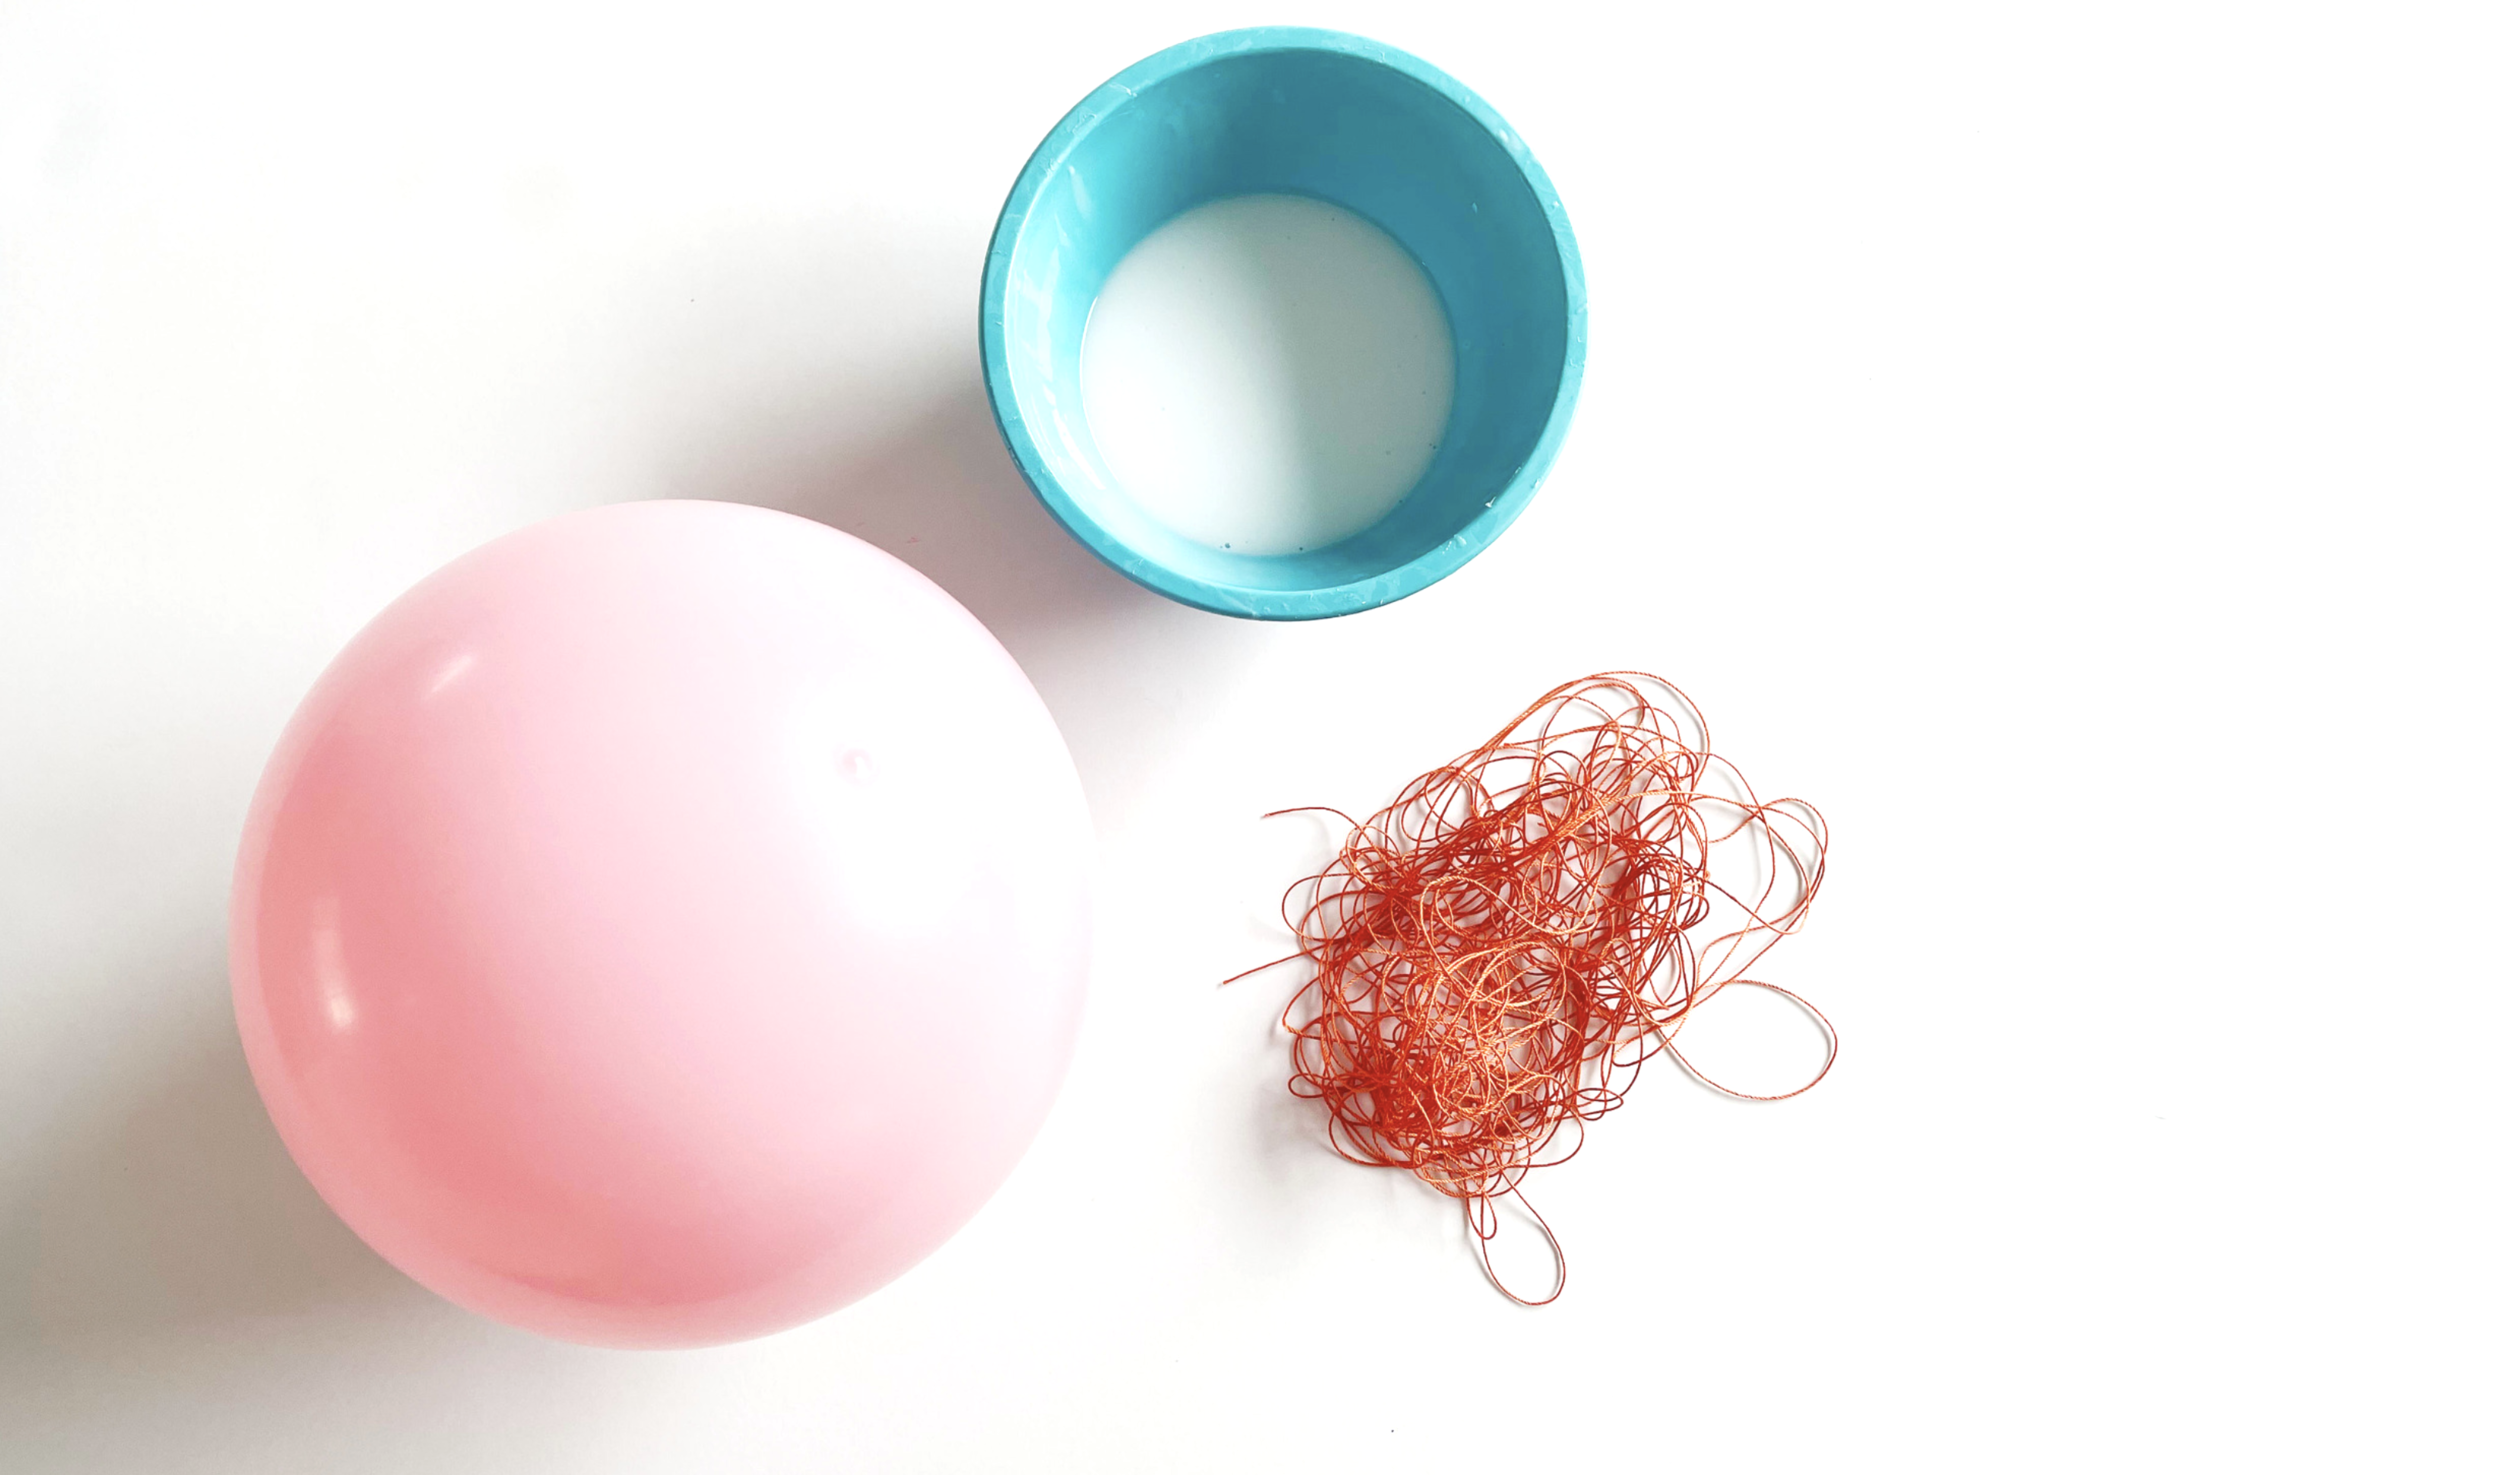
This project gets messy! It’s best to prep your art making area by laying down some newspaper or a big piece of cardboard to catch the glue drips. When everything is covered, pour your glue into a bowl and add some warm water to thin it out a bit. I use about a 1:2 ratio of water to glue to get a good consistency. Next, blow up your balloons into various sizes: a few small, a few medium, and a few large. Finally, cut several long strands of string before you start wrapping your balloon so that you don’t have to cut your string with gloopy hands.
To begin, dip one strand of string into your bowl of glue, making sure the entire strand gets coated (you can use your fingers or the prongs of a fork to squeeze out excess glue from the string). Wrap the sticky string around your balloon. Repeat with the remaining strands until your balloon is covered in a string latticework. Repeat this process with the remainder of your balloons and hang to dry for 24 hours.
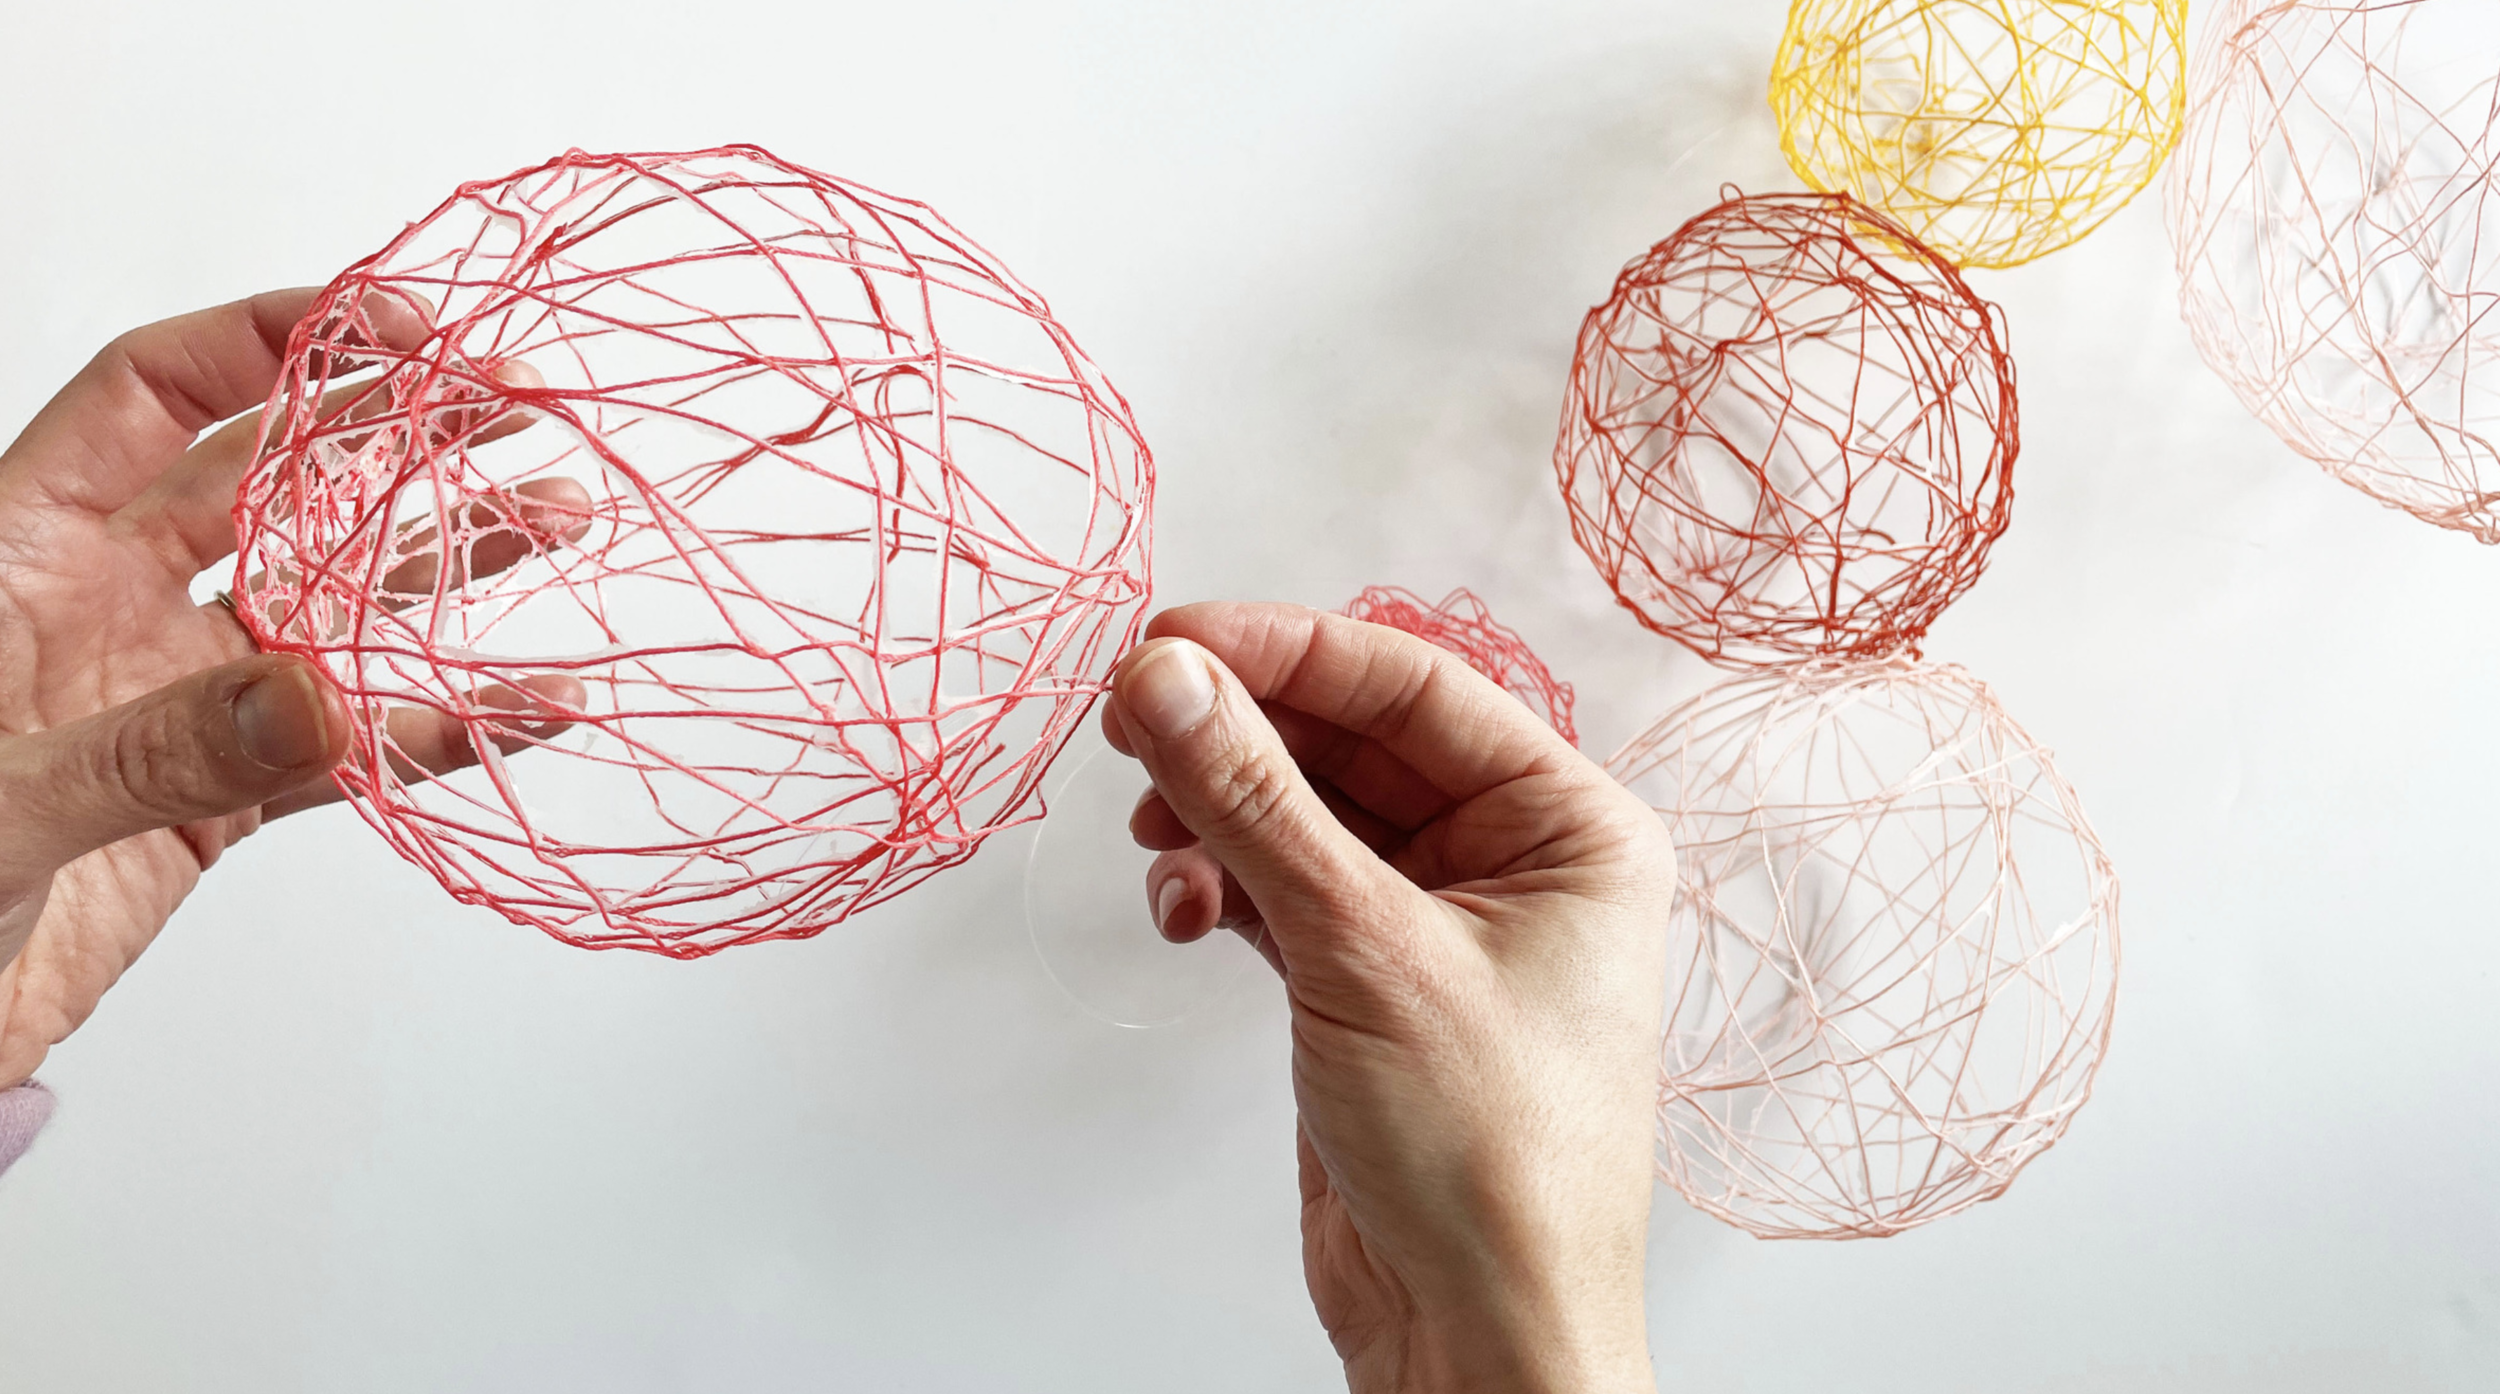
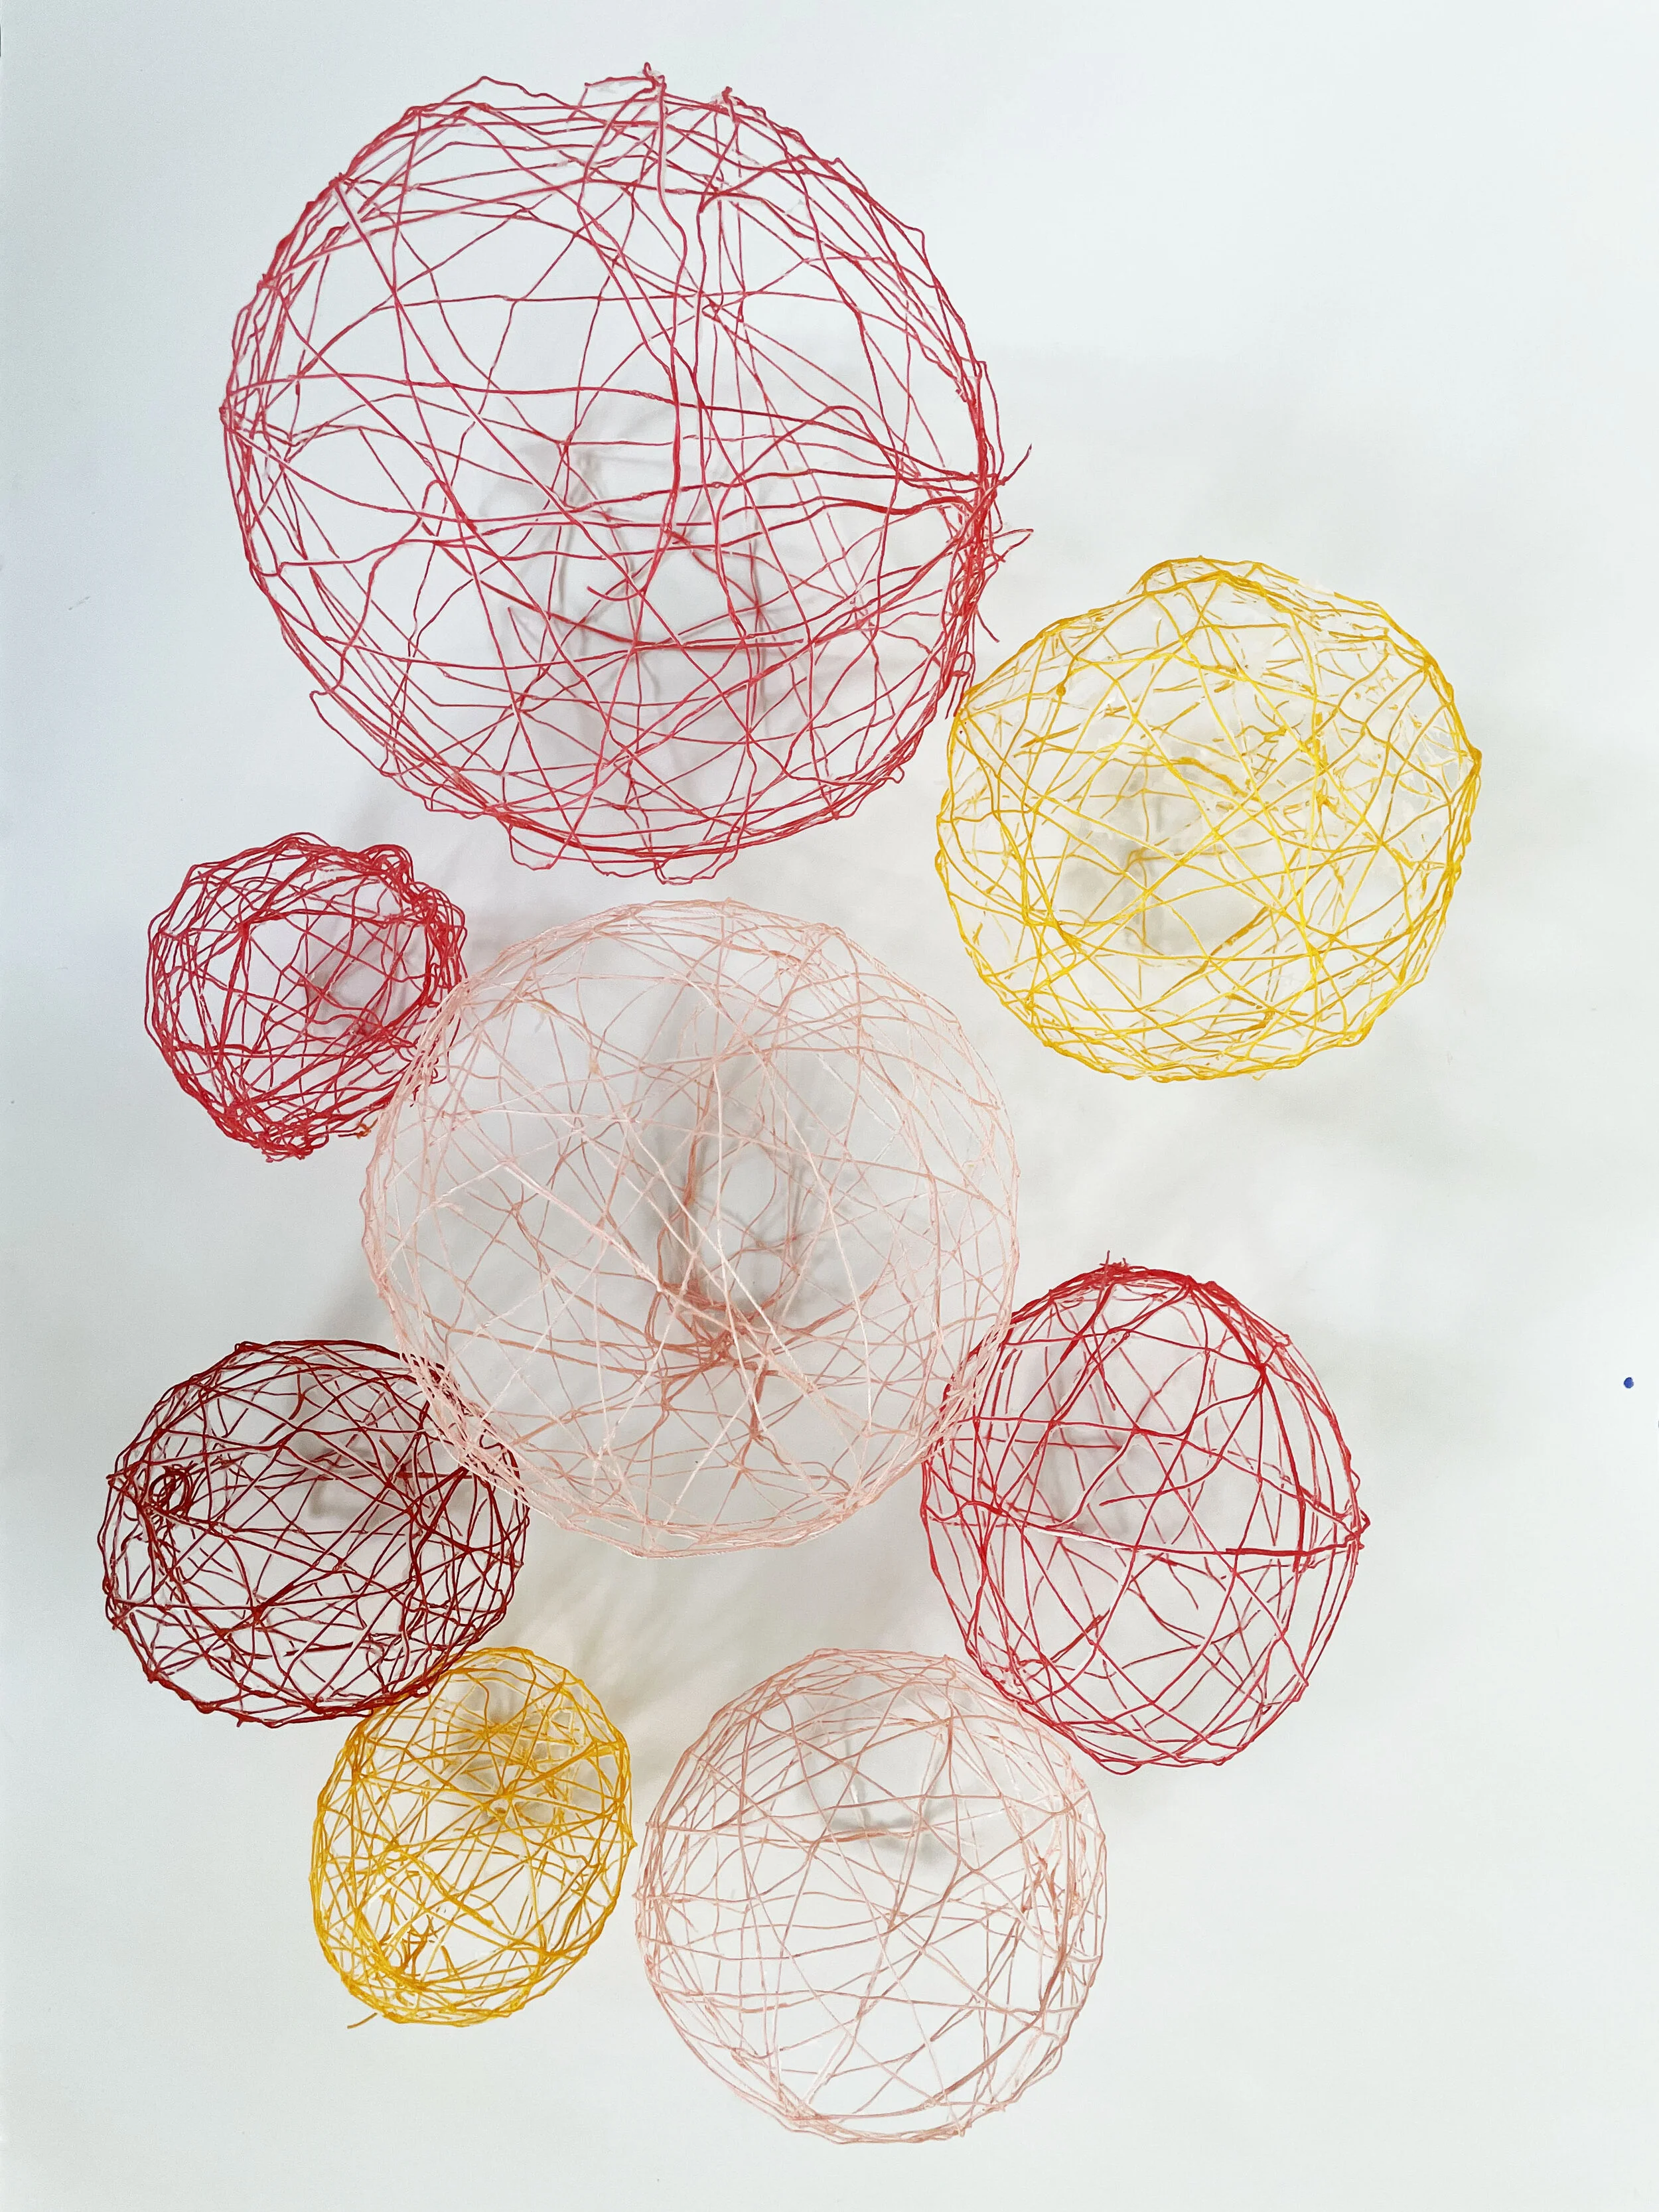
Once your string balls are dry, pop the balloons inside (my favorite part!). Pull the popped balloon through a hole in your latticework and discard. The delicate, lacy balls that remain remind me of tumbleweeds or a cluster of grapevines; these organic orbs are the building blocks for your hanging sculptures.
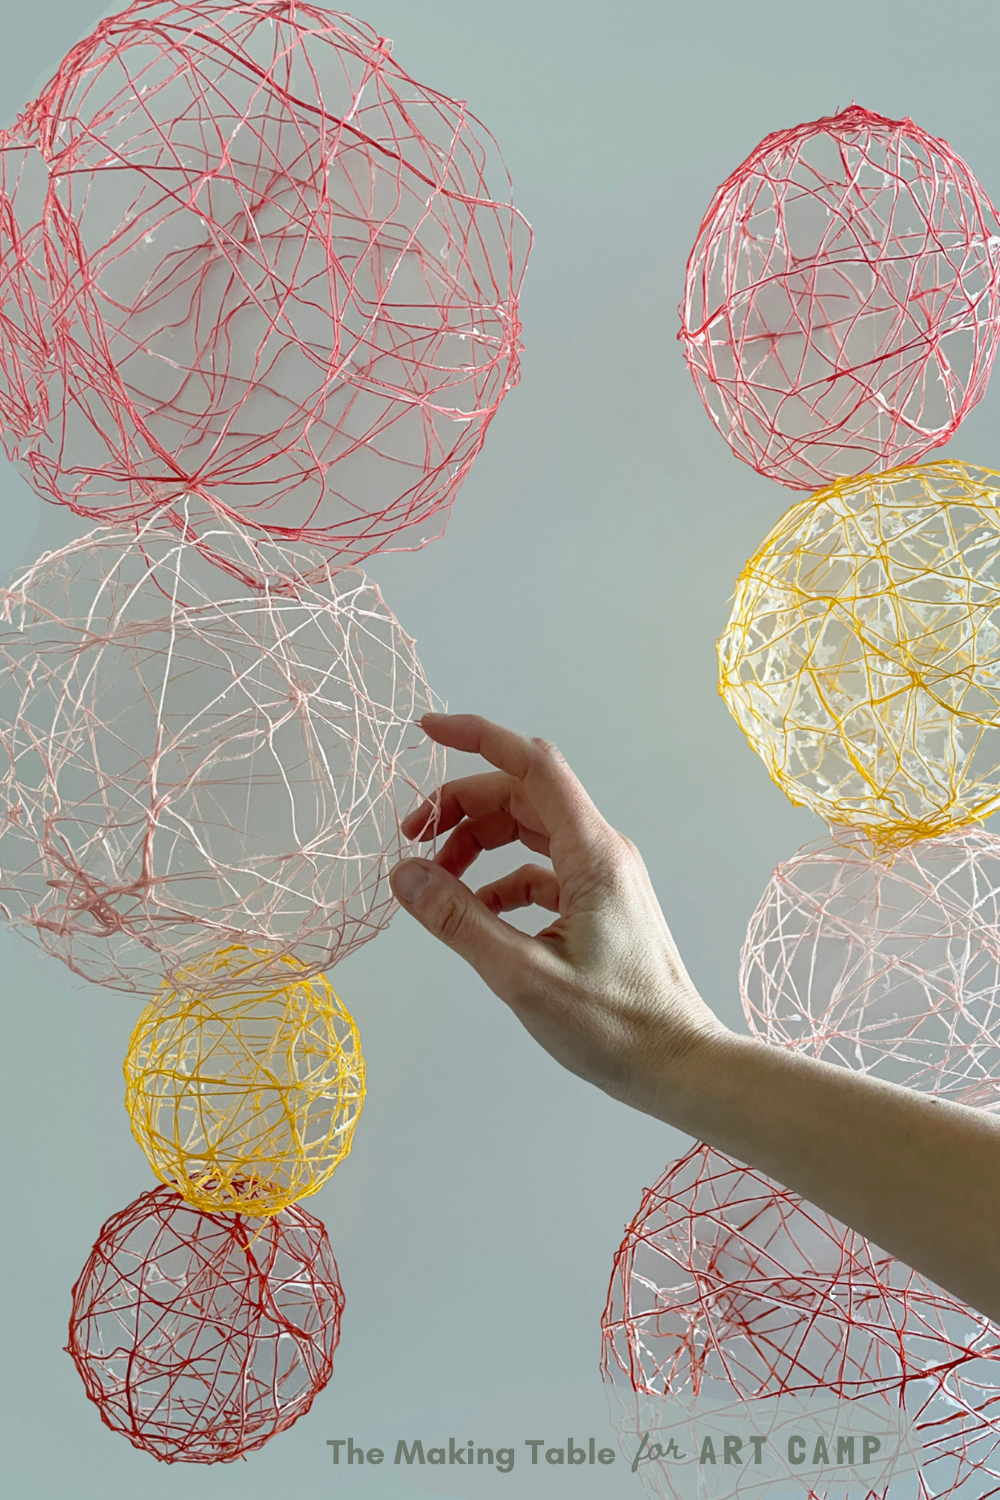
To create your sculpture, tie a piece of fishing line to the top of one string ball and then thread the fishing line vertically through several more string balls, using alternating colors and sizes for the coolest effect. Once your sculptures are assembled, hang them in a room with natural sunlight. The spindly shadows the sculptures create are almost as beautiful as the spheres themselves!
Krisanne is an art historian and museum educator who lives in small town Utah with her husband and three bright, inquisitive children. She loves going to art museums, collecting children’s picture books and talking with families about the world’s most remarkable artists. She shares her passion for art history and art education on Instagram at The Making Table.

