Father's Day Photo Collage
some memories never leave your bones. like salt in the sea; they become part of you. - and you carry them.
April Green, Paper Wings
This post has been 75% complete for the past 12 days. I was talking to a friend this morning about how many projects I have that are 75% complete. We were talking about that last 25% push that it takes to finish and all the obstacles that stand in the way. Sometimes the spark that was there at the beginning just wanes. Sometimes it's perfectionism. Sometimes we get tired. Sometimes the work just needs to breathe a little. Sometimes it's just life.
This time it was the life that is the final week of school before summer break. You know the one, chock full of school celebrations, party invitations, appointments, volunteer opportunities, AND 5th grade culmination. My first born is officially off to middle school. I'm not sure how it happened. It feels like her first day of kinder was a month ago but it happened and she is so clearly ready. I think I am too even though there is a lump in my throat, a tiny ache in my heart, and my eyes have been replaced by two hyperactive spritzing geysers. These milestones are markers of time and I don't always want to be reminded that time is moving faster than the speed of light.
It's not that I want to stop the passing of time, I am just looking for the pause button. My spidey senses have been telling me that it's buried somewhere in the California Desert. So I decided to pack up the husband, the girls, and 2 of the big girl's dearest friends and head to the desert in search of the pause. Time moves slower in the dry heat, drenched in pool water and bon fire smoke. It just does.
Speaking of the PA'S... Father's Day is 4 days away and we are sharing a simple, kid-made DIY that is sure to become one of dad's favorite keepsake treasures. You gotta make one... or 5!
Materials:
black and white photo(s) on printer paper
large craft sticks (aka oversized popsicle sticks)
chalk paint or acrylic or tempera paint
assorted collage papers
square sheets of watercolor paper (We used 8x8 and still had to trim them slightly to fit inside our frame.)
** Please note that we participate in the Amazon Affiliate program. This means if you purchase any of the products linked here we will receive a tiny sales commission at no additional cost to you. We only link to products we use and love. Your support helps us keep this site running - thank you!
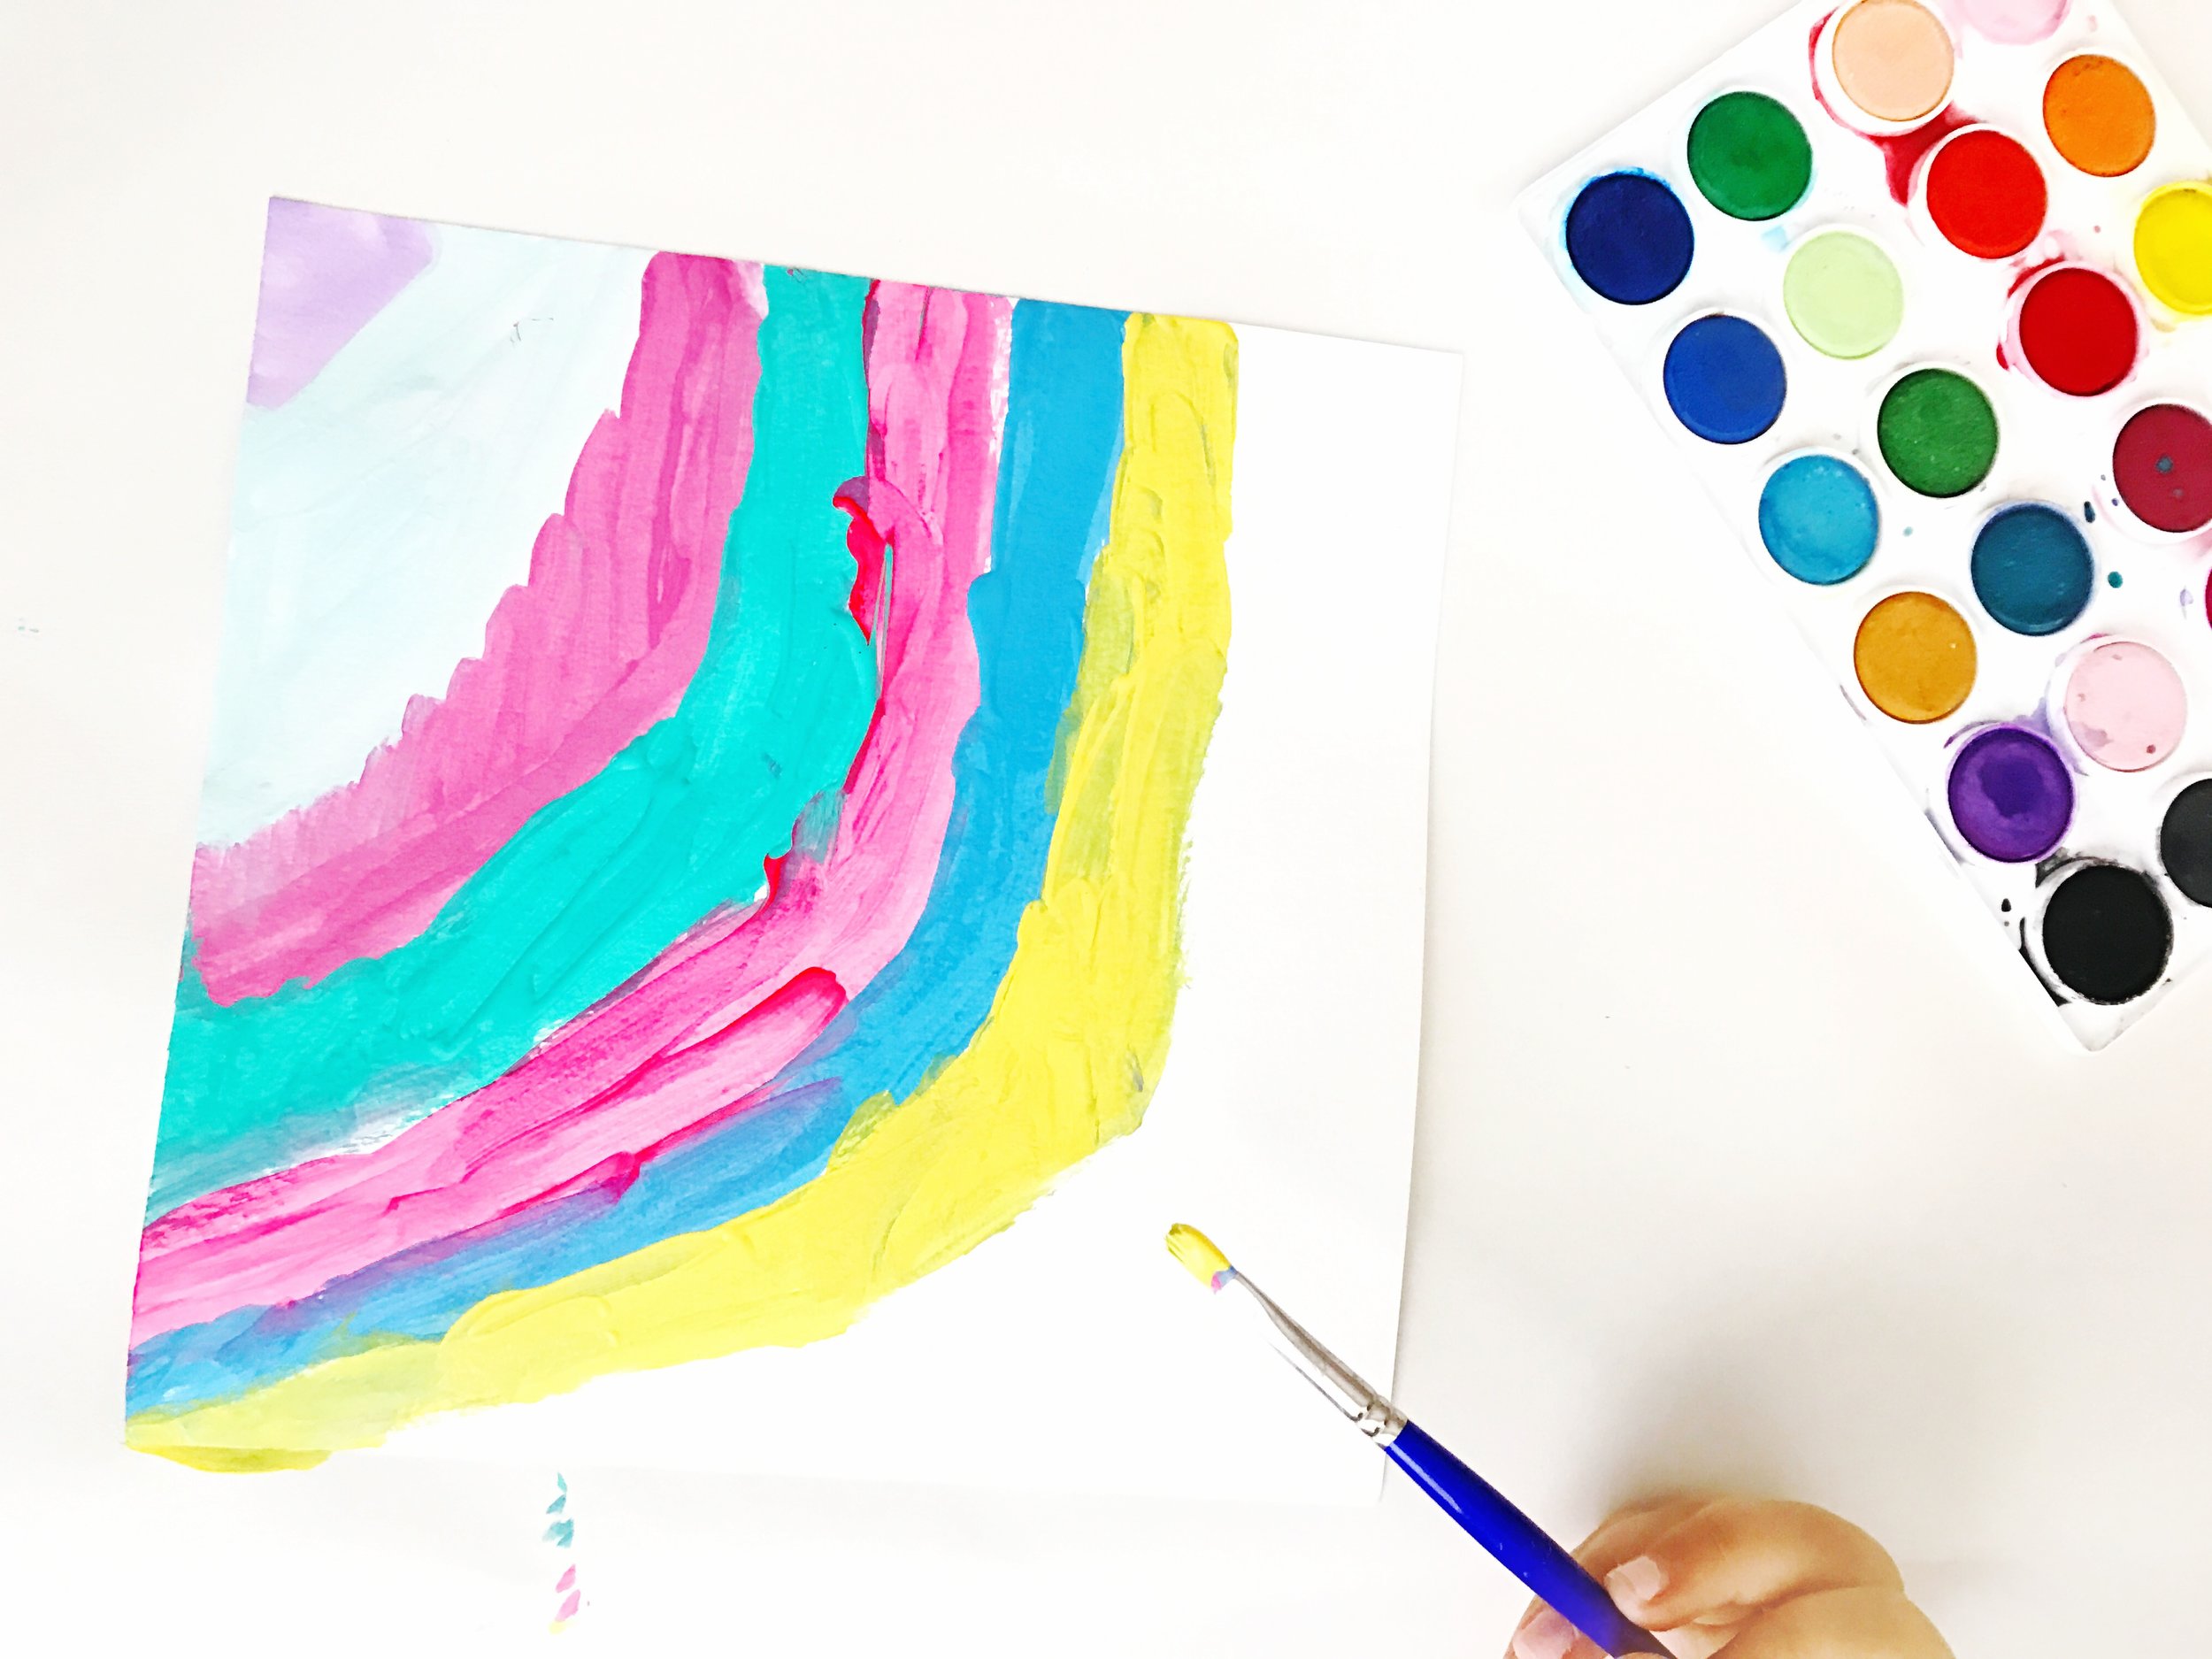
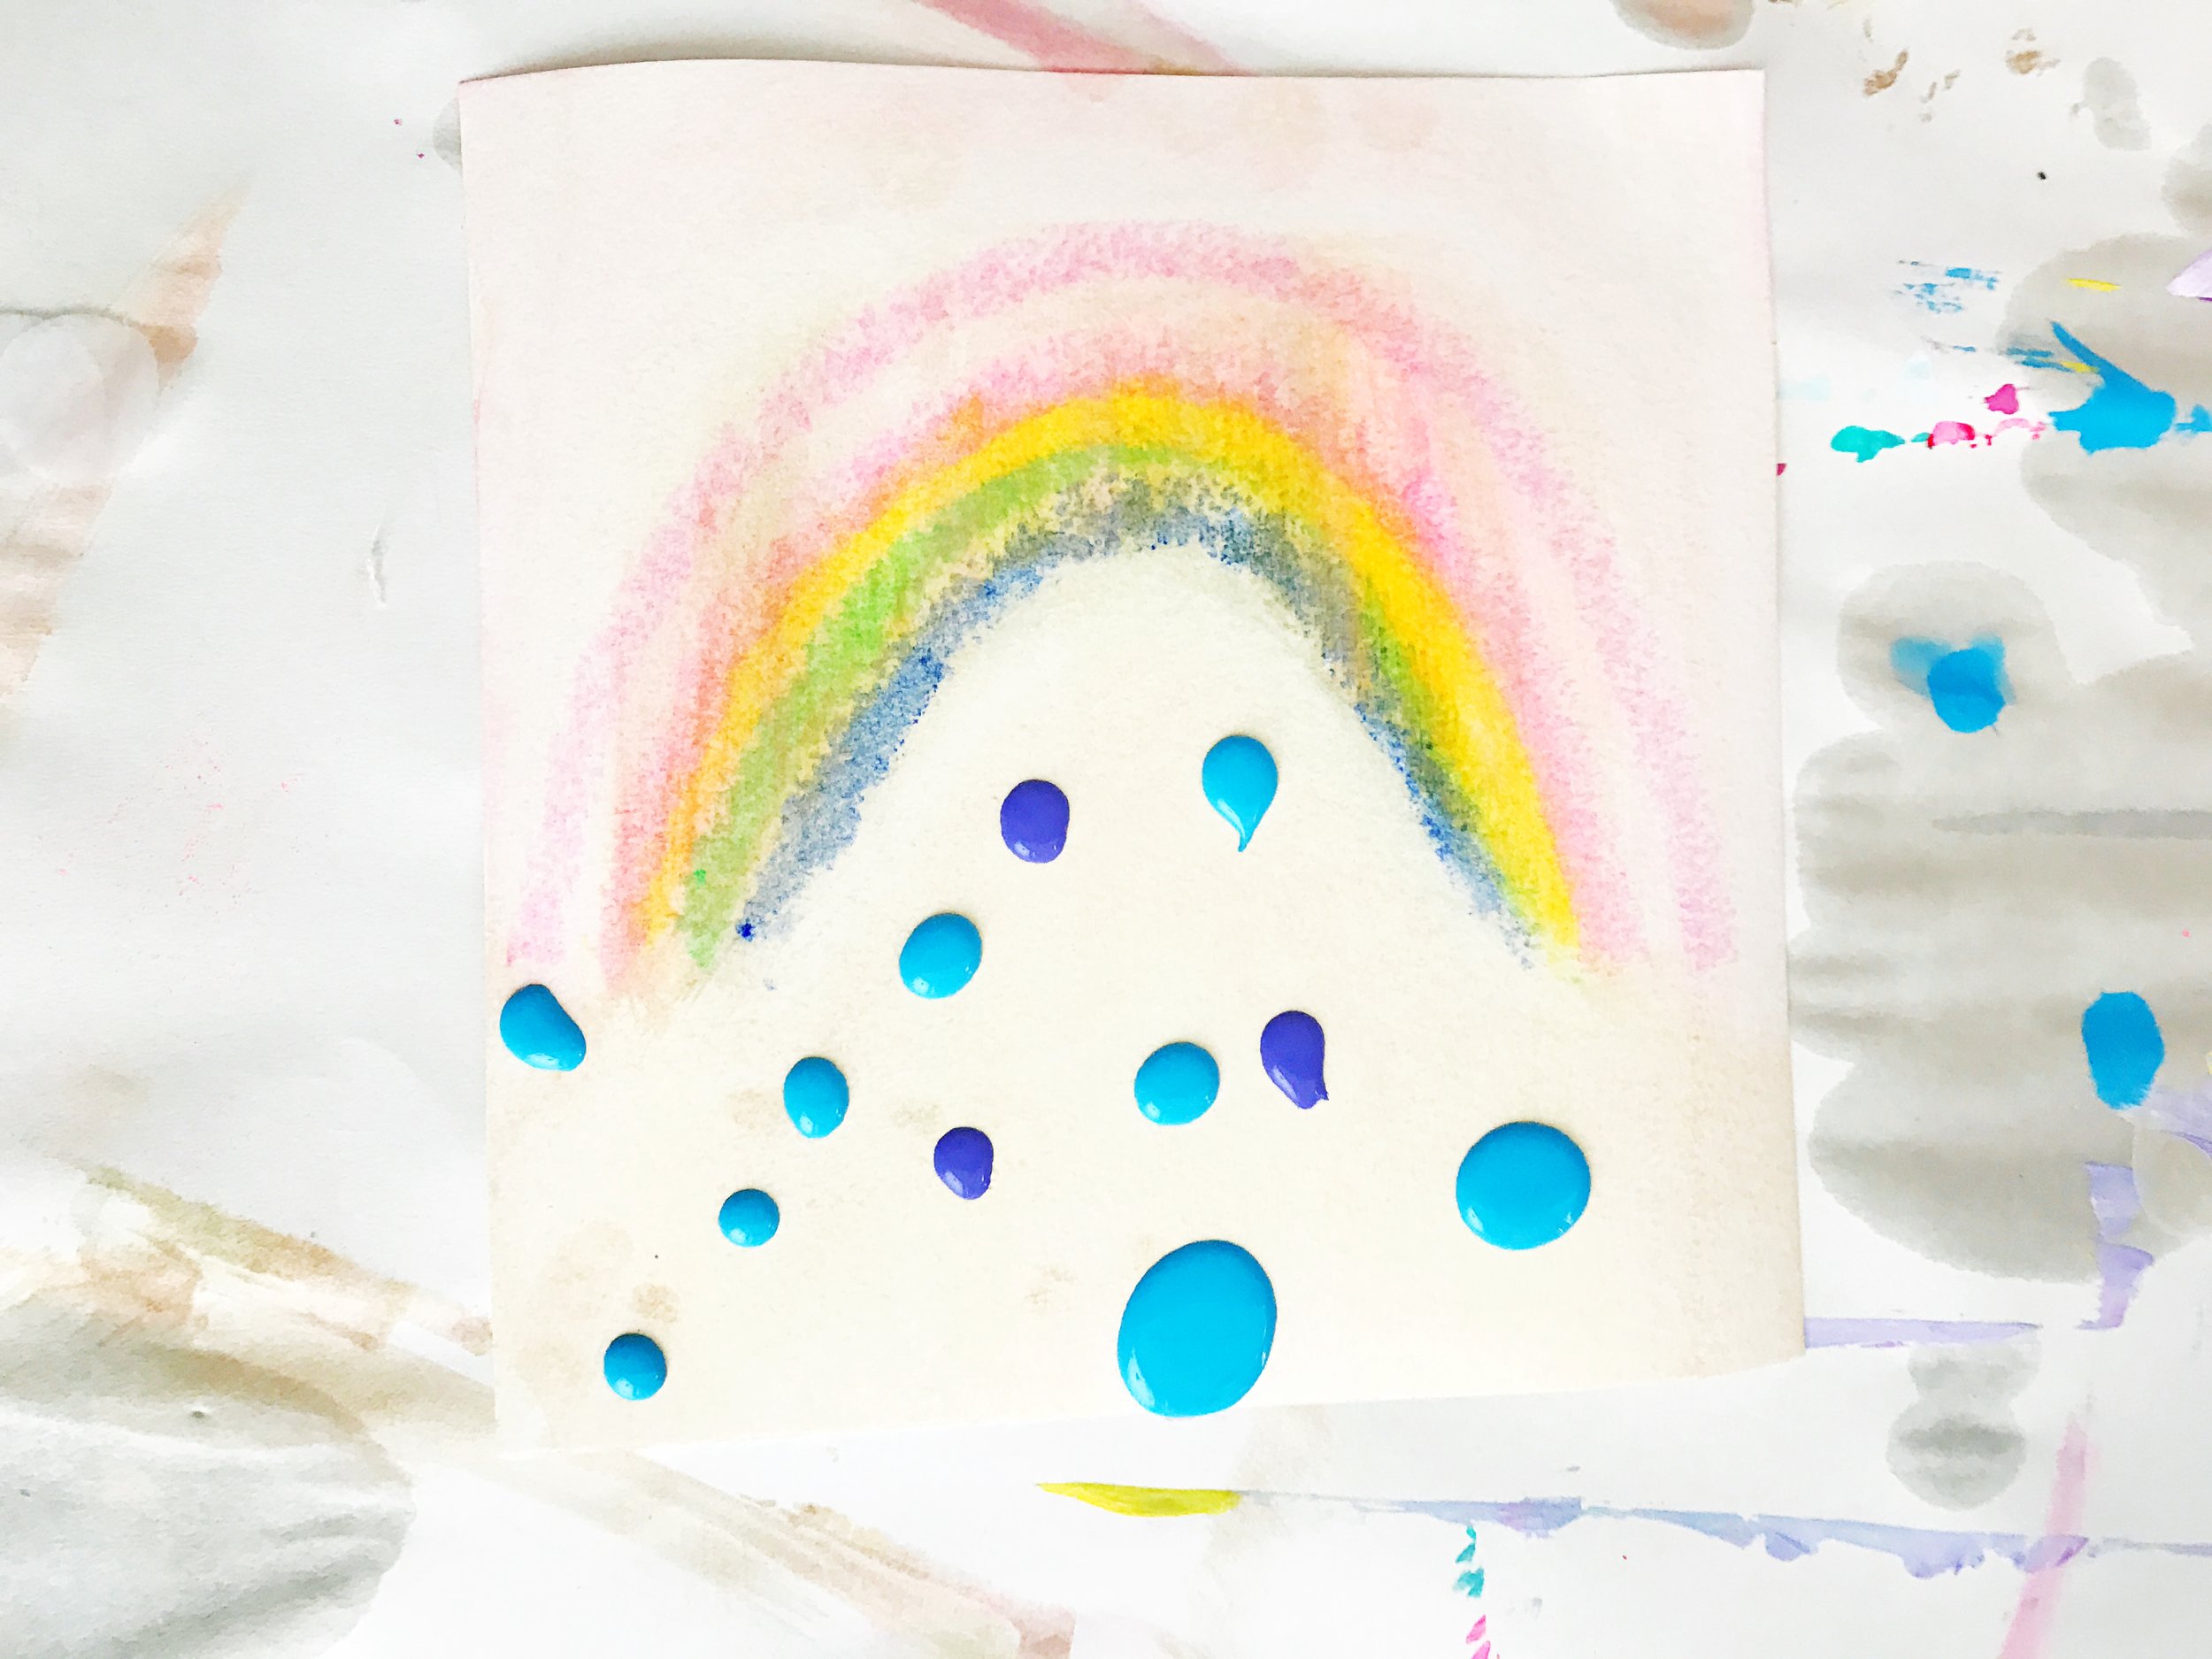
1. Cut a square 8" x 8" sheet of thick white paper and grab some paint, oil pastels, crayons, and other favorite materials. Stand back and watch the magic happen!
Here we have a little rainbow action taking place.
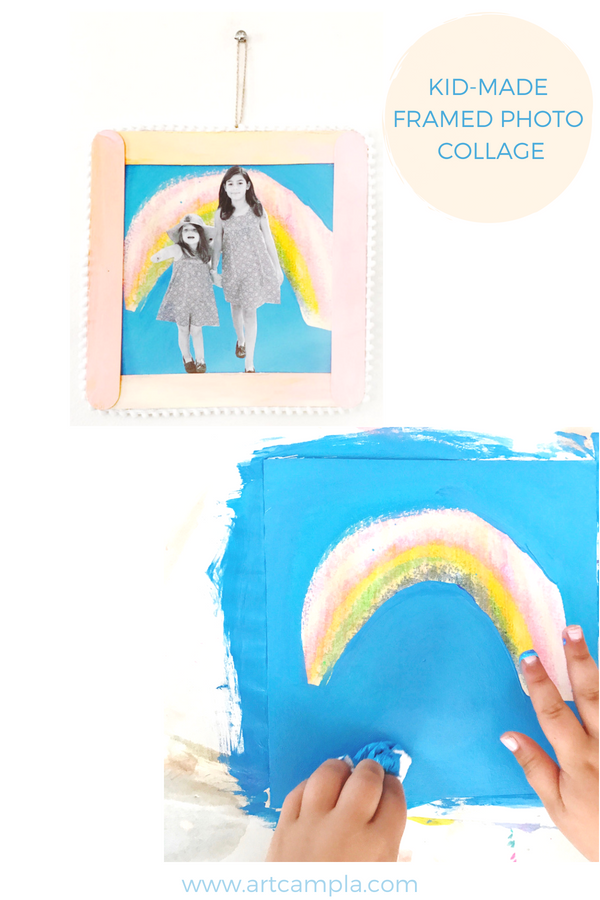
2. Once the mini masterpieces are dry you will add black and white memories on top. Pick some of dad's favorite photos and resize them in your print settings. Select the black and white option. Print. Cut. Paste. Elmer's school glue or Mod Podge is the perfect adhesive for adding the images on top of the paintings.
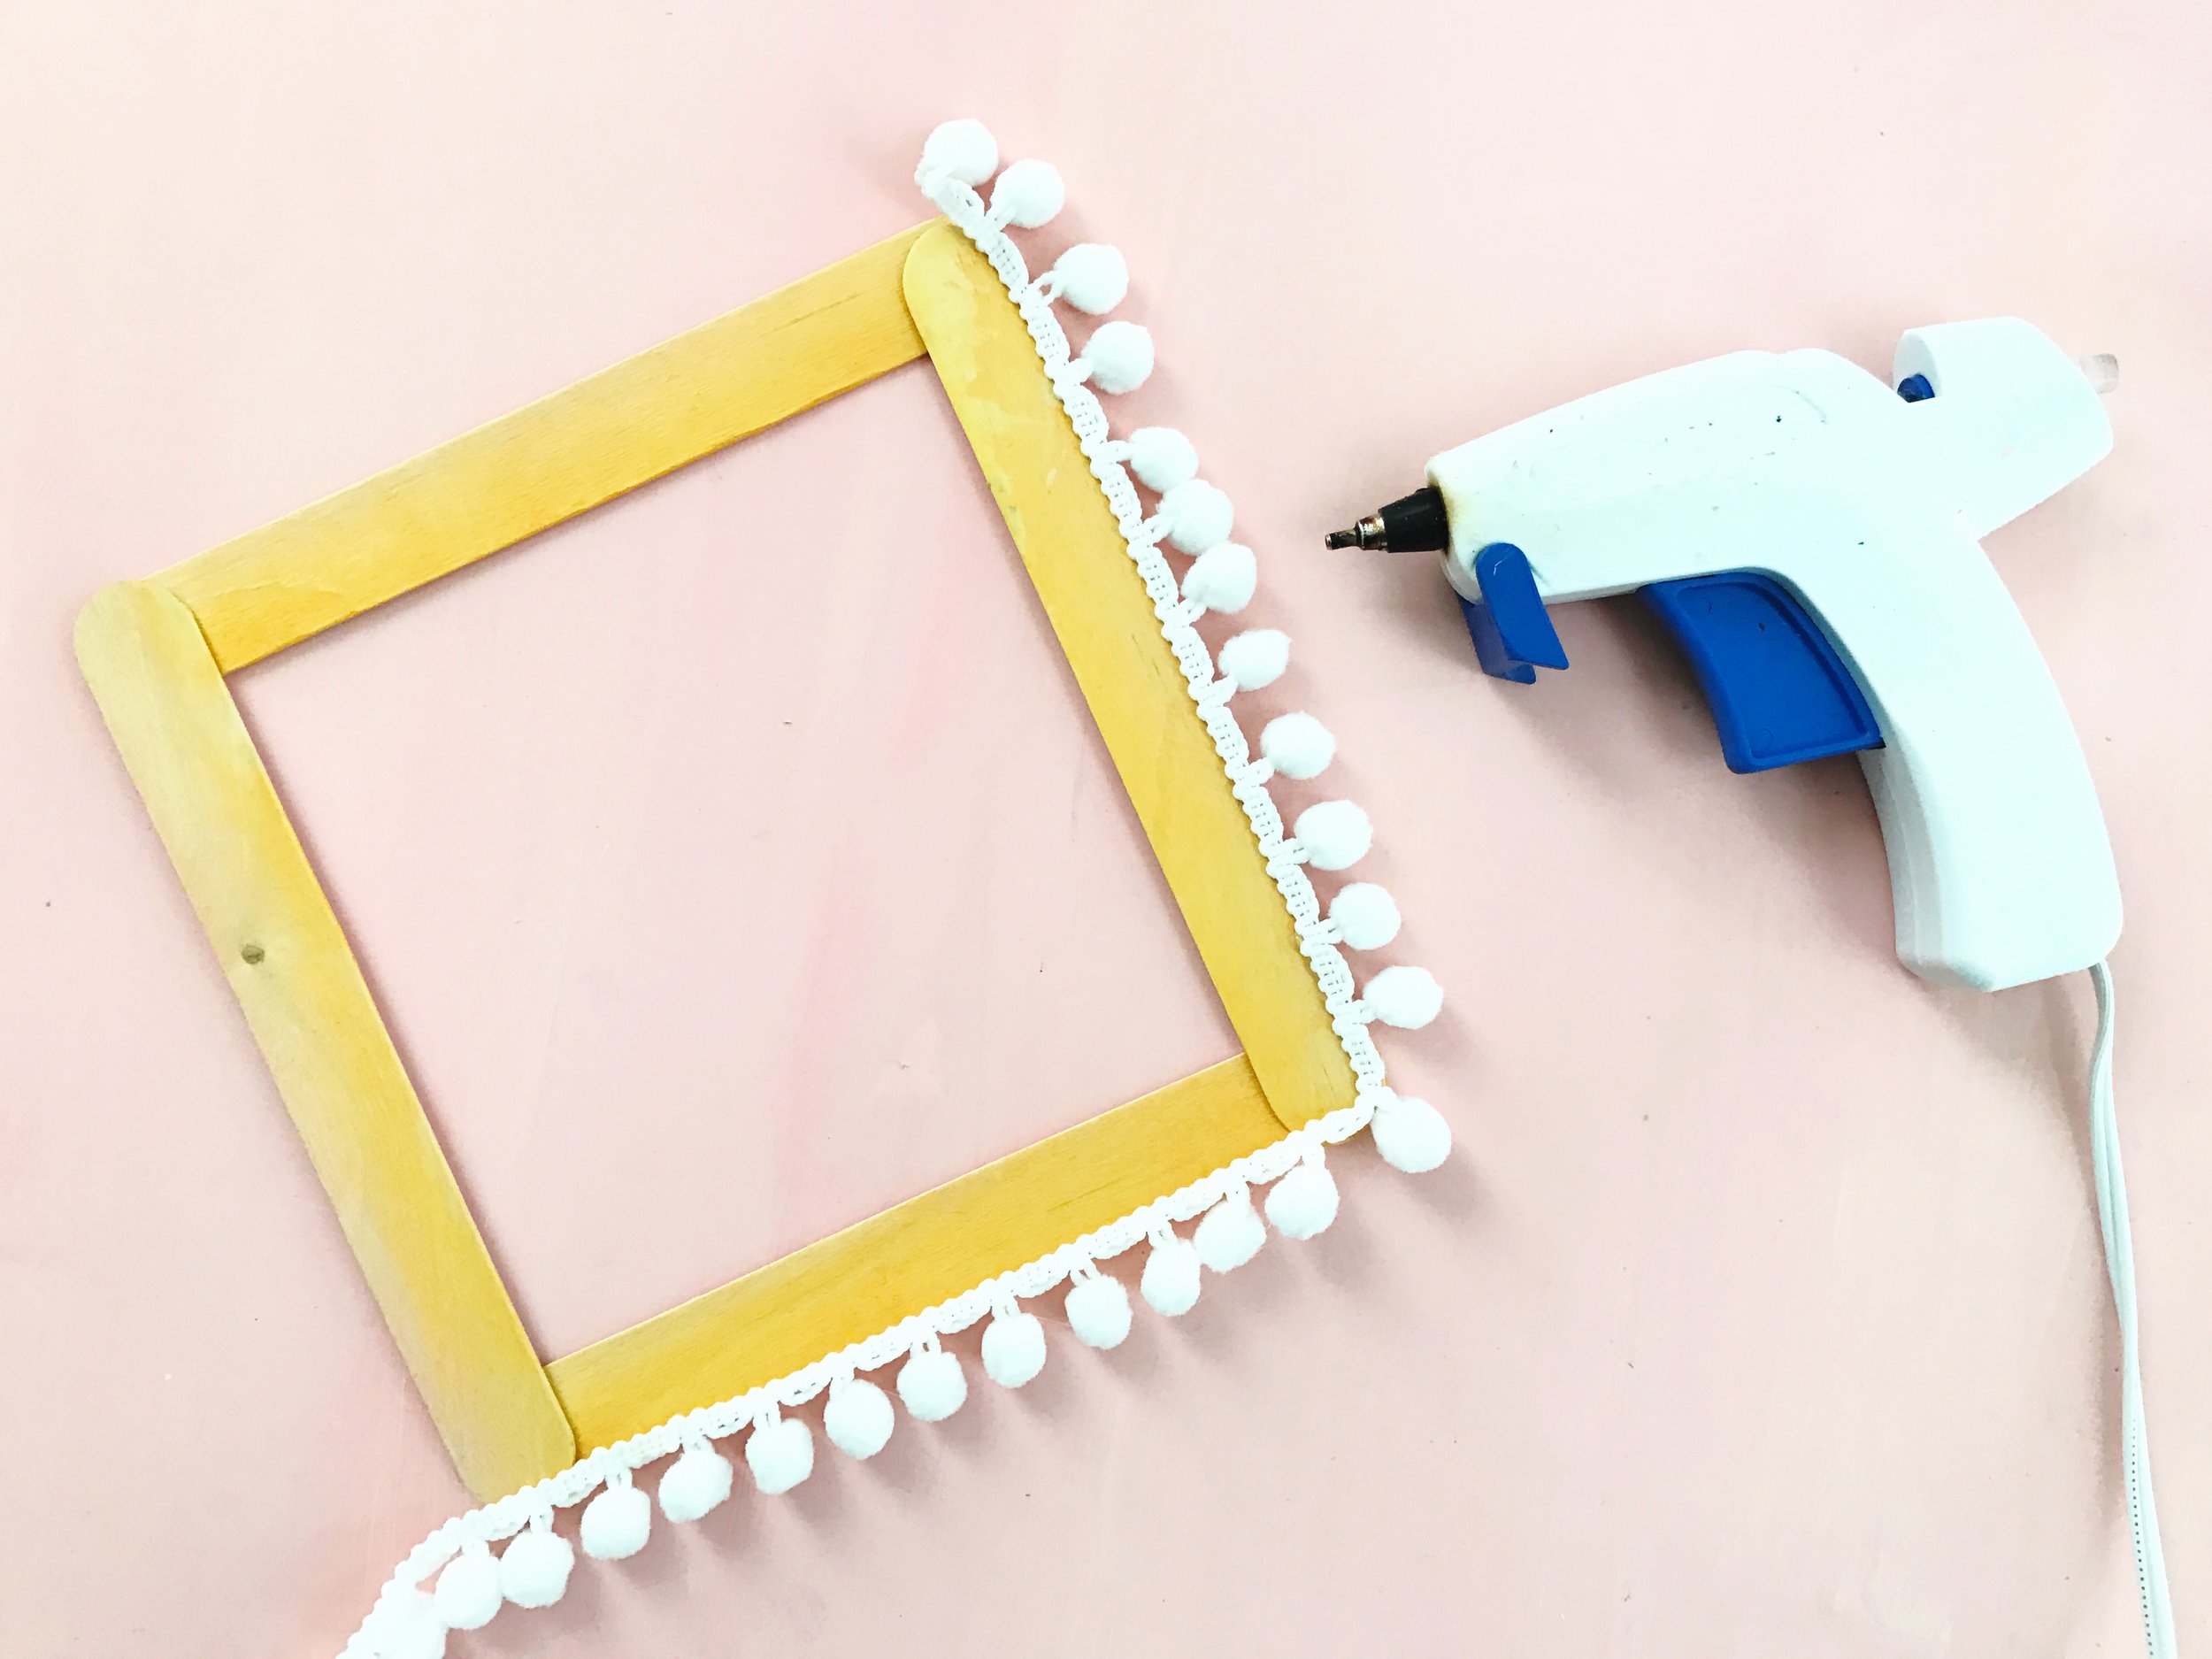
3. Time to make a frame. Grab 4 large craft sticks and glue the corners together. We used our hot glue gun for this step.
4. Decorate your frame! You could add some washi...
Or add a distressed paint job...
Or a little bright paint stick action!
Oh the possibilities:
What about some finishing touches? Who can resist the lure of the pom pom? Mini or...
BIG?
5. Add a hanging loop.
Guaranteed to make Dad smile:


