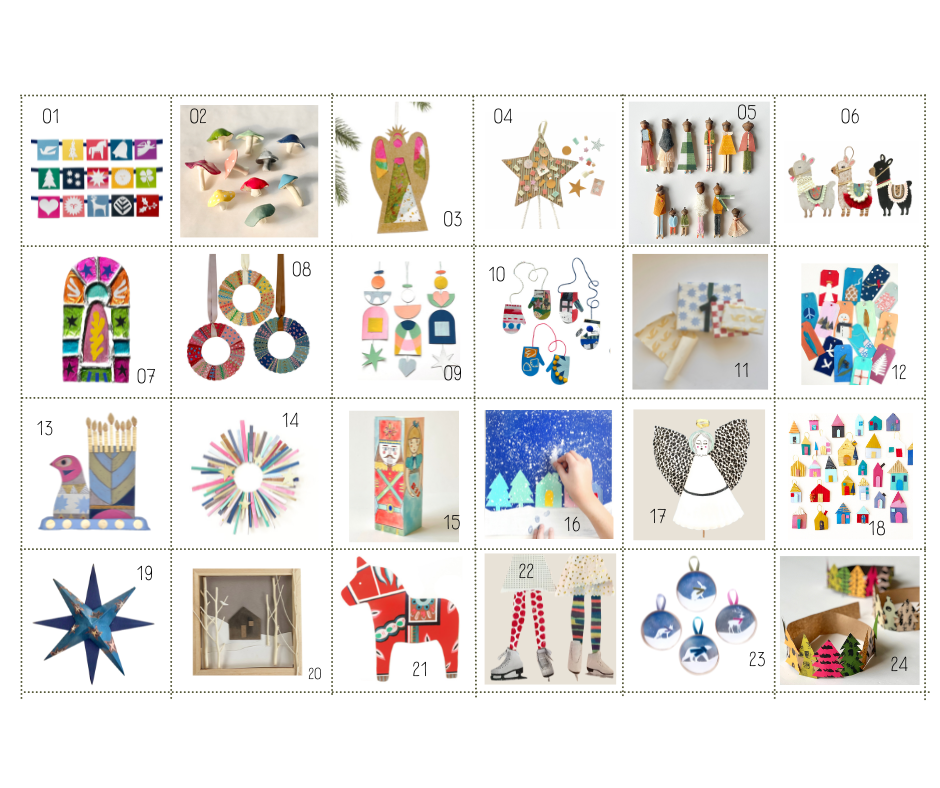
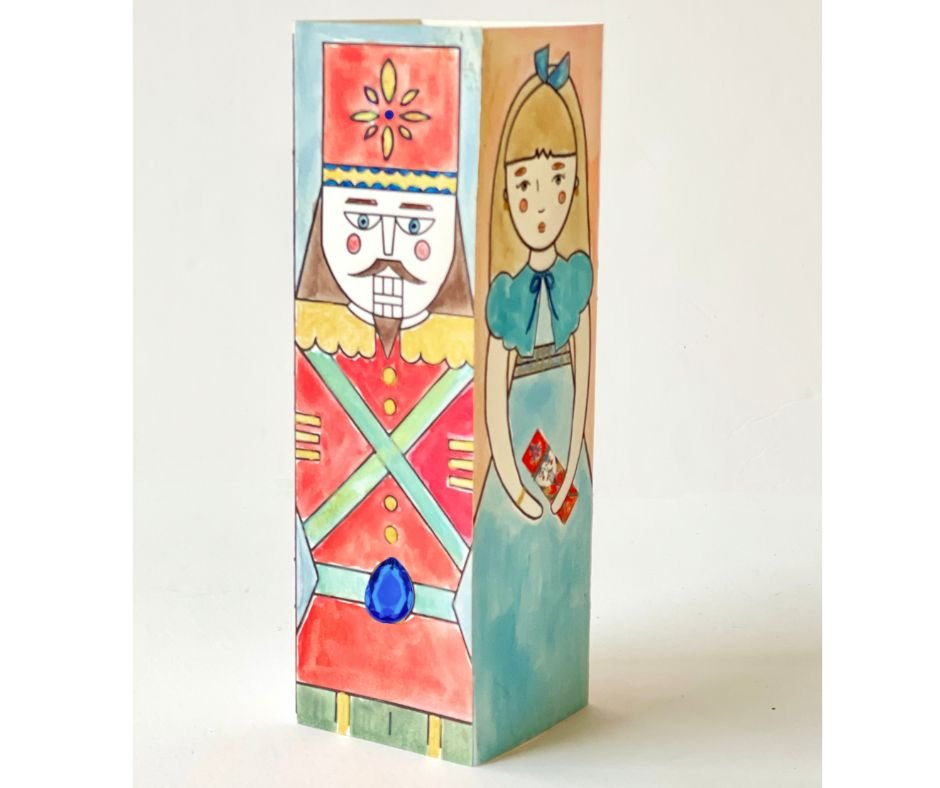
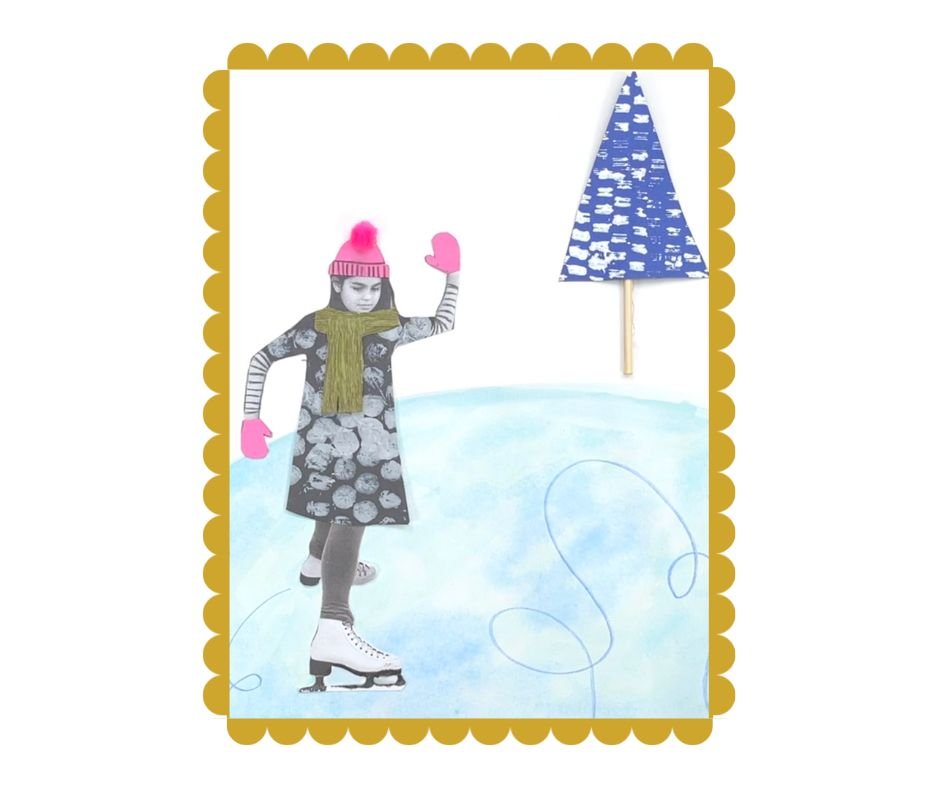
24 days of ART CAMP Holiday 2023
We are so happy that you are joining us for the annual ART CAMP Holiday Craft-a-long!
24 days of ART CAMP holiday master supply list:
you can shop the list here
65lb white cardstock
small square envelopes (3.5” x 3.5”)
colored card stock (brights)
scissors
tassels
tiny pom poms
yarn
watercolor palette
oil pastels
chalk crayons
paint pens
white chalk markers
tempera paint sticks
paintbrushes
felt
glue stick
low temp glue gun
white model magic or air dry clay
twine
hole punch
scissors
tassels
tiny pom poms
yarn
metallic pipe cleaners
6” x 6” wood canvas
recycled materials:
chipboard or cereal box
cardboard
corrugated cardboard
paper tube TP size
paper egg carton
shoe box lid
round cheese box lid
Natural elements
twigs or small bare branches
acorn caps
pine cones
** Please note that we participate in the Amazon Affiliate program. This means if you purchase any of the products linked here we will receive a tiny sales commission at no additional cost to you. We only link to products we use and love. Your support helps us keep this site running - thank you!
1. Cut Paper Collage Advent Calendar inspired by Alexander Girard
Infinite are man’s expressions of beauty and love; open your eyes your ears and your heart to them and you will unite the peoples of the world.
- Alexander Girard
Today we are starting at the jumping-off point of ART CAMP. The very first post I ever created for this blog was a little envelope advent calendar I made with my (then 10 year old) daughter Riley. You can find the full post here which also includes a sweet little slide show.
Ri is one of the wisest, most loving and creative people I know. The 10 year old who sat across from me in the coffee shop dreaming up our first blog post is now a 15 year old creative dynamo who writes, composes, designs, bakes, shoots, decorates, and throws pottery. It is such a joy to watch her explore all the things and grow in all of the ways.
A few months ago Ri was doing some research for her graphic design class and she discovered the branding work that Alexander Girard created for the La Fonda restaurant circa 1960. Here is the exact text she sent me: “Alexander Girard is perfection. I want to live in his world.” Cut to me texting her a few weeks later: “Hey, do you want to make a Girard-inspired advent calendar together? Like our original little envelope advent but an aesthetic homage to AG’s use of color and shape?”. Thankfully she took the pitch.
Grab the full project tutorial and shape templates below
Alexander Girard 1907-1993
Alexander Girard was a mid-century designer best known for his bright color palette and brilliant use of geometric shapes. Girard had a robust and diverse career that was rooted in architecture and interior design. He traveled extensively and amassed a large collection of folk art. The “toys” he collected around the globe inspired him endlessly and influenced his design aesthetic. His work with Herman Miller, Ray and Charles Eames, and the La Fonda Restaurant garnered him international acclaim.
His branding for the La Fonda Restaurant was his magnum opus. He designed the interior, graphics, place settings, and staff uniforms. In the mid-1960s he took on another branding project for International Airways, designing no less than 17, 543 different items—from logo to lounge furniture.
Alexander Girard died in 1993 at the age of 86. His family donated The Girard Archive to the Vitra Design Museum.
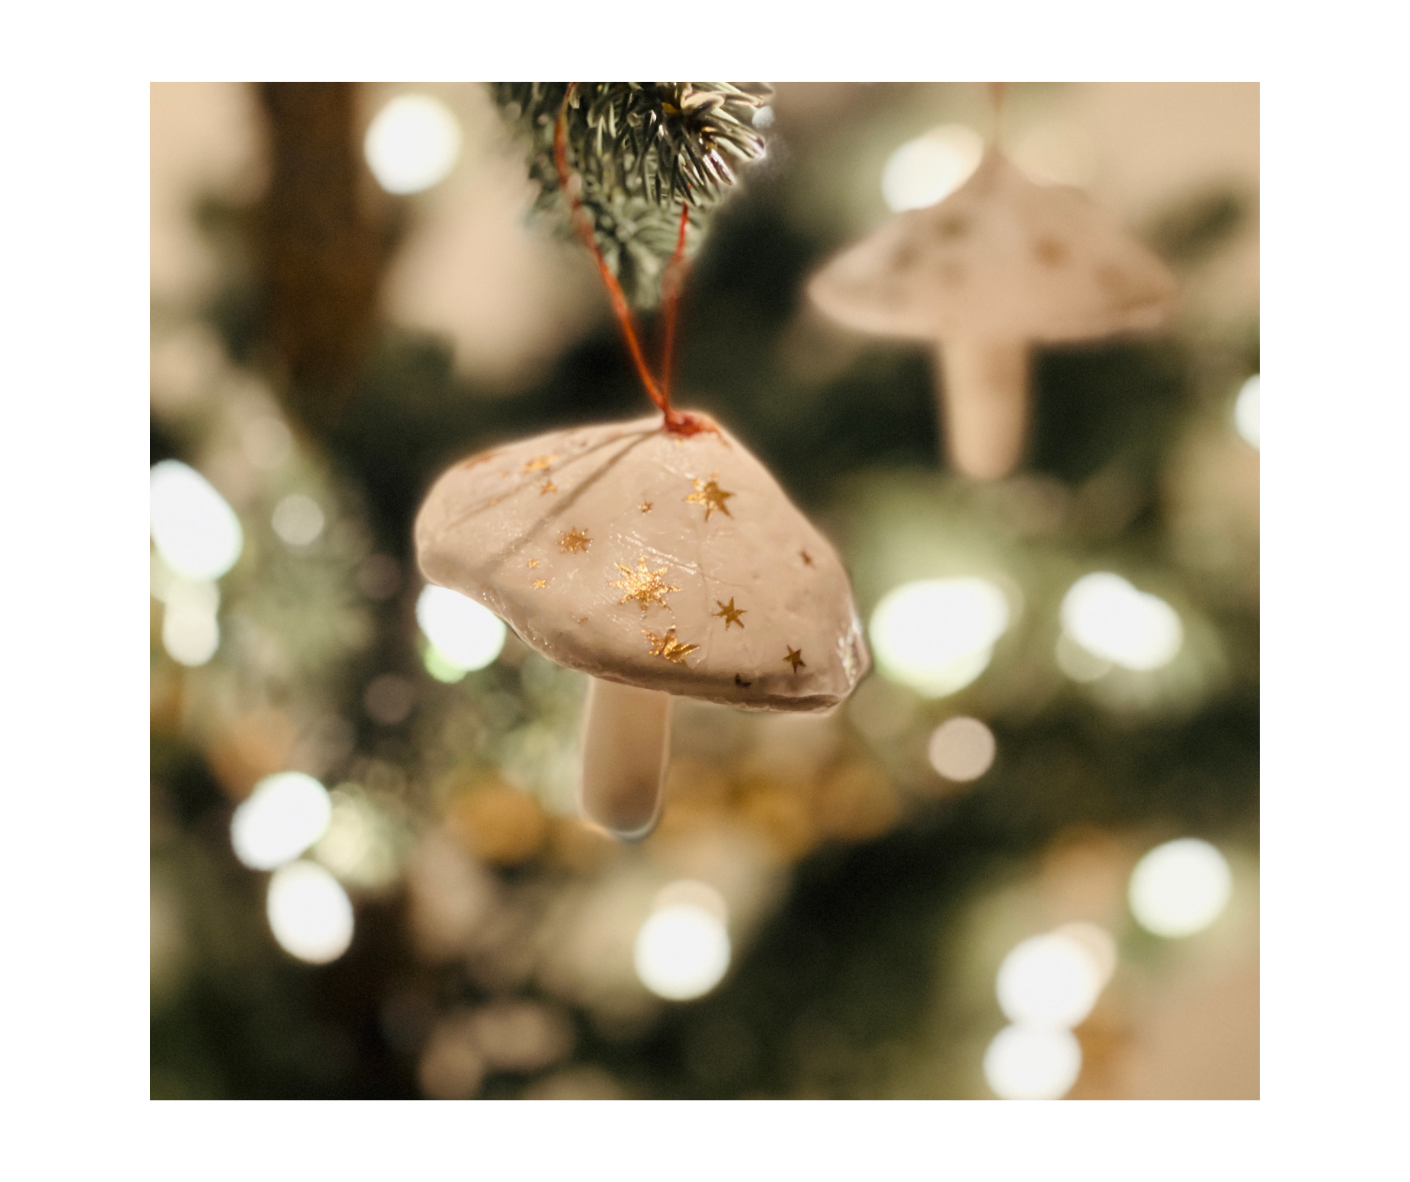
2. Kid-Made Magical Mushroom Ornaments!
the simple things are also the most extraordinary things and only the wise can see them.
- Paulo Coelho
Today’s post is a holiday craft that little artists can create with very little instruction or assistance. The material list is short, the fun-factor is high and the results are so sweet.
If you haven’t used model magic yet you are in for a treat. We lovingly refer to it as “marshmallow clay” in our house because it is soft, fluffy, and light like a marshmallow and oh-so-fun to work with. It comes in lots of colors but we usually just stick with white because it is really fun to add your own color with paint (or markers!!)
{do you want to see a full list of our must-have-favorite supplies? check out this post}
For this project the girls sculpted and painted their mushrooms in a single session — which is the other great thing about model magic — you don’t have to wait for it to cure before you add color!
Materials:
white Crayola model magic
acrylic paint and/or delicate gold star tissue paper
paint brush
mod podge (we used glossy)
waxed cord and/or skinny wire for hanging
*we participate in the Amazon Associate program which means if you purchase a supply using one of our links we earn a teeny tiny % of the sale at no additional cost to you. We only link to products we use and love.
Don’t the white ones look like ceramic mushrooms with gold leaf stars? such a simple process.. looks so fancy!
Have fun! If you end up making any of the projects in this series we would love to see them. If you are on Instagram tag us @ARTCAMPLA and we will share them to our stories!
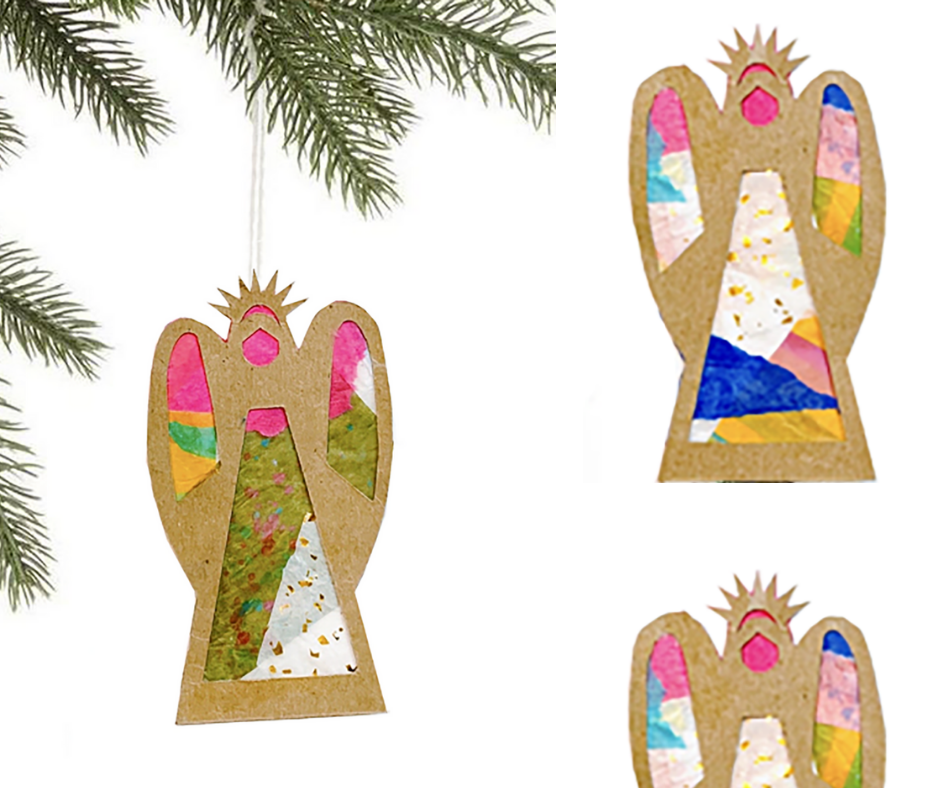
3. Stained Glass Angel LUMINARIES
how wonderful it must be to speak the language of the angels, with no words for hate and a million words for love.
-eileen elias freeman
If I was going to connect Day Three’s project to a word it would be community. Our little stained glass angel project has circled the globe and spread so much love and cheer.
December is the busiest month of the year in the ART CAMP Studio - we turn into little art box and holiday party box packing elves. The days and nights often blur into one so hearing from you in the form of little love notes in our inbox and photo tags means so much. You have no idea how far a little kindness can go! You, your families, your students.. YOU are the wind beneath our (stained glass angel) wings and the why we do what we do. Thank you❤️
want to make some stained glass angels of your own? you can purchase the full project PDF and templates here:
we have gotten so many questions about this glowing angel image. You can make your Stained Glass Angels glow by placing a little no-flame LED tea light behind them. Or you can add your stained glass angel to a little white luminary bag!
friendly reminder: we created a shopable list for this 24 days of holiday series. you will find all the supplies on the list minus the recycled materials and natural elements (twigs, acorns, pine cones etc.)
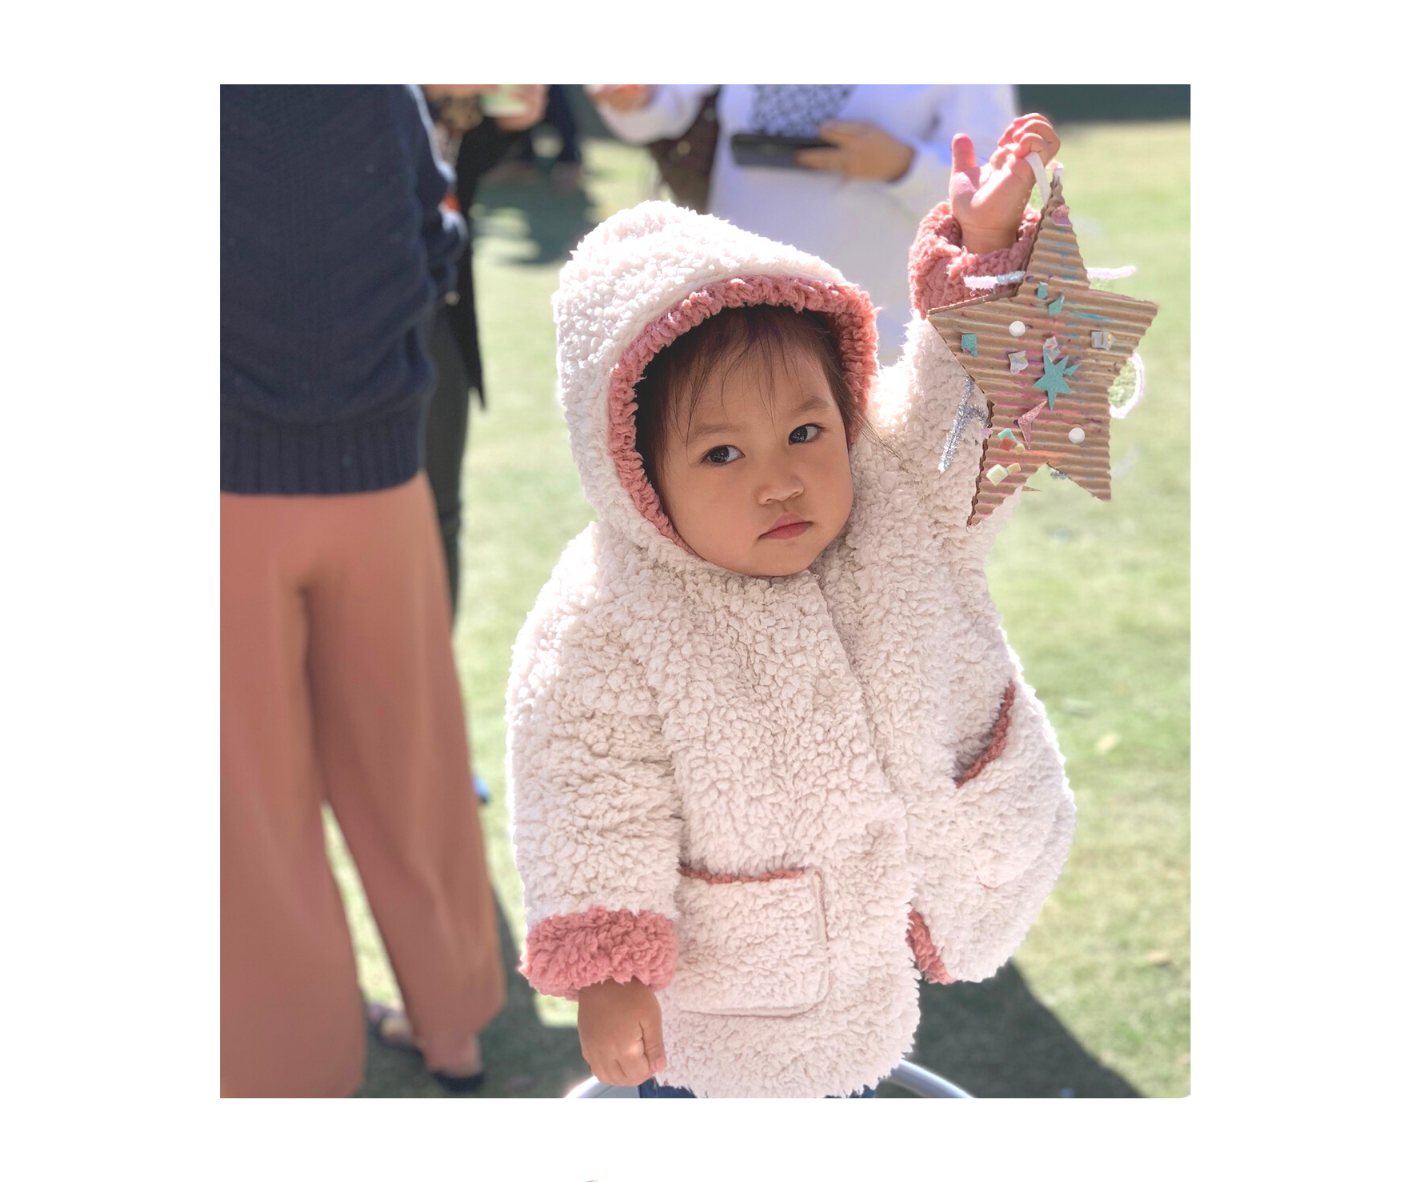
4. Textured Holiday Stars
a silent night. - the most eloquent poem i have ever read.
― Sanober Khan
Say hello to one of our favorite holiday party and pop-up crafts. The supplies are lush but simple, the process is fun and do-able for artists of all ages and everyone gets to leave the art table with a beautiful star to hang. We have done this project for small gatherings and huge community pop-ups for 100+. The nice thing about working with corrugated cardboard is it is a lot easier to cut than box-style cardboard which is something important to consider when you are producing large-scale events or workshops. We typically work with 10” stars but you can scale up or down. If you scale down these stars would make lovely ornaments.
materials:
corrugated cardboard (comes in sheets or rolls)
star template
scissors
oil pastels or chalk crayons or tempera sticks
raffia or twine
low temp glue gun (will use for two-sided stars and/or hanging loop attachment)
good mix of assorted collage pieces (old paintings, card stocks, fancy papers, felt, pom poms, metallic paper, stripes, shimmery)
glue stick
metallic pipe cleaners (we usually use silver, gold, and sparkly white)
grab the collage star craft blueprint here:
I get a lot of questions about our collage mixes. I am constantly sourcing paper in good colors and prints. If you don’t know where to start stroll the paper aisle of your local arts + craft store. Look for scrap book paper, wrapping paper, specialty card stock. When I am sourcing for clients they usually have a color scheme in mind and that is my starting point. Then I hunt for good shades and textures that play nicely with the event palette. For our holiday star project I like a mix of materials: felt, metallic, mattes, hand painted paper, a good stripe, some paper shred. We like to punch shapes and hand cut and tear when making a good collage mix. We also save off-cuts and scraps from all of our projects to add to the mix. When punching paper save the cut-out as well as the shape.
5. Acorn & Clothespin Dolls
Meet the Cornells! Pictured from left is Aunt Aida and Grammy Eleanor. Sasha is in the grey cape and Colette is rocking the hand-knit romper with the fringed leg warmers. Little Quinn is wearing the blue puffy coat and Lauren is keeping warm and oh so chic in the the marigold wrap. We have Logan in the checked maxi dress and Colin to her right. The twins Percy and Prue with their older siblings Margaux and Max. Find the e-Book here
great oaks from little acorns grow
-english proverb
For the past 6 months I have made an almost daily date with myself to go for a walk in the woods. Spending time with trees, out in nature is the quickest route back to myself. I do my best thinking.. I do my best breathing.. I do my best dreaming, on these walks. 30 minutes in I find the “human doing” exiting stage left and the “human being” coming into frame.
The being who is present enough to notice the way the light is filtering through the trees and the cast of shadows dancing at her feet. The sound of water flowing .. a birds song. The busy mind starts to slow and the running to-do list and all of the issues waiting to be solved feel a little farther away. Less pressing. Less scary. I start to see things in a different light. An acorn looks like a face with a beret. A tangled twig looks like an antler. The smooth silhouette of a river rock becomes the body of a grey whale. I return to the place of wonder and endless possibility that so many of us leave in childhood. I give myself permission to shove hundreds of acorns into my pockets and then when I get home I transfer them to clear “observation jars” and there they sit.
The best projects aren’t rushed or forced. They often need time to ripen on the vine. These slow and patient projects feel different. There is a spark about them.. they flicker a bit like magic and I always hope that magic will travel across the inter webs and you might feel it too.
I have heard from so many of you in the past few days asking some version of “is it silly that I want to do this project on my own?”. Our projects aren’t just for little people. They are for ALL people. Creativity and play are not things that should be left behind in the wonder years. If they got lost along the way it’s never too late to circle back and stuff your pockets full.
Want to make some Acorn + Clothespin Dolls of your own? You can purchase the e-Book here:
materials:
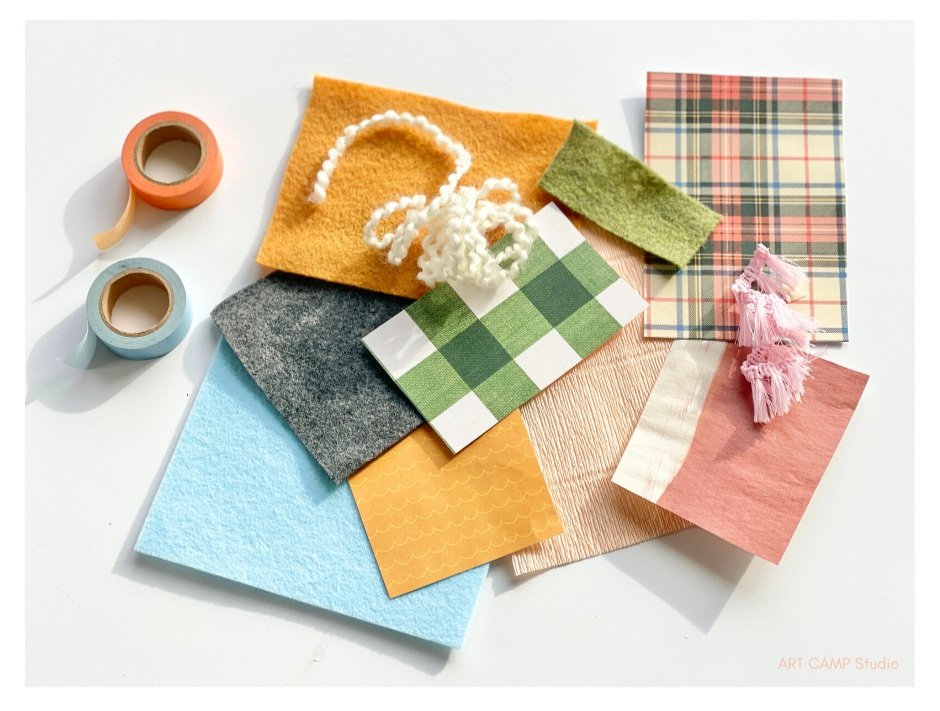
an assortment of fun colors, prints. and textures to play with (printed paper, felt, crepe paper, painted paper, yarn, fabric, fringe)
paint pens or chalk markers for small details (think buttons and shoes)
low temp hot glue gun or the craft glue of your choice
washi tape
Meet Collin Cornell. His Pants were made from plaid printed paper. His shirt was colored directly on the clothespin with a bright orange paint pen and his jacket was made with olive green felt with contrasting marigold pockets.
Meet Margaux Cornell. Her A-line dress was made with printed scrapbook paper and her collar was made from pale pink crepe paper.
6. Fa La LA La Llama
The joy of life comes from our encounters with new experiences, and hence there is no greater joy than to have an endlessly changing horizon, for each day to have a new and different sun.
- Christopher McCandless
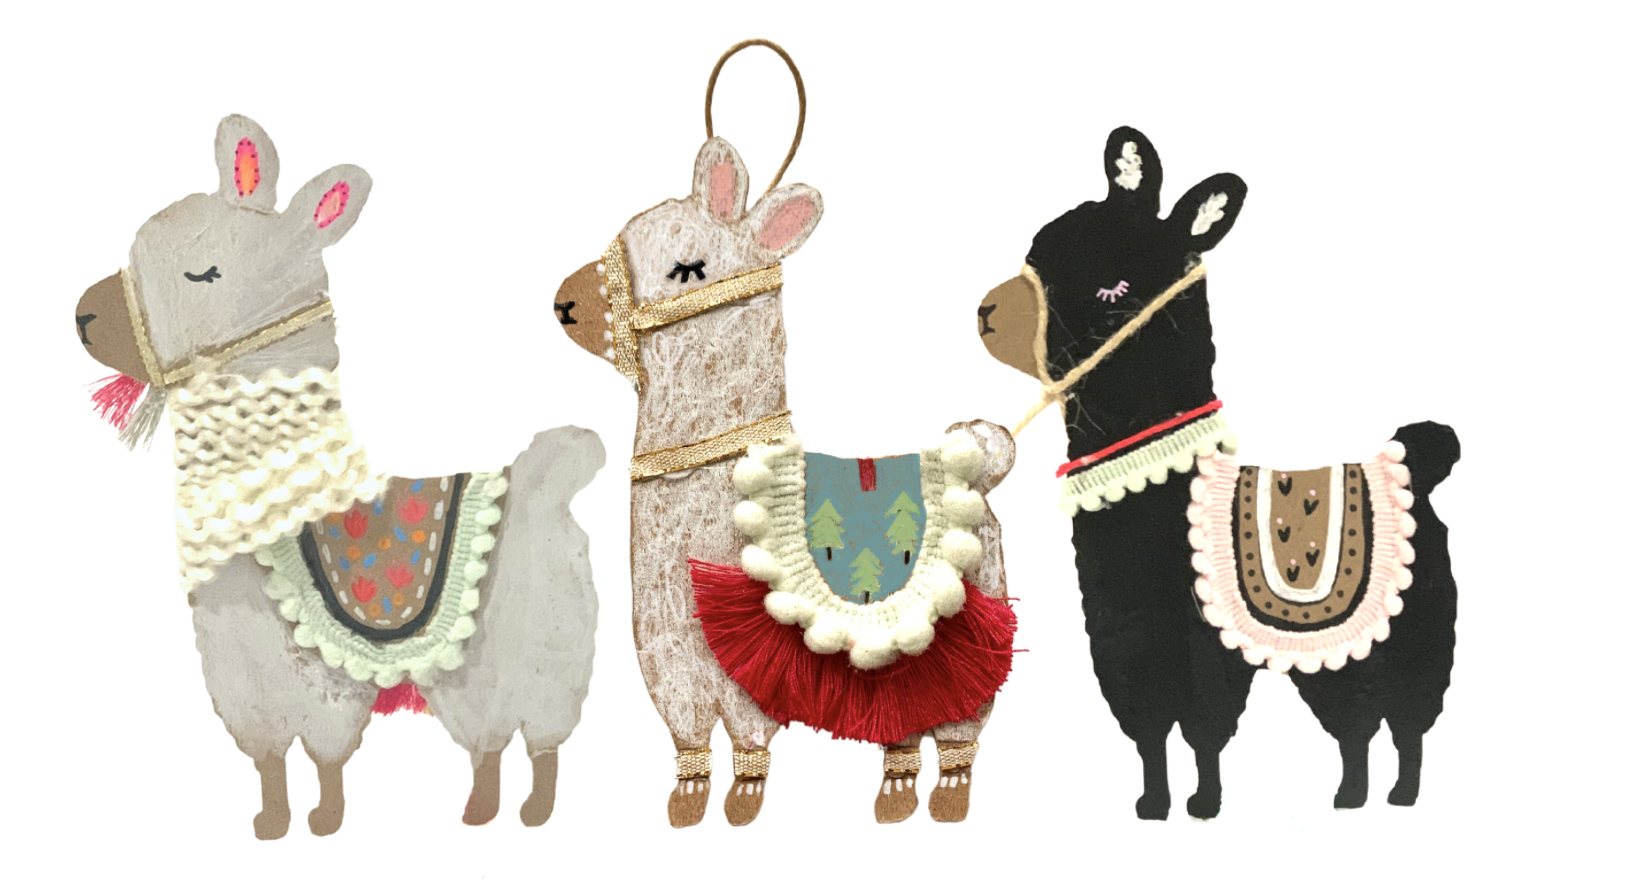
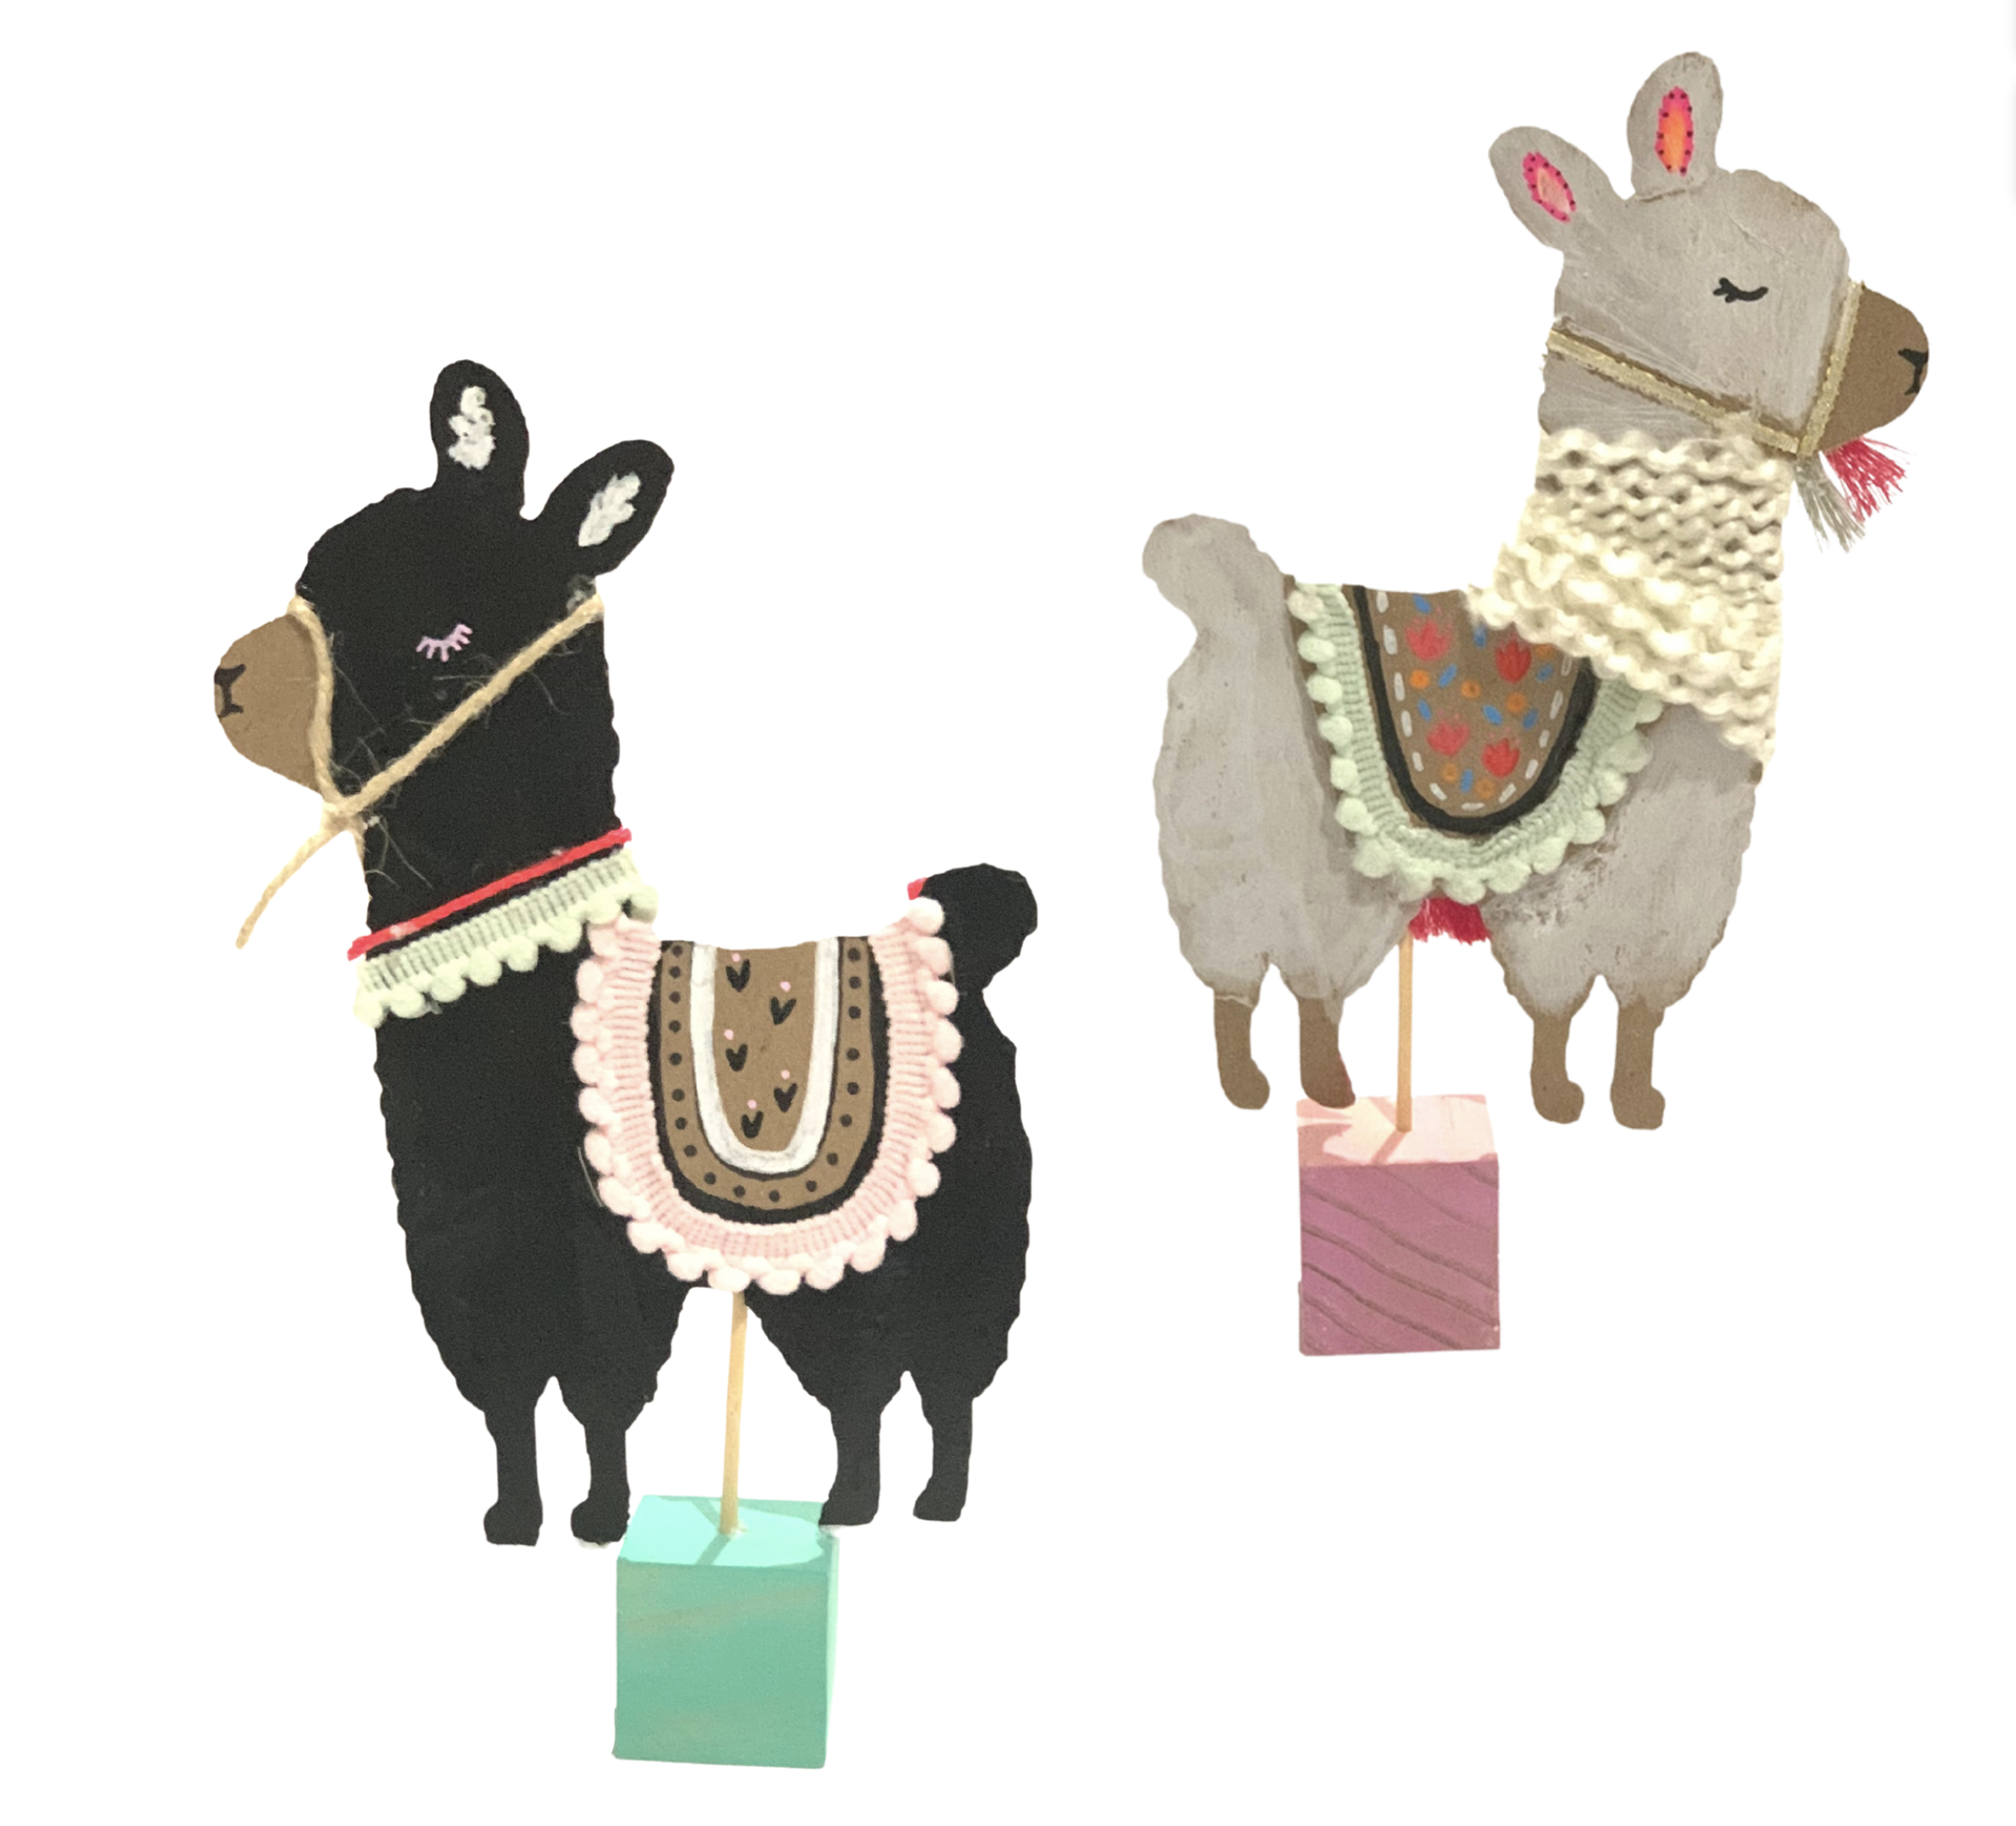
These little Llamas are all about the details. Layout an elaborate art buffet with yarn, fringe, mini pompoms, ribbon, and little bits of fabric, and stand back and watch the art magic unfold. We have done this project with groups of 20 to 100+ and it is always a hit with artists of all ages. During holiday time we use the small template and it becomes a "fa la la la Llama ornament" in springtime we create "Llama for Mama" for mother's day. We have brought our Llama project to schools for South American study units and it has made the rounds on the event circuit for llama-themed birthday parties. You can skip the paint and just grab chalk crayons and/or paint sticks. It can be done from start to finish in 30 minutes. If you want to make your llama stand, you can glue it onto a skinny dowel and drill a small hole into a wooden block. If you don't have the budget for fancy embellishments draw or collage design details using readily available supplies. Have fun!
This particular project plan and template is one of the top most requested project plans we’ve ever created. Sorry it has taken so long to finally get the PDF into your hands but we promise it will be worth the wait.
Grab the llama project plan here:
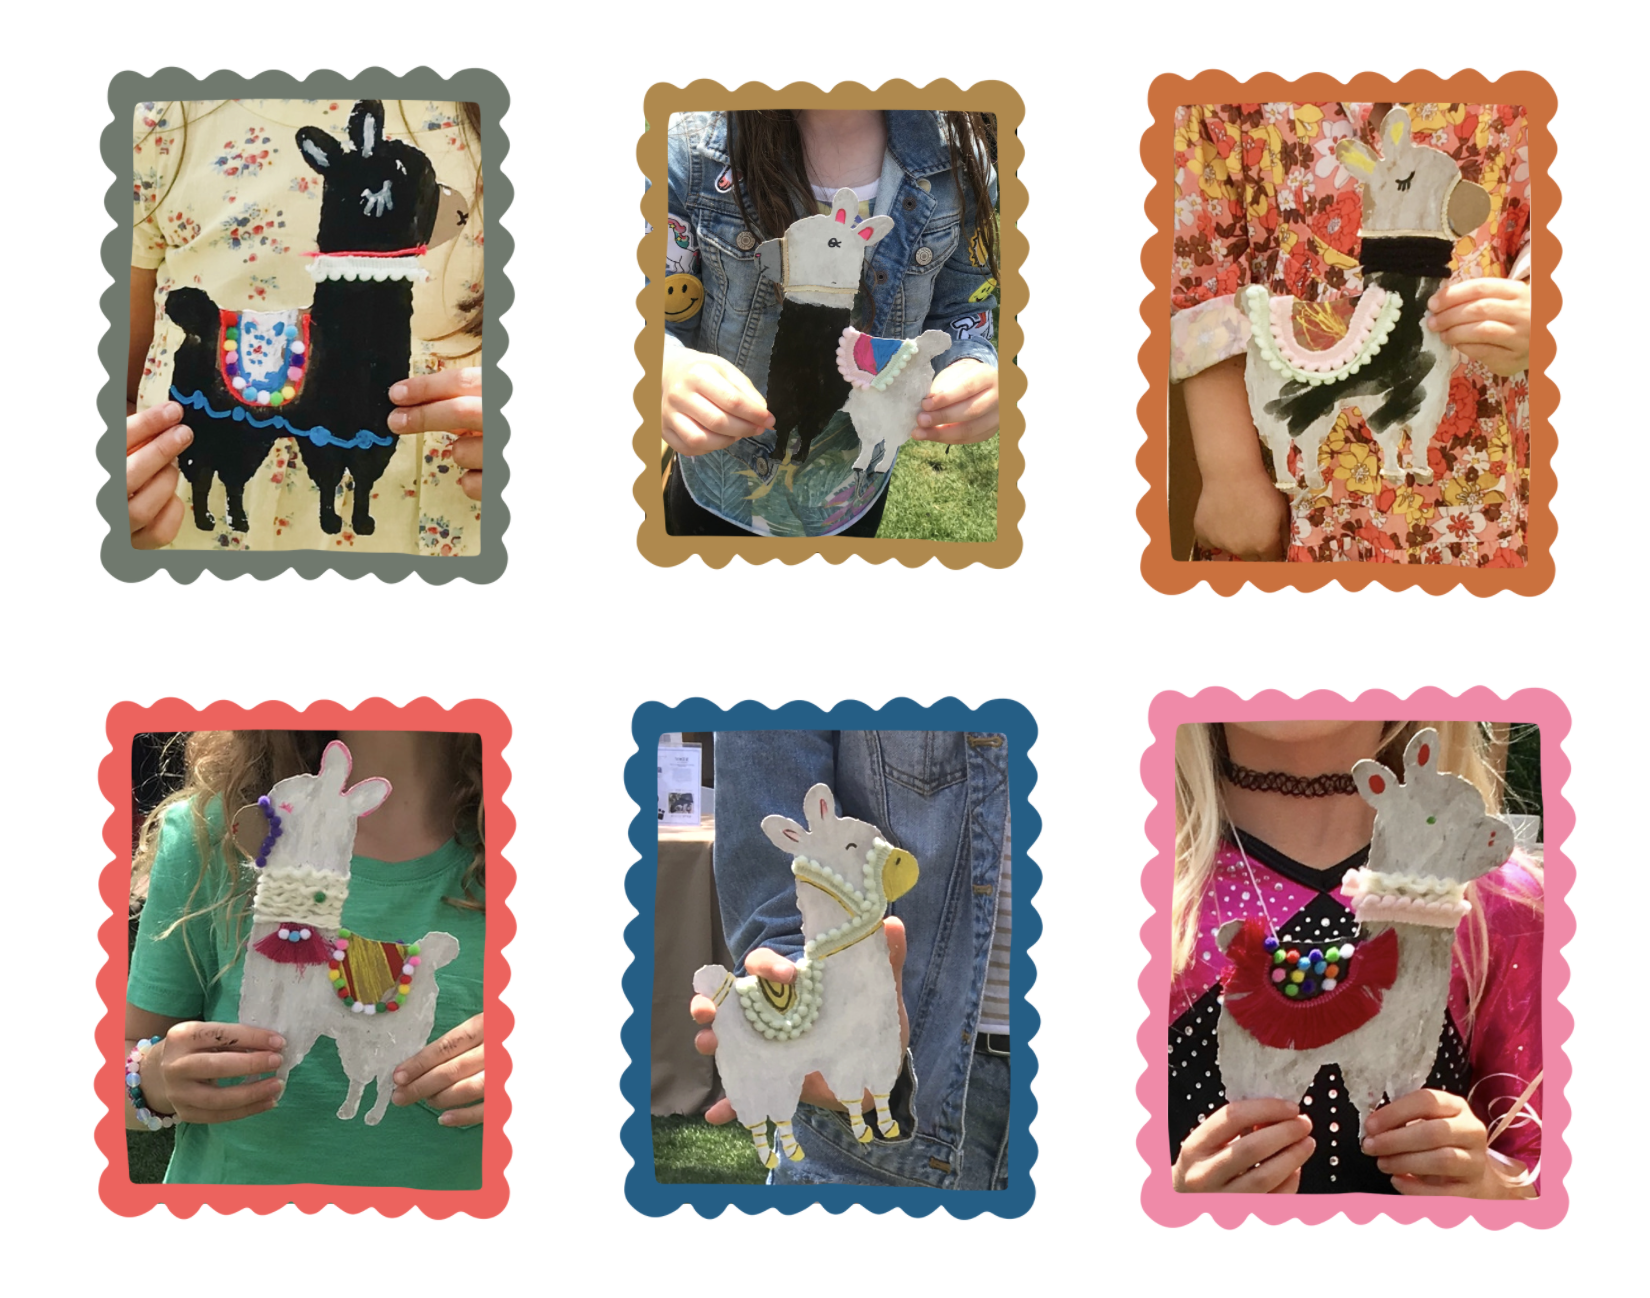
Here are some photos of little artists with their llamas!
7. Cardboard SnowflakeS
I wish I could press snowflakes in a book like flowers.
- James Schuyler
I’m going to share a little secret I keep in my back pocket to pull out on those days when I feel blah and uninspired. If you ever find yourself having one of those days pressed up against a creative slump, go paint a stack of cardboard and a pile of newsprint. Out of ideas? Utterly uninspired? Just grab some small mason jars and a few tubes of paint + brushes, and start to mix. Don’t worry about getting it right.. or what comes next. This is a time for play! Start with cool colors and then move onto warm colors, then just paint a big stack of cardboard and a big stack of newsprint. Your future self will thank you. I cannot tell you how many times I have been in a “not feeling it” kind of mood and either the process of creating these colorful stacks or the act of grabbing them and snipping have saved the day. The cardboard snowflake was born from a stack of cardboard play on a “not feeling it” kind of day.. (I am a poet and I know it)
grab the cardboard snowflake craft blueprint here
little cardboard snowflakes made from painted cardboard scrap and a low temp glue gun:
8. Hand Drawn Botanical Wreath
If you love beauty, it’s because beauty lives within you. If you love art, it’s because you are creative. If it wakes up your heart, a receptor for it already exists within you. Your soul is drawn to the things that will help you unfold your most glorious expression. Give in.
-Cynthia Occelli
I love this quote so much. Today I invite you to read it 3 times slowly. Let’s lean in to the thought that our soul is drawn to the things that will help us unfold into our most glorious expression. What are you drawn to? What has been calling your name? Where is the magnetic pull coming from in your life?
Consider this little project we are sharing today the perfect warm-up. You probably have everything you need to create a hand-drawn botanical wreath. If you don’t have the supplies or the energy maybe you can just sketch a little botanical wreath out on a blank sheet of paper and save the bigger wreath making for another day.
What I love most about this project is that you can take it in any direction. The cardboard wreath base is merely a canvas and the drawing or patterning you choose to create can be anything. I am sharing steps while simultaneously whispering: just get out the paint pens (or a regular pen) and D R A W.
materials:
cardboard cake base with the center cut out
acrylic paint for base coat + paint brush + water cup + towel
Posca paint pens - these are our favorites but you can use whatever you have. Check out the craft-a-long master supply list here.
Check out our 25 must-have art supply list here.
grab the botanical craft blueprint here:
Obviously, there is no right or wrong way to paint your wreath base. You may decide that you would like to leave your wreath base cardboard color. We gave ourselves colorful sections to create patterns within. They look a little bit like floral patchwork quilts.
If you painted your wreath base you want to make sure that it is completely dry before you go in with your paint pens. How many colors can you spot? If you are stuck on pattern ideas. pull out a scratch piece of paper and try some simplified leaf and bloom shapes. When you have landed on some ideas that feel good to the eye and touch pick up your pen again. We just kind of went freestyle with ours and embraced the imperfections!
You can hang these little wreaths on a simple nail or hook.. if you are feeling fancy add a bow! enjoy! xx
9. Angel Wall Hanging
I believe there are angels among us, sent down to us from somewhere up above. They come to you and me in our darkest hours, to show us how to live, to teach us how to give, to guide us with a light of love.
-helen keller
Today we are sharing a simple up-cycled wall hanging idea that would make a perfect gift for an angel in your life.
supplies:
angel template (find the craft blueprint below)
cereal box
good scissors
craft paint of your choice
paint brush + water cup + paper towel
wax cord or twine for stringing (you can fasten your hanging loop and cord with glue, washi tape or by punching holes and knotting. )
grab the complete project blueprint here:
10. Mixed Media Mittens
this is the solstice, the still point of the sun,
it’s cusp and midnight, the year’s threshold and unlocking, where the past let’s go of
and becomes the future; the place of caught breath.
-Margaret Atwood
Tomorrow is winter solstice for those of us in the Northern Hemisphere. It is the longest and darkest night of the year. The sun standing still is a powerful metaphor for the energy available to us during this season. What if we could take a cue from nature and get quiet, and still and contemplative? What if we could allow ourselves some pause..reflection and rest? How would that feel? What kind of shifts might come about? How would it change the view?
This little mixed media collage invitation is about as low-pressure as it gets. It’s also a great opportunity to re-purpose some older painted paper and prints you have been hanging onto.
We had a small group of close family friends over a few weeks ago and everyone wanted to “make something” but nobody had the energy for anything elaborate so I created a collage art buffet, handed out some mitten templates, some scissors, yarn and glue sticks, turned up the music and everyone had a grand old time. We have done this project in classrooms and at parties and it is always a hit. Enjoy!


