Paper Wildflower Wreath
Like wildflowers; you must allow yourself to grow in all the places people thought you never would.
- E.V.
This business of growing is hard, important work. Today my growth looks like being (kinda) okay with going S-L-O-W. I am still not feeling 100%... like at all. When my house got hit with this bug there were a million balls in the air and this was not the kind of sick that I could work through. I could barely get myself to the bathroom let alone handle business as usual. So those balls just dropped. The balls dropped and the fear of missing out, of not producing, of being forgotten, of letting people down, of not getting the momentum back, of screwing it all up, of messing with the flow... was WAY up. Why am I sharing this with you? Because maybe this is part of the human condition and you have felt these feelings too? Also, these feelings multiply in isolation so I am going to air them out and let them breathe in this space, here among friends. I am enough. I do enough. It's okay to go slow... and doggone it, people like me! (shout out to Stuart Smalley)
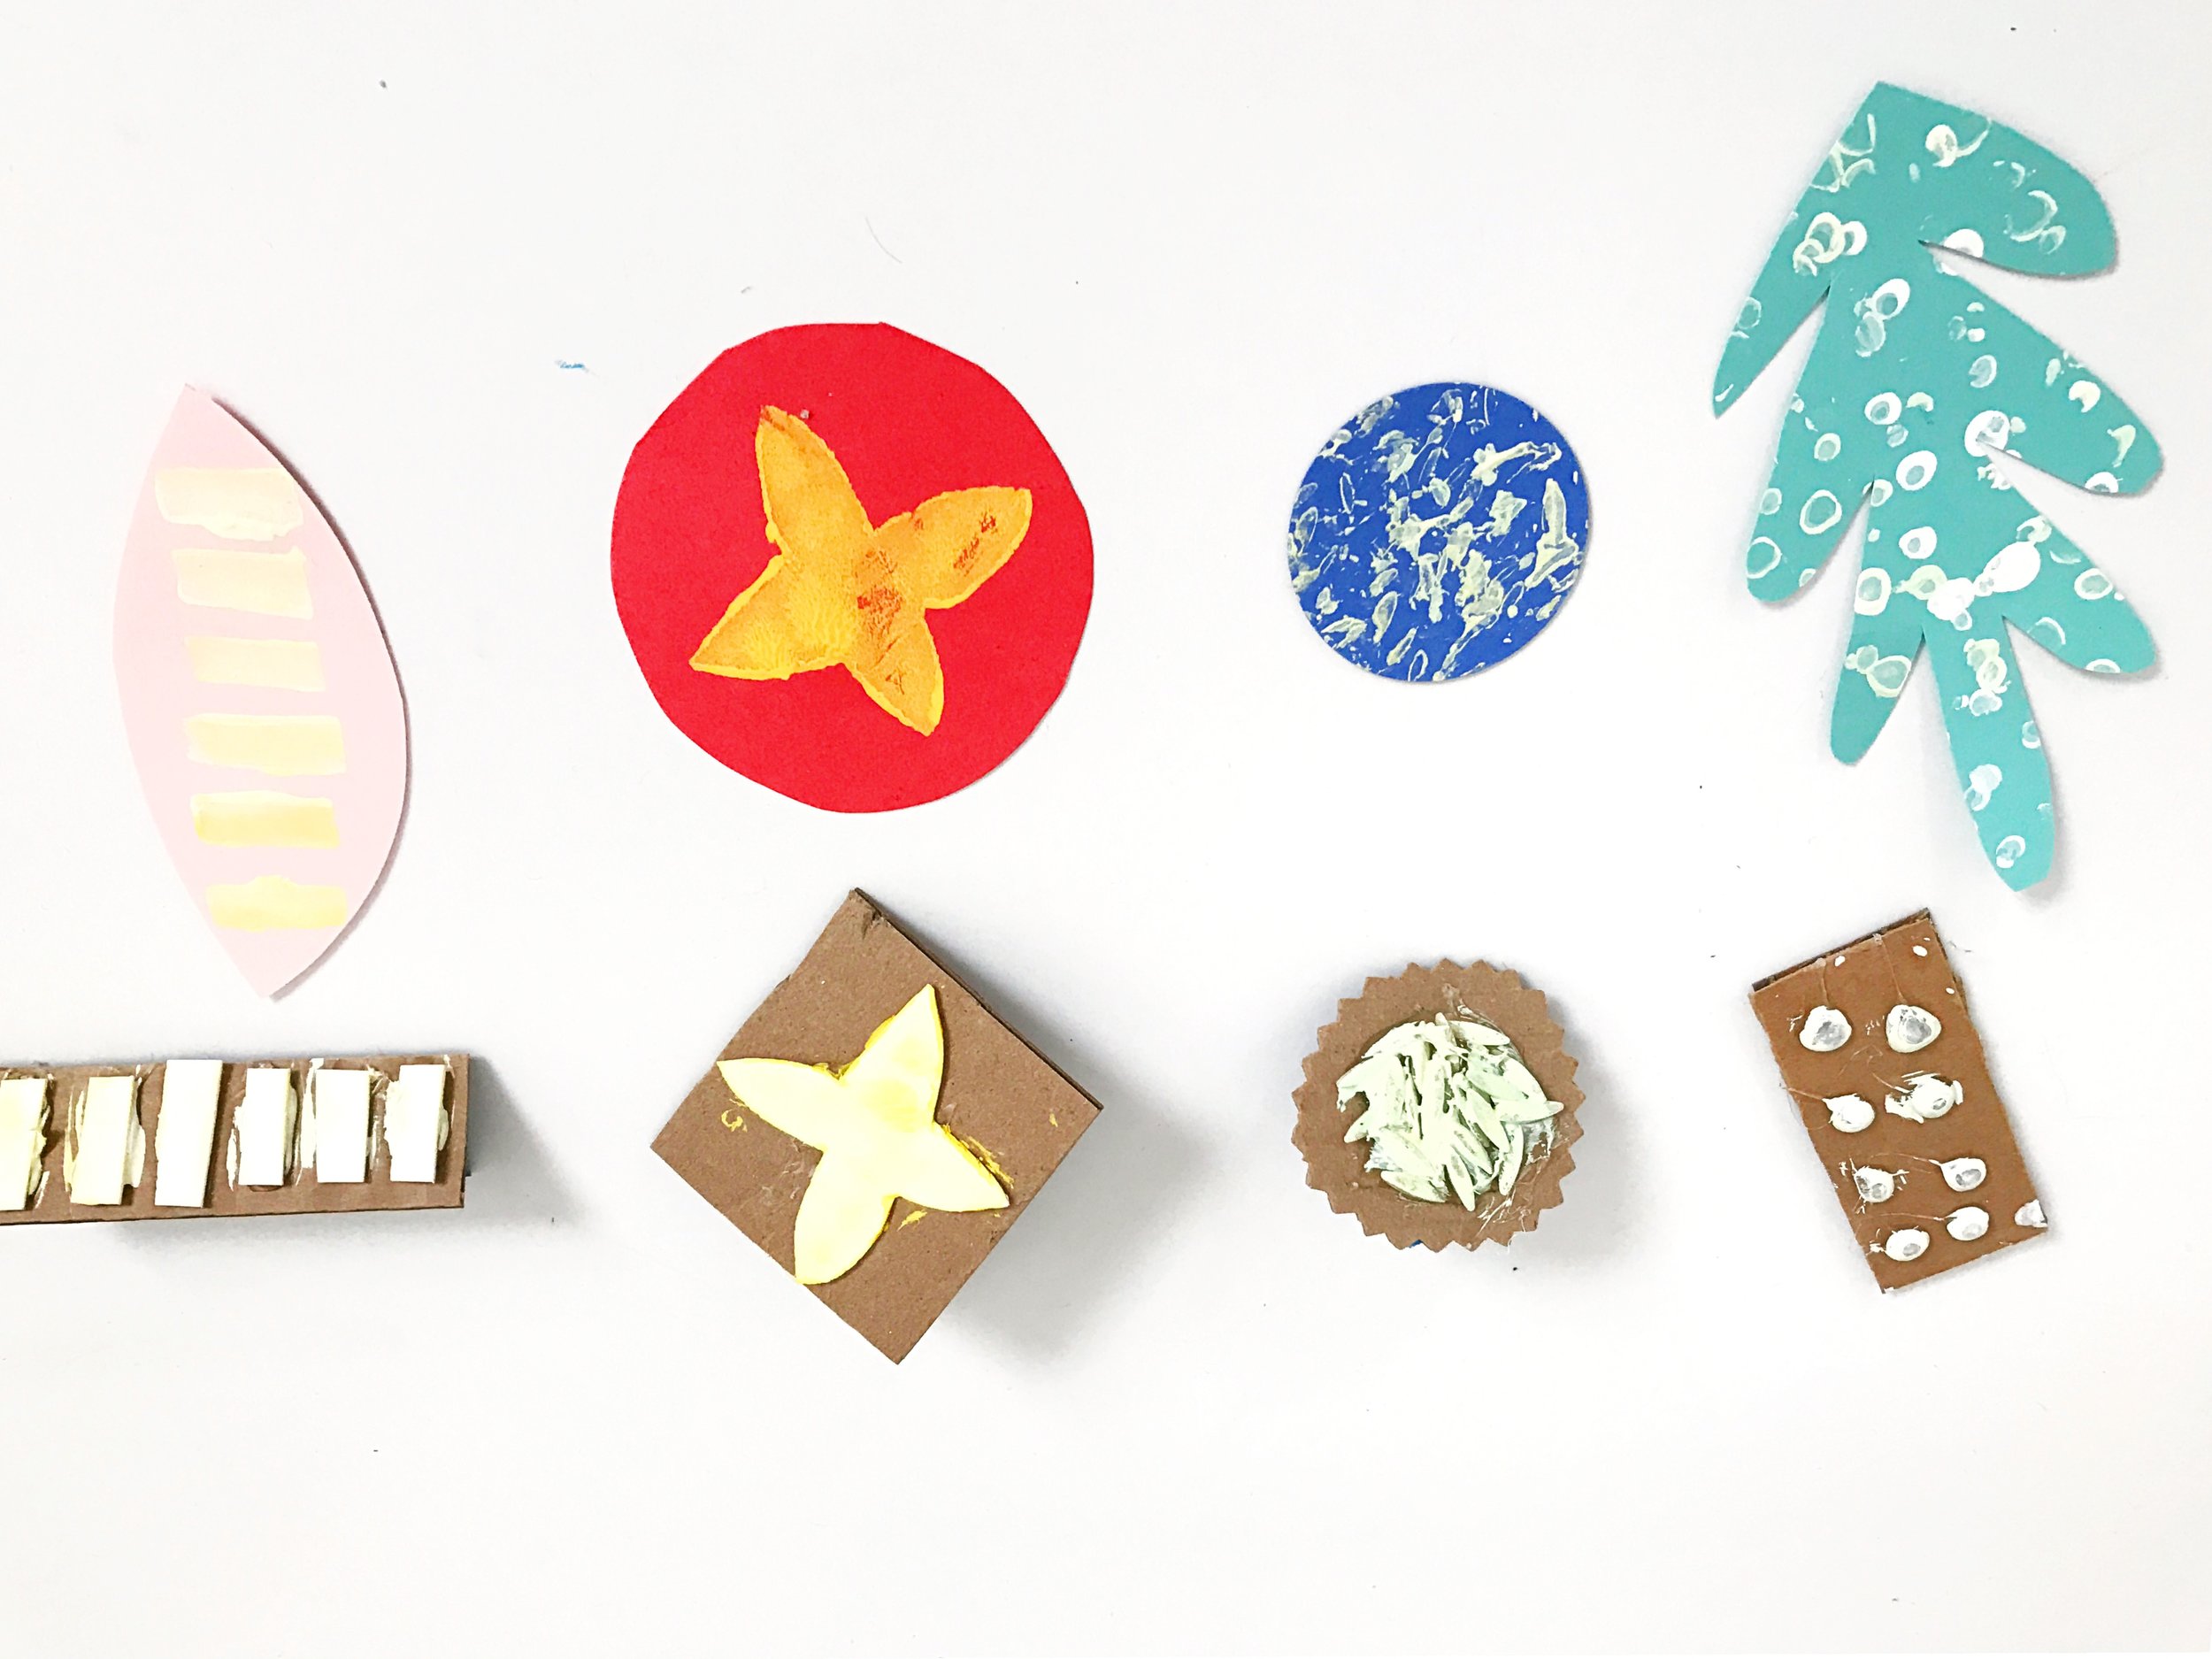
This weekend's family craft session was to put together a smorgasbord of handmade stamps for printmaking. It was a really fun group exercise to think outside of the box. Lots of experimentation. Some things worked really well and others not so much. In the end, we had so much fun printing and cutting and sticking and we think you will too!
Materials:
colored card stock and/or scrapbook paper
scissors
glue sticks
glue gun
cardboard
assorted textural elements: buttons, beads, rubber bands, rice, straws, sticks, pencil eraser
acrylic and/or tempera paint
paper plate
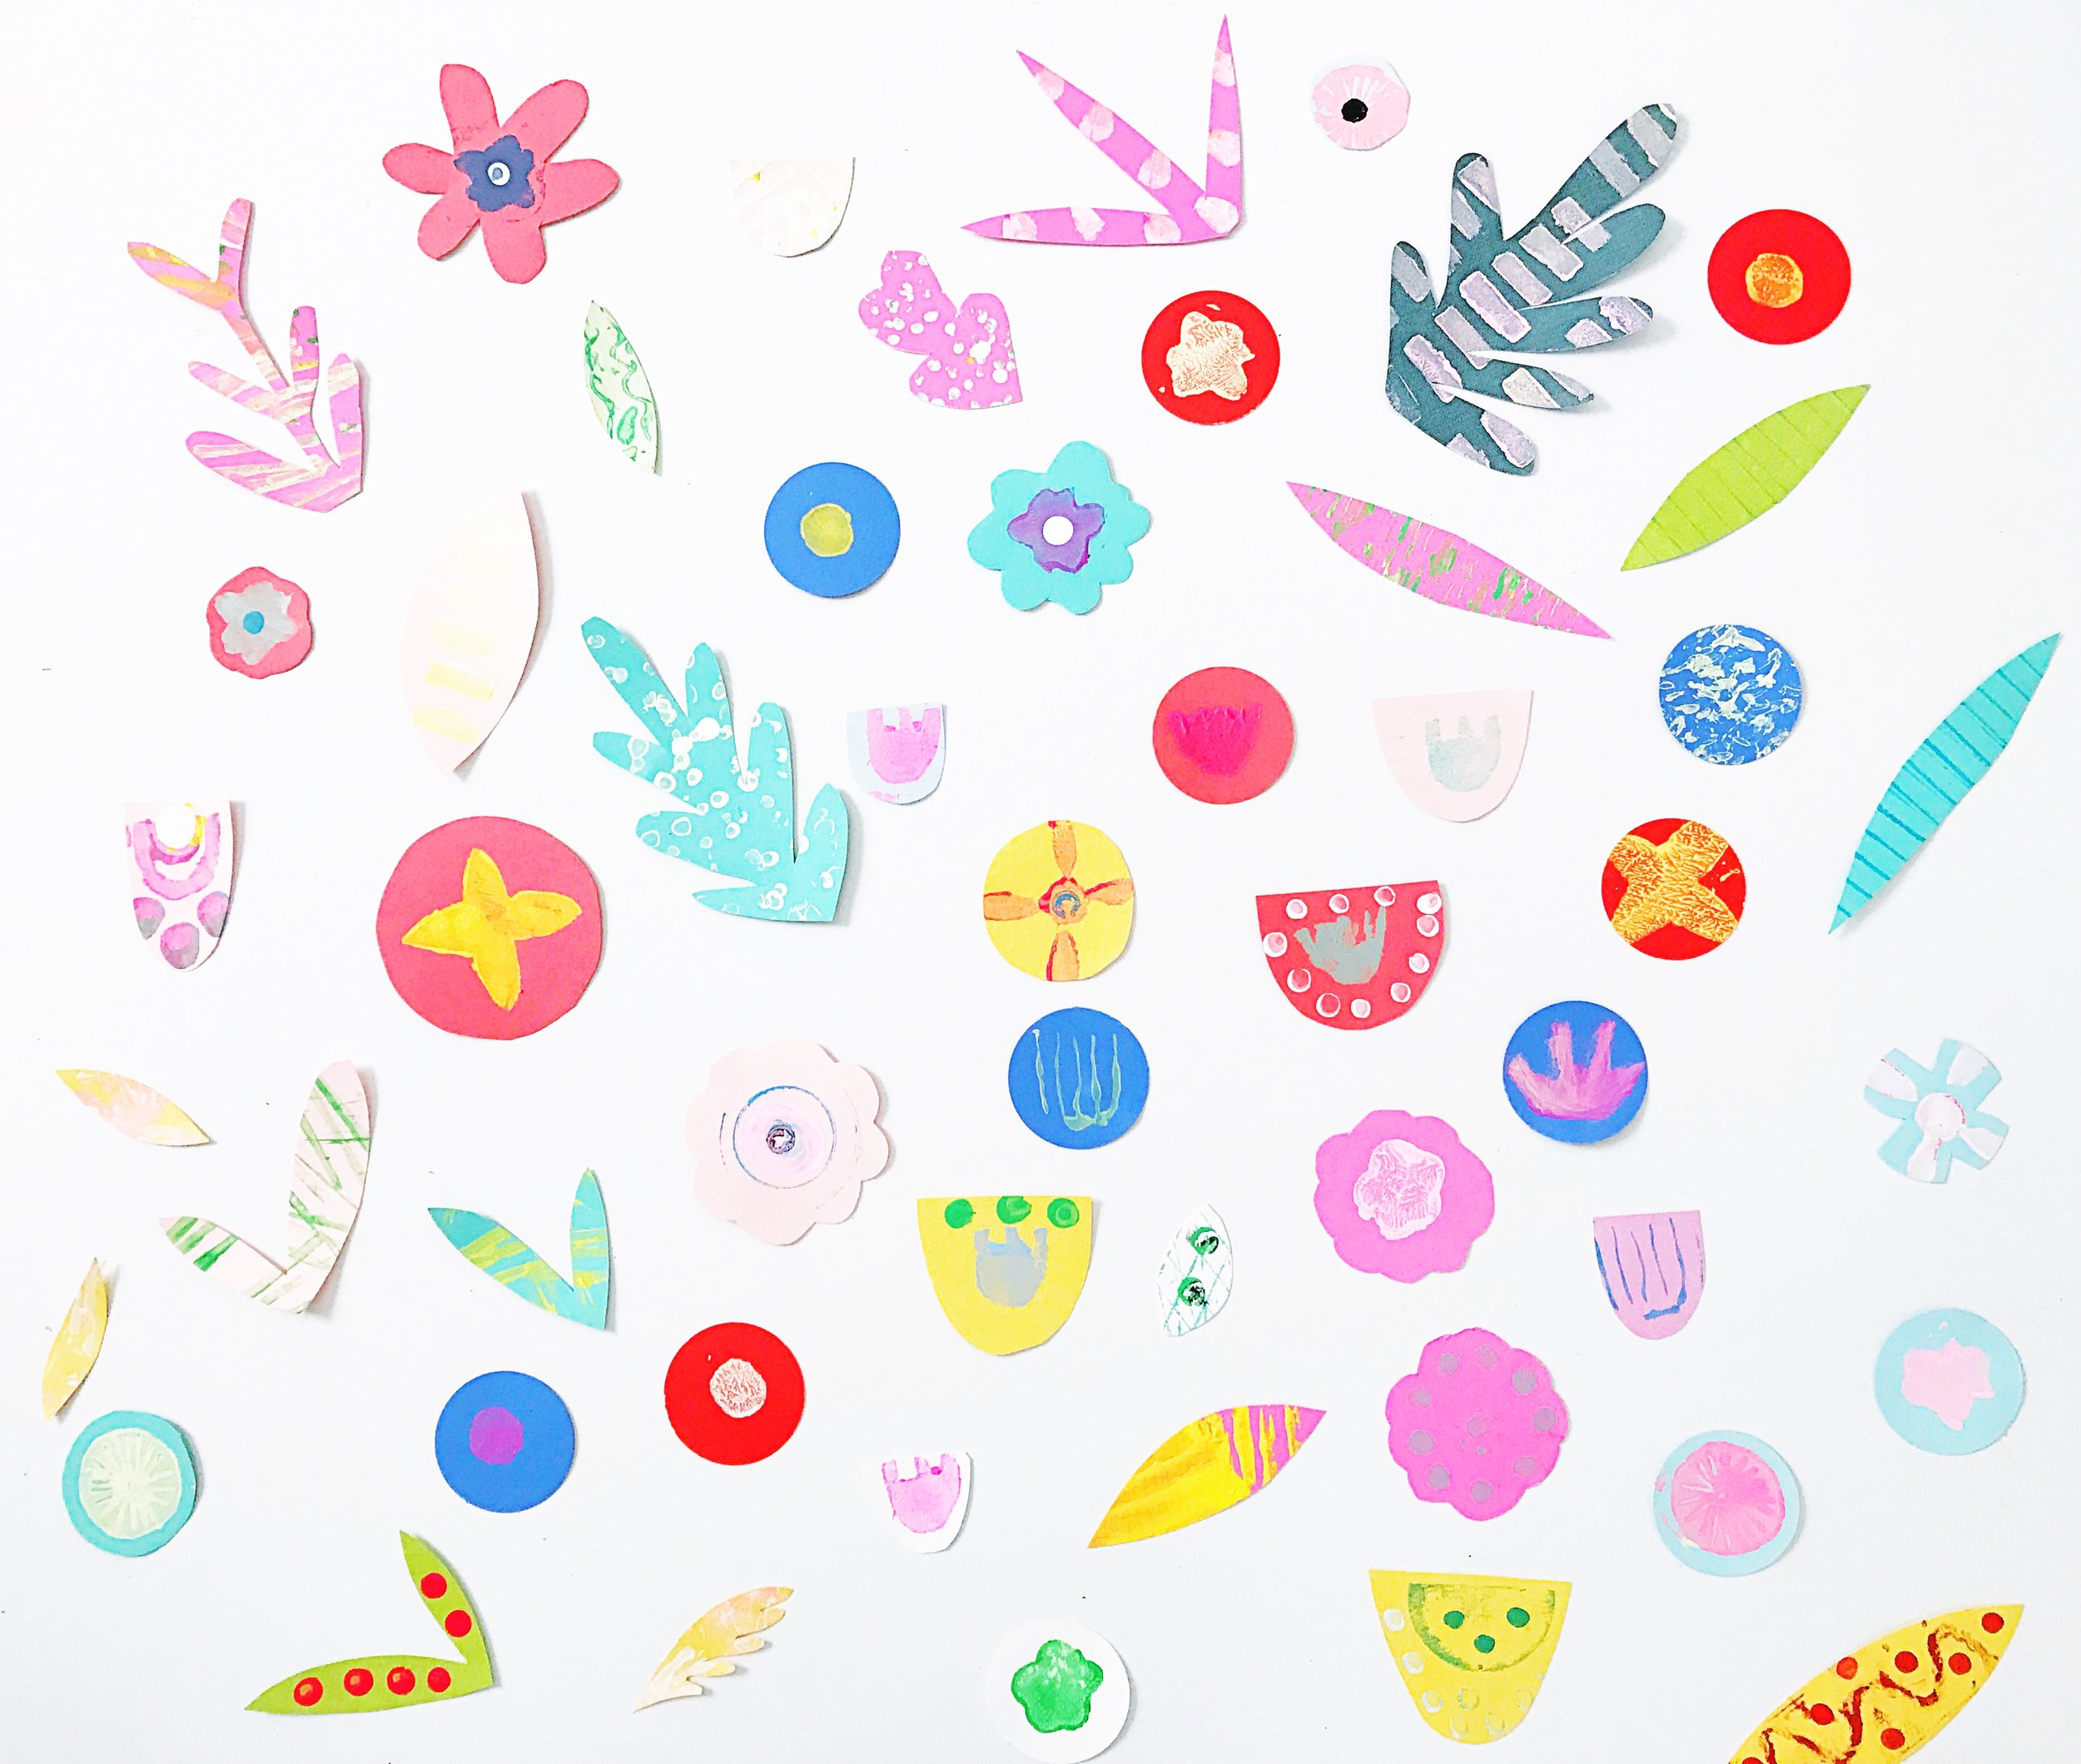
1. Gather your scrapbook paper or card stock and start to cut out circles, leaves, and simple flower shapes.
2. Begin to create your stamps. We focused on simple designs that could be printed in the center of our flower shapes and leaves.
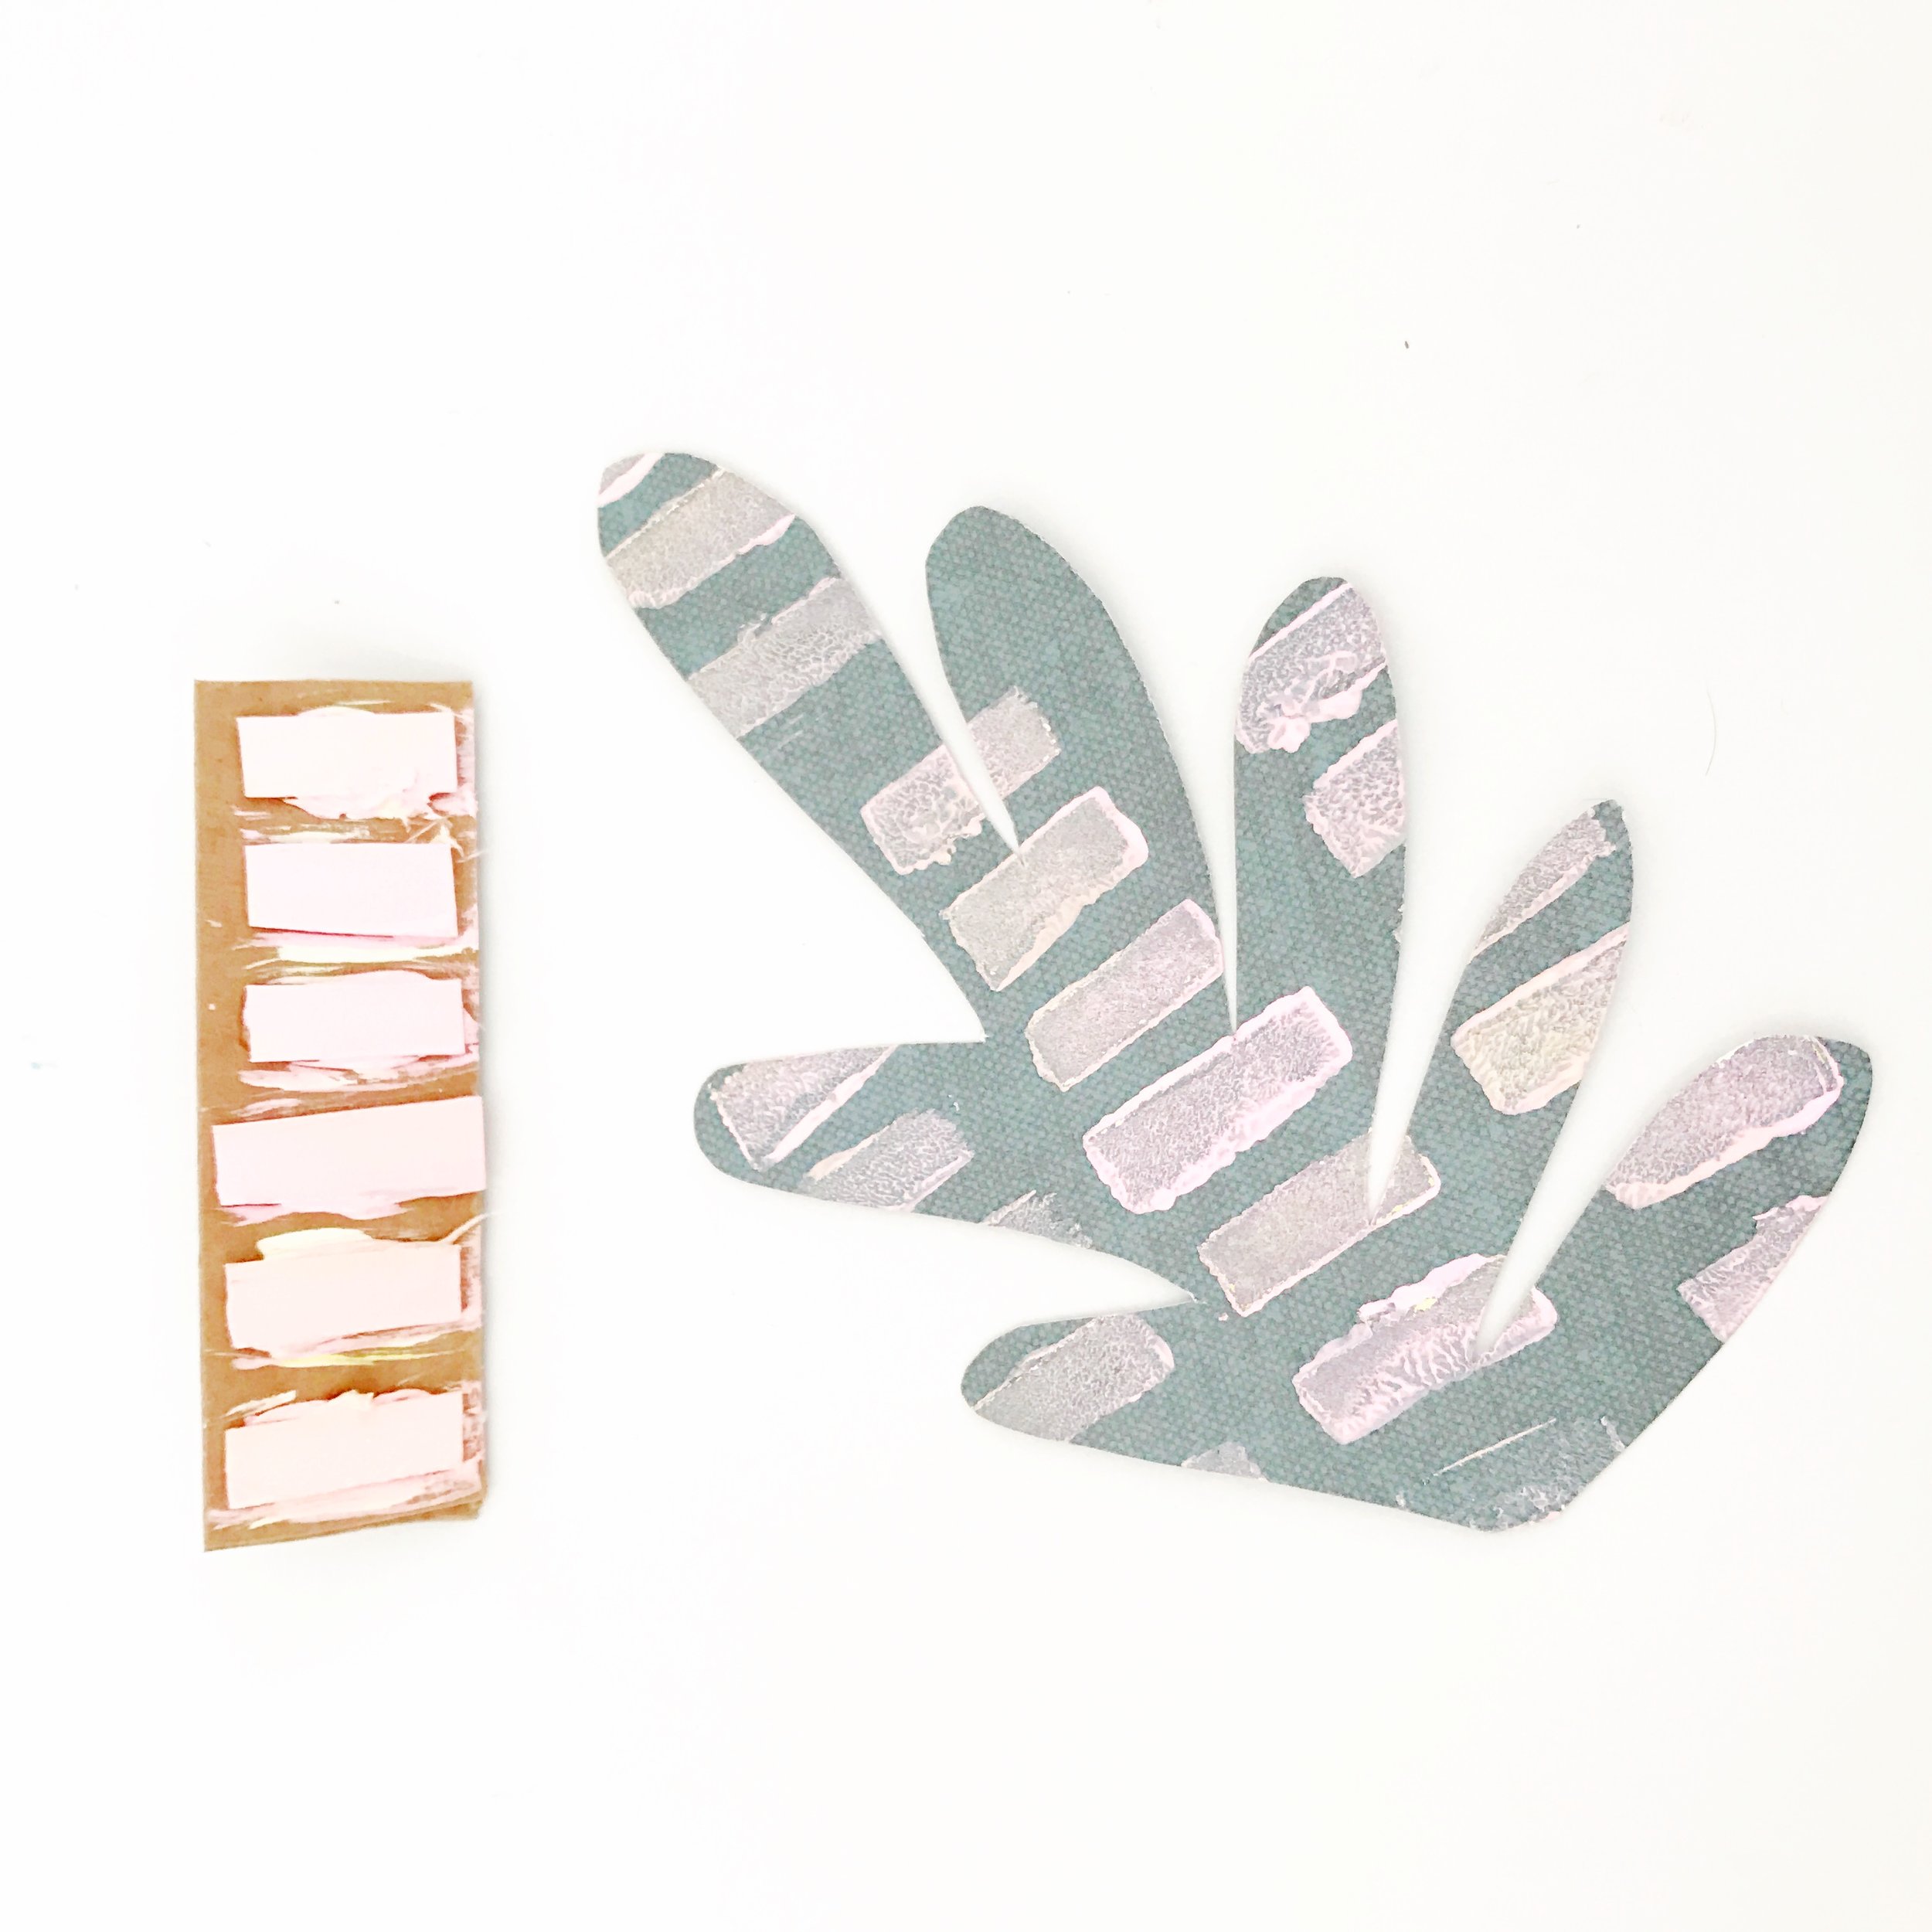
3. Create a variety of print textures by using a combination of cut foam, hot glue designs, and textural elements (string, beads, rice, rubber bands...)
4. Ink your "printing plates". If you are using paint you can add color with a brush.
5. We alternated between ink pads and acrylic and tempera paint. This is a great opportunity to sneak in a little color theory.
6. Once you have stamped all your wild flowers you will let them dry. Once they are dry you can go in and add another layer of printing and additional colors. Our final layer was printing little dots in the center of some of our blooms with a pencil eraser.
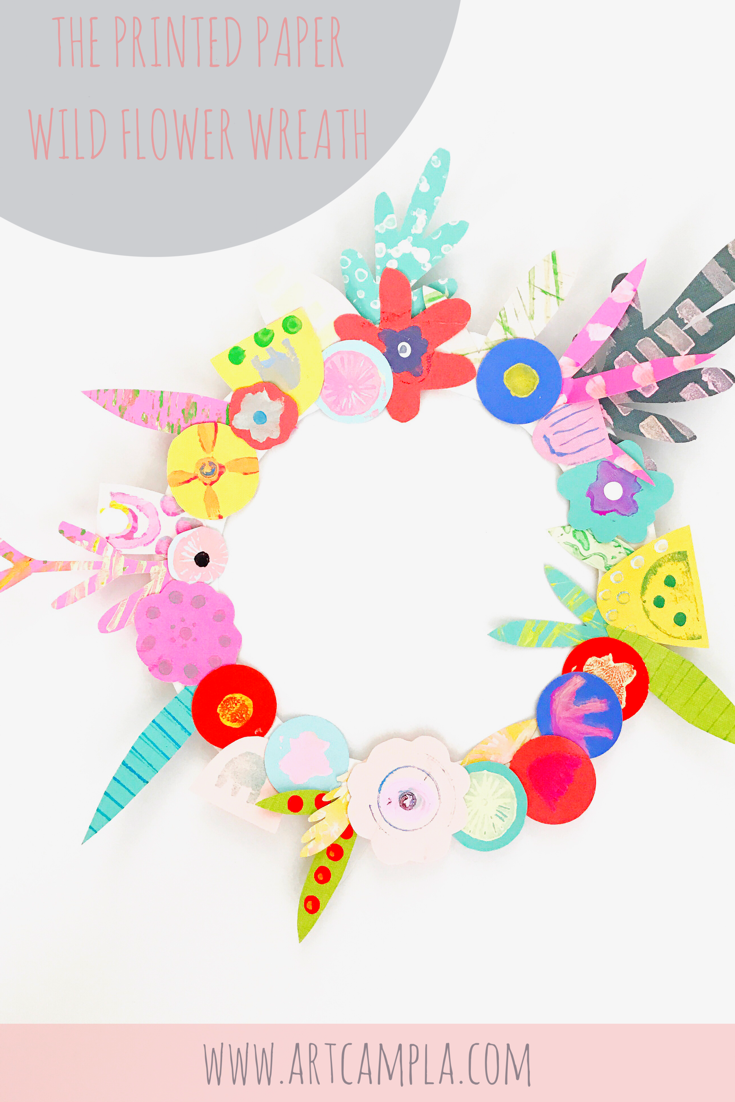
7. Once your prints have fully dried you will attach them to your wreath. We created this simple wreath form with the outside rim of a paper plate.
8. Hang your wreath!


