Ink Blot Bugs
"Imagination is the eye of the soul."
- Joseph Joubert
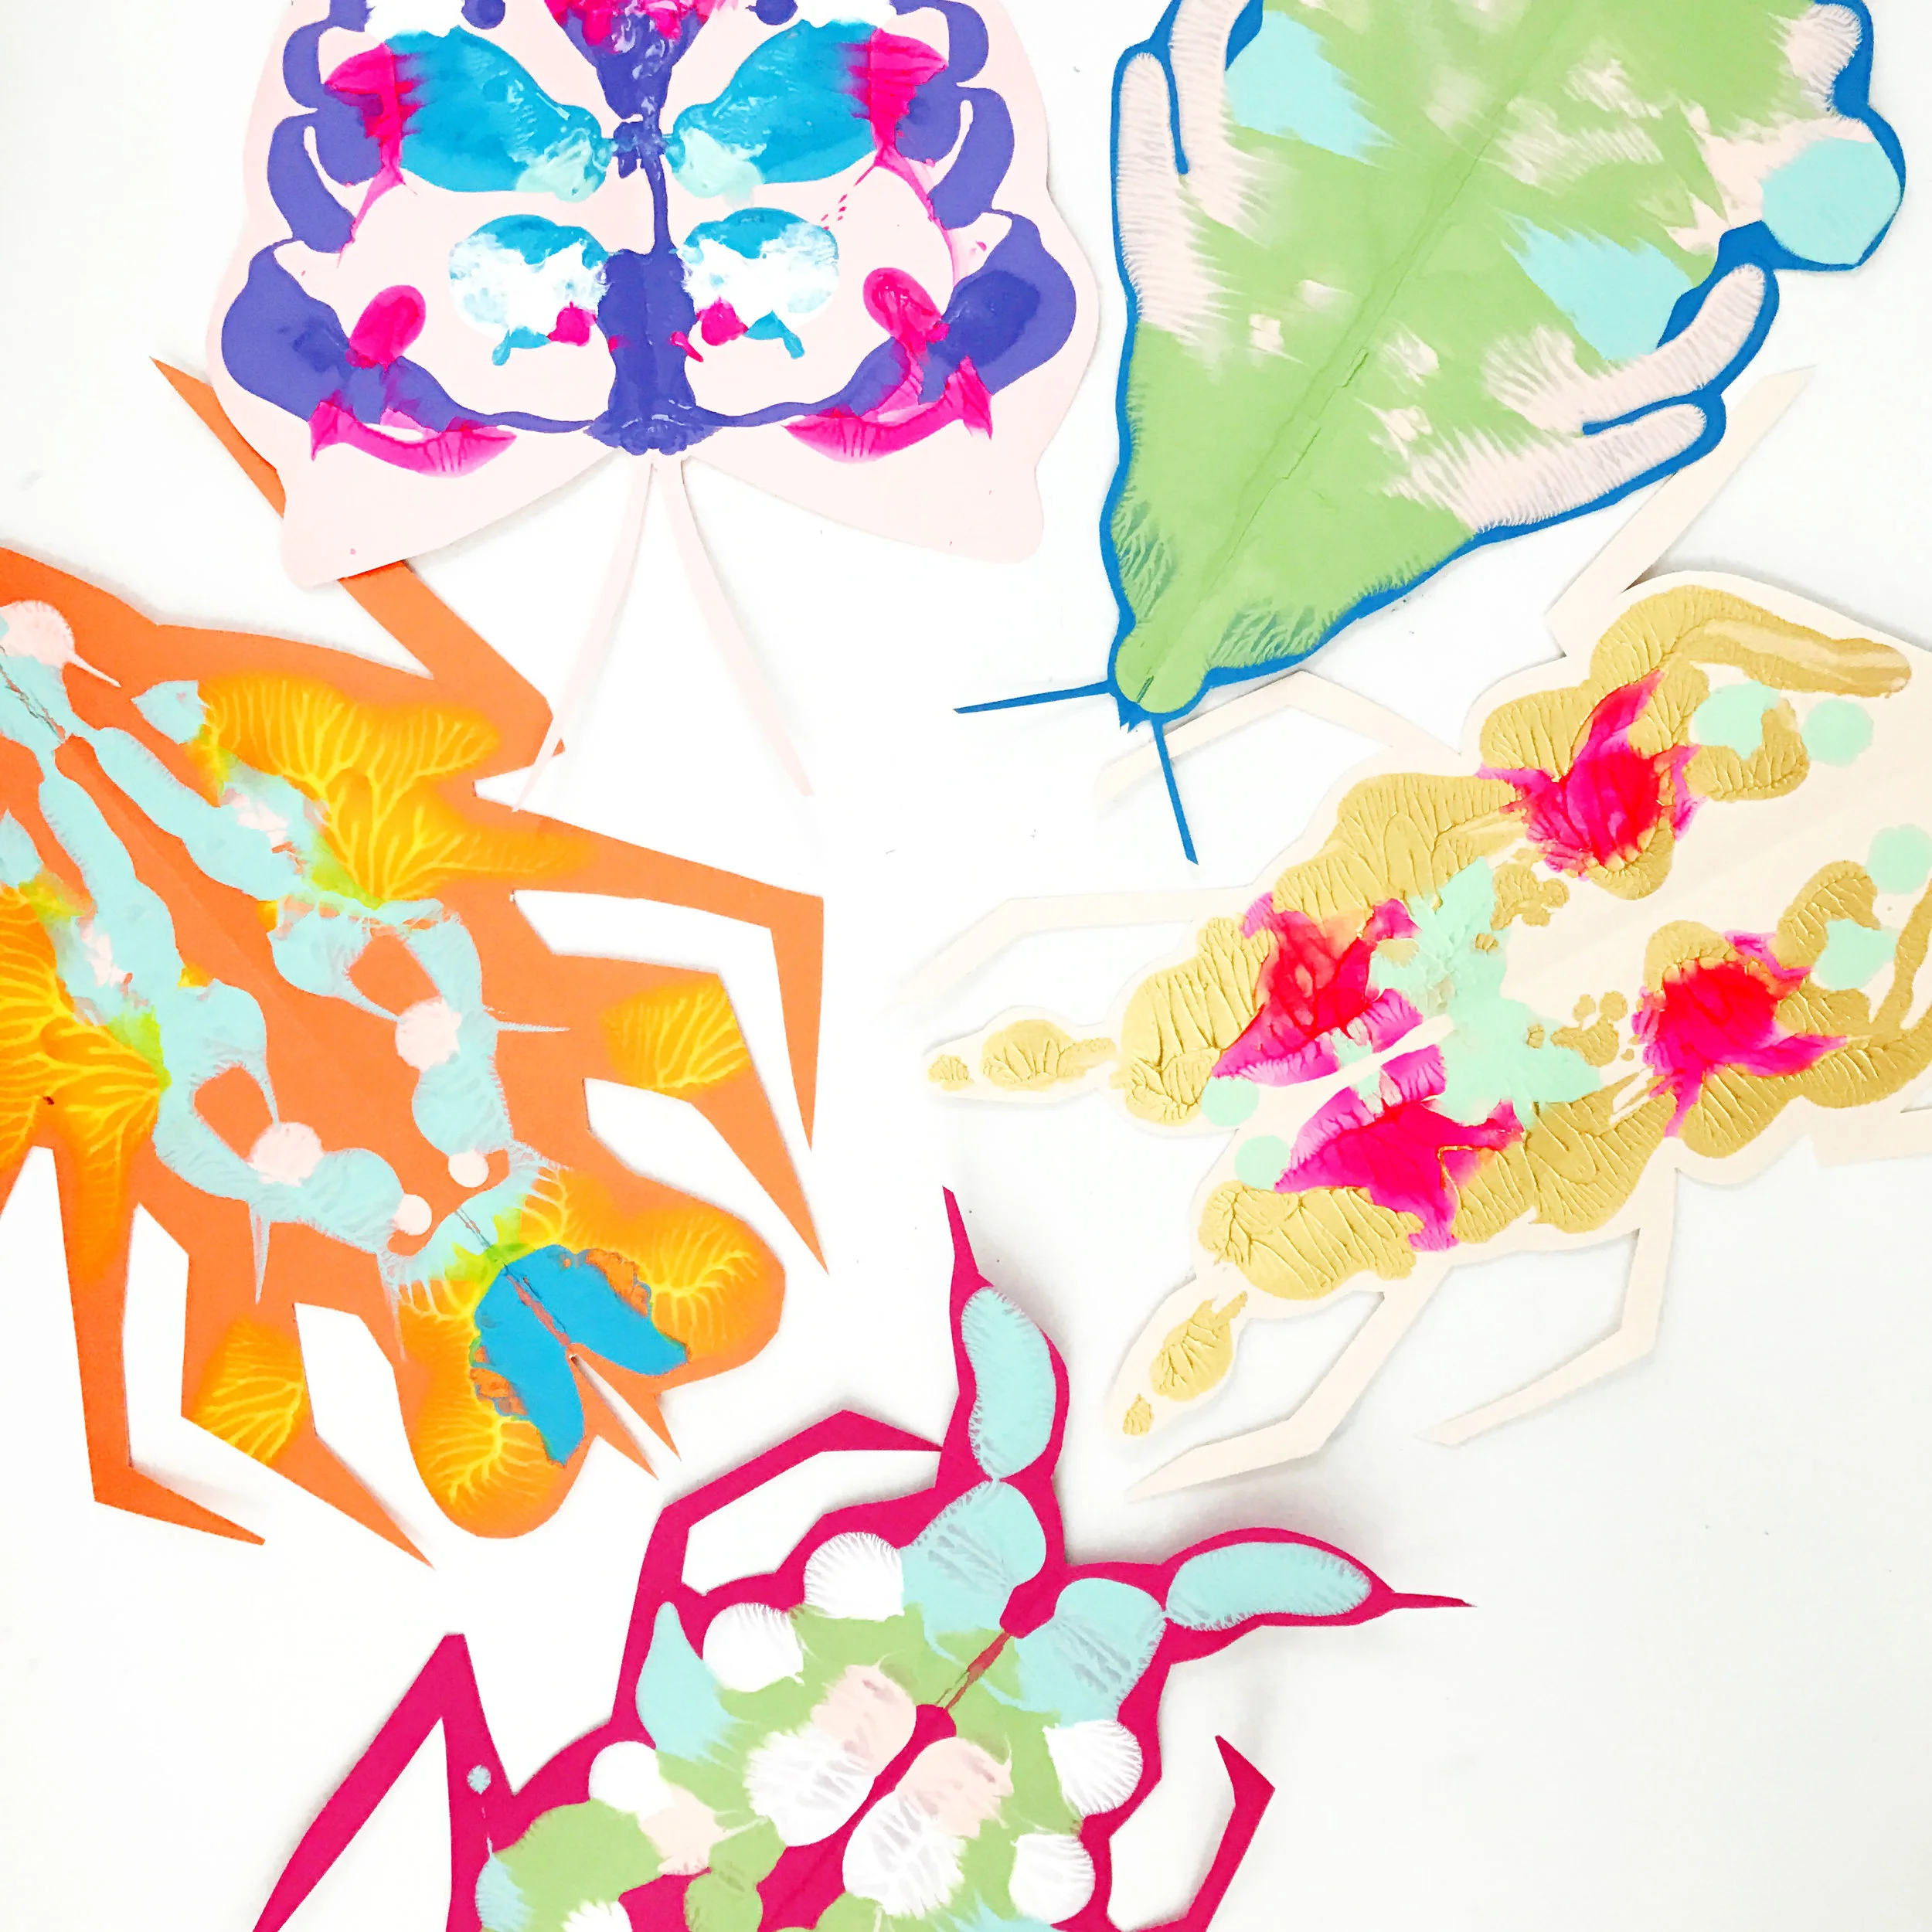
So I am lying in bed the other night.. have I mentioned that many of my light bulb moments happen just when I am about to drift off to sleep? It's a little strange. So one minute I am lying there, eyes closed drifting off to sleep, and the next thing you know I am staring at a bug smack dab in the eye of my soul. Not just any bug but a beautiful, brightly colored, gilded, ink blot beetle bug. I totally wanted to jump out of bed and bring her to life right then but I showed some restraint and managed to wait until the light of day.
I think most of us have heard of the Rorschach test, a.k.a. "The Ink Blot test". The test was created by Swiss psychologist Hermann Rorschach during the 1920's. The test uses psychological interpretation and scientific algorithms to examine how an individual perceives a series of ink blots. You will see the ink blot test pop up in period pieces and commercials as a common reference for psychological analysis. So how did we get from that to the ink blot butterflies we all made and loved in preschool? I am not entirely sure but I think we may have Andy Warhol to thank.
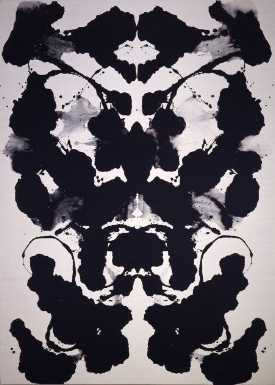
In 1984 Warhol created a series of large scale Rorschach's by painting one side of a canvas and then folding it vertically to imprint the other half. Ironically, Andy originally misinterpreted the ink blot test, believing that patients created the ink blots and doctors analyzed them: “I thought that when you went to places like hospitals, they tell you to draw and make the Rorschach Tests. I wish I’d known there was a set.”
Sometimes the best ideas happen by accident and sometimes they wake you up at night.
High five, Andy!
Andy Warhol, Rorschach, 1984, Acrylic on linen
Andy Warhol, Rorschach, 1984, Acrylic on linen
Andy Warhol, Rorschach, 1984, Acrylic on linen
Materials:
acrylic or tempera paint - bright colors and metallics
assorted scrap book paper (it's super vibrant and perfect for this project)
scissors
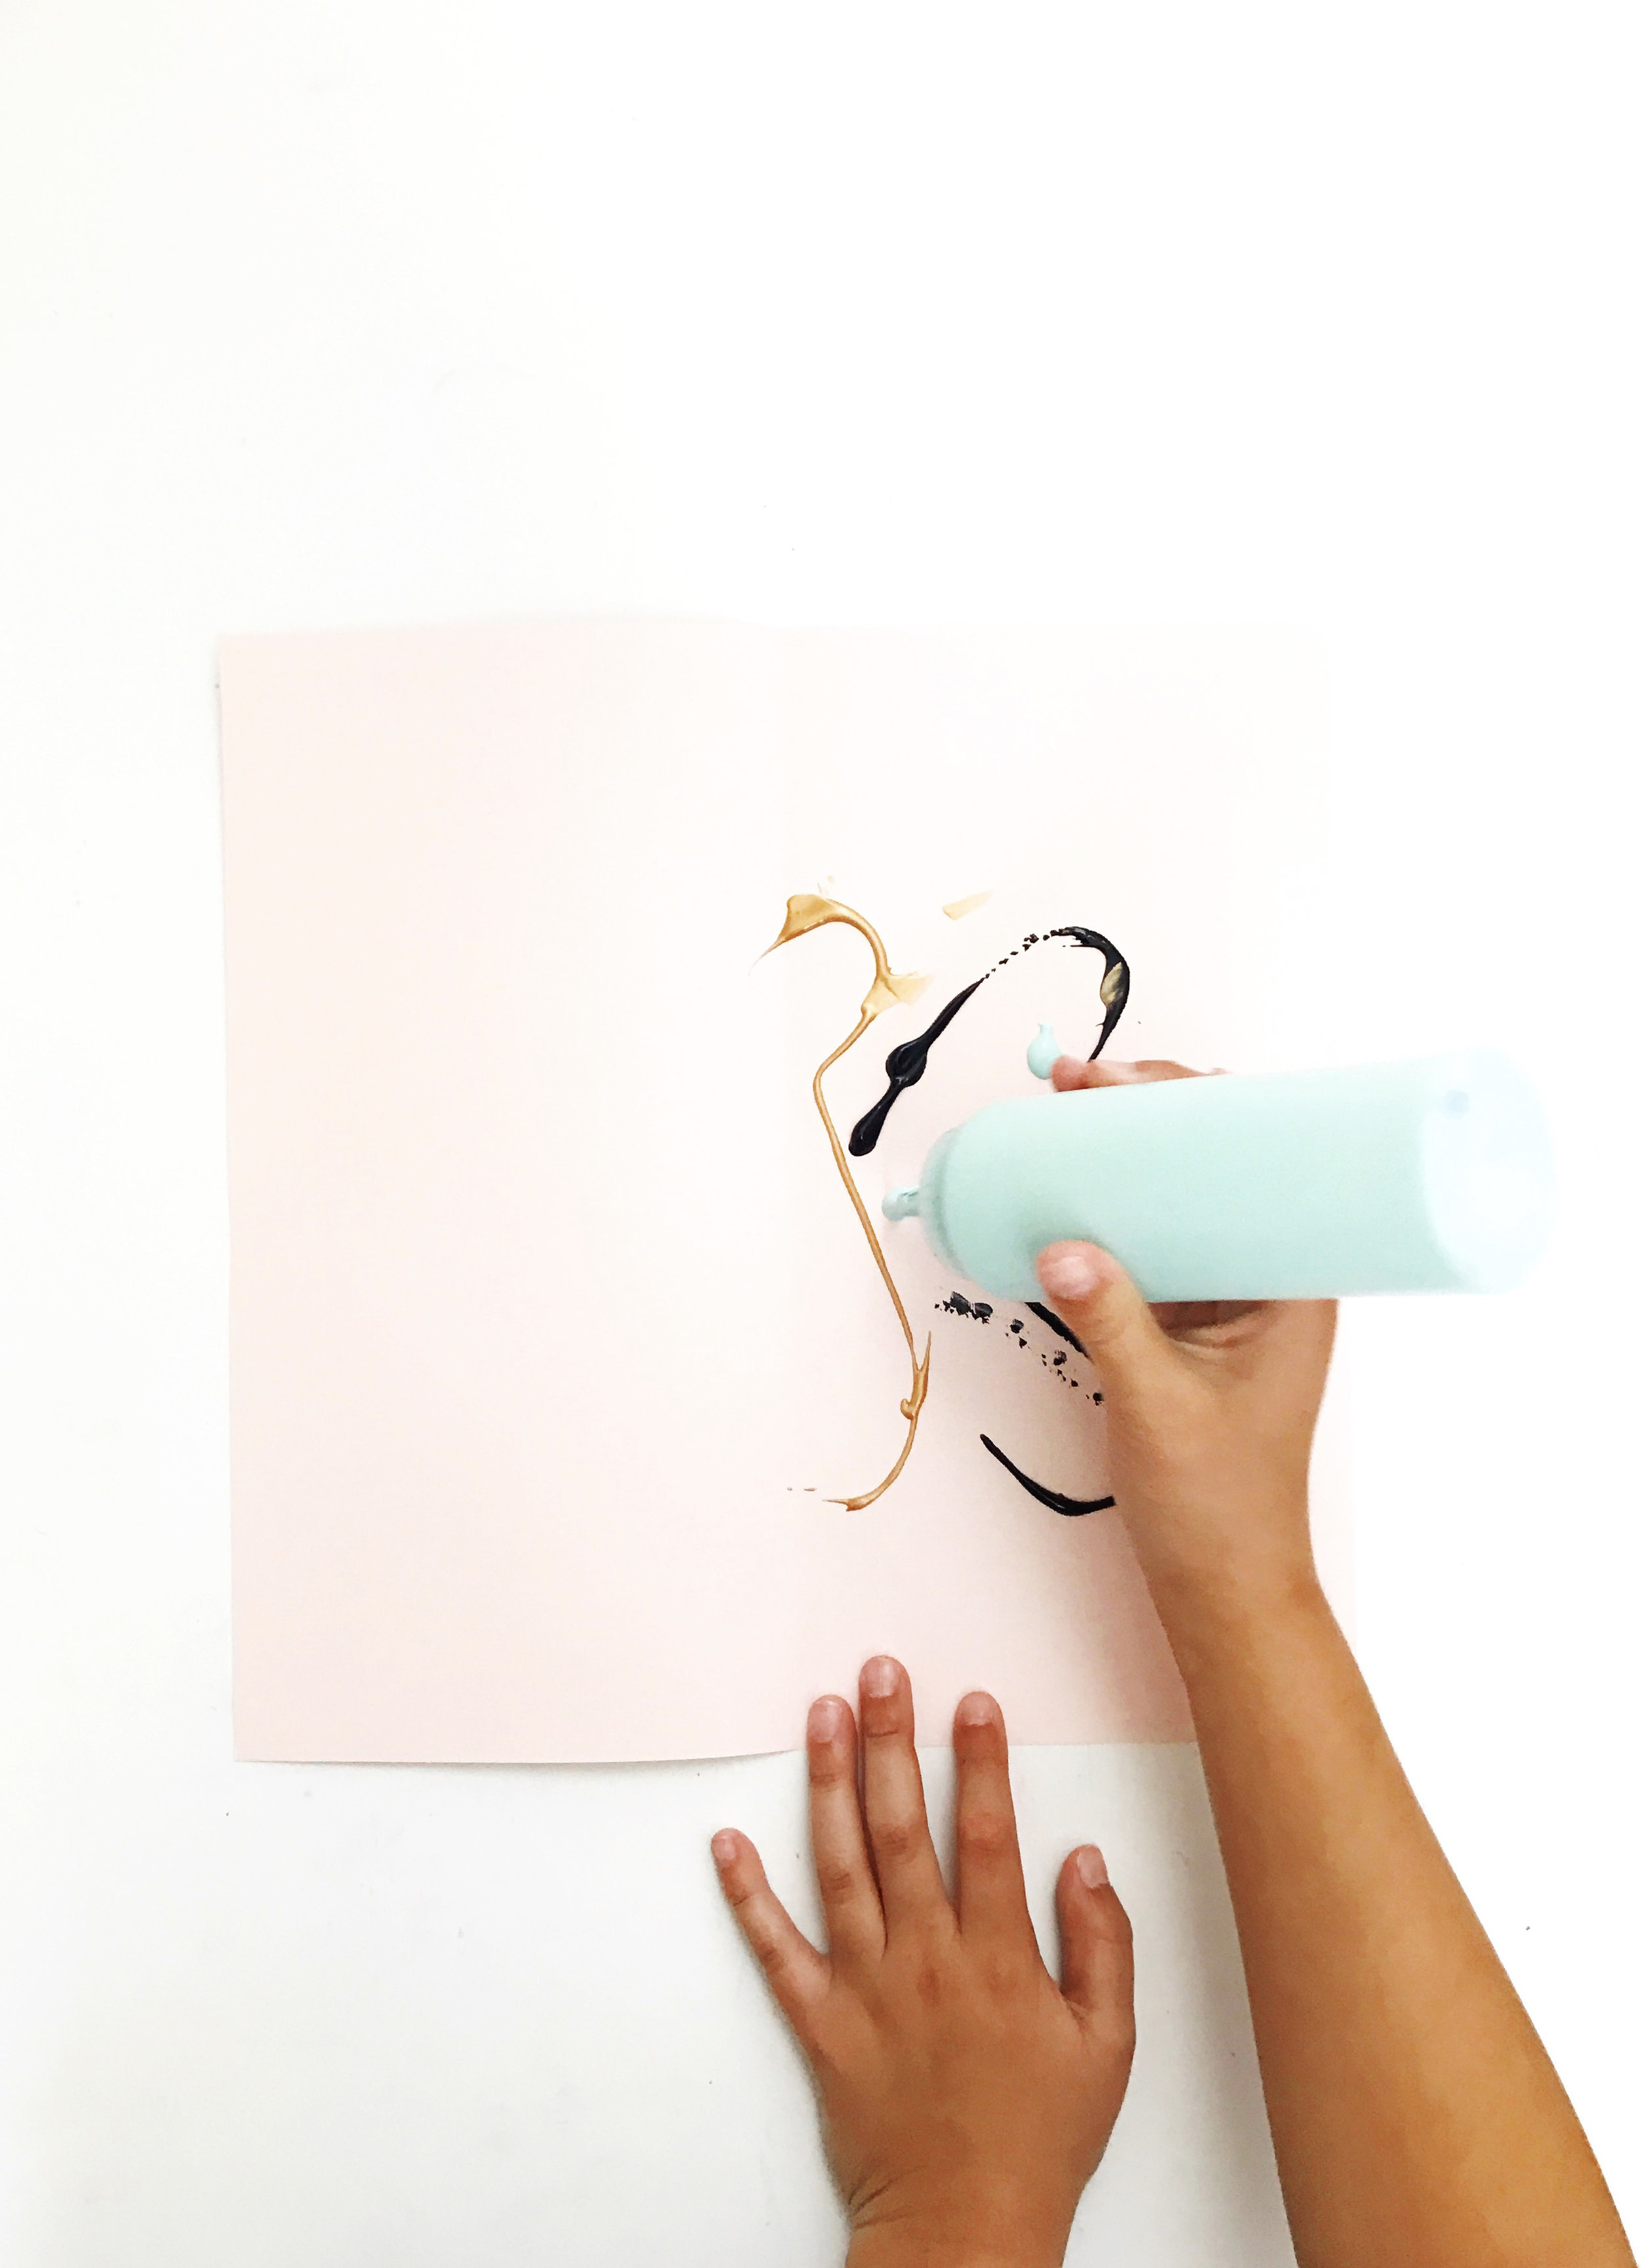
Step 1: Blend your paint colors in the condiment squeeze bottles. If you don't have condiment bottles you can substitute with a paint palette and brush, but squeezing the paint splats straight from the bottle is pretty fun! You could also you paint dabbers or droppers to apply color.
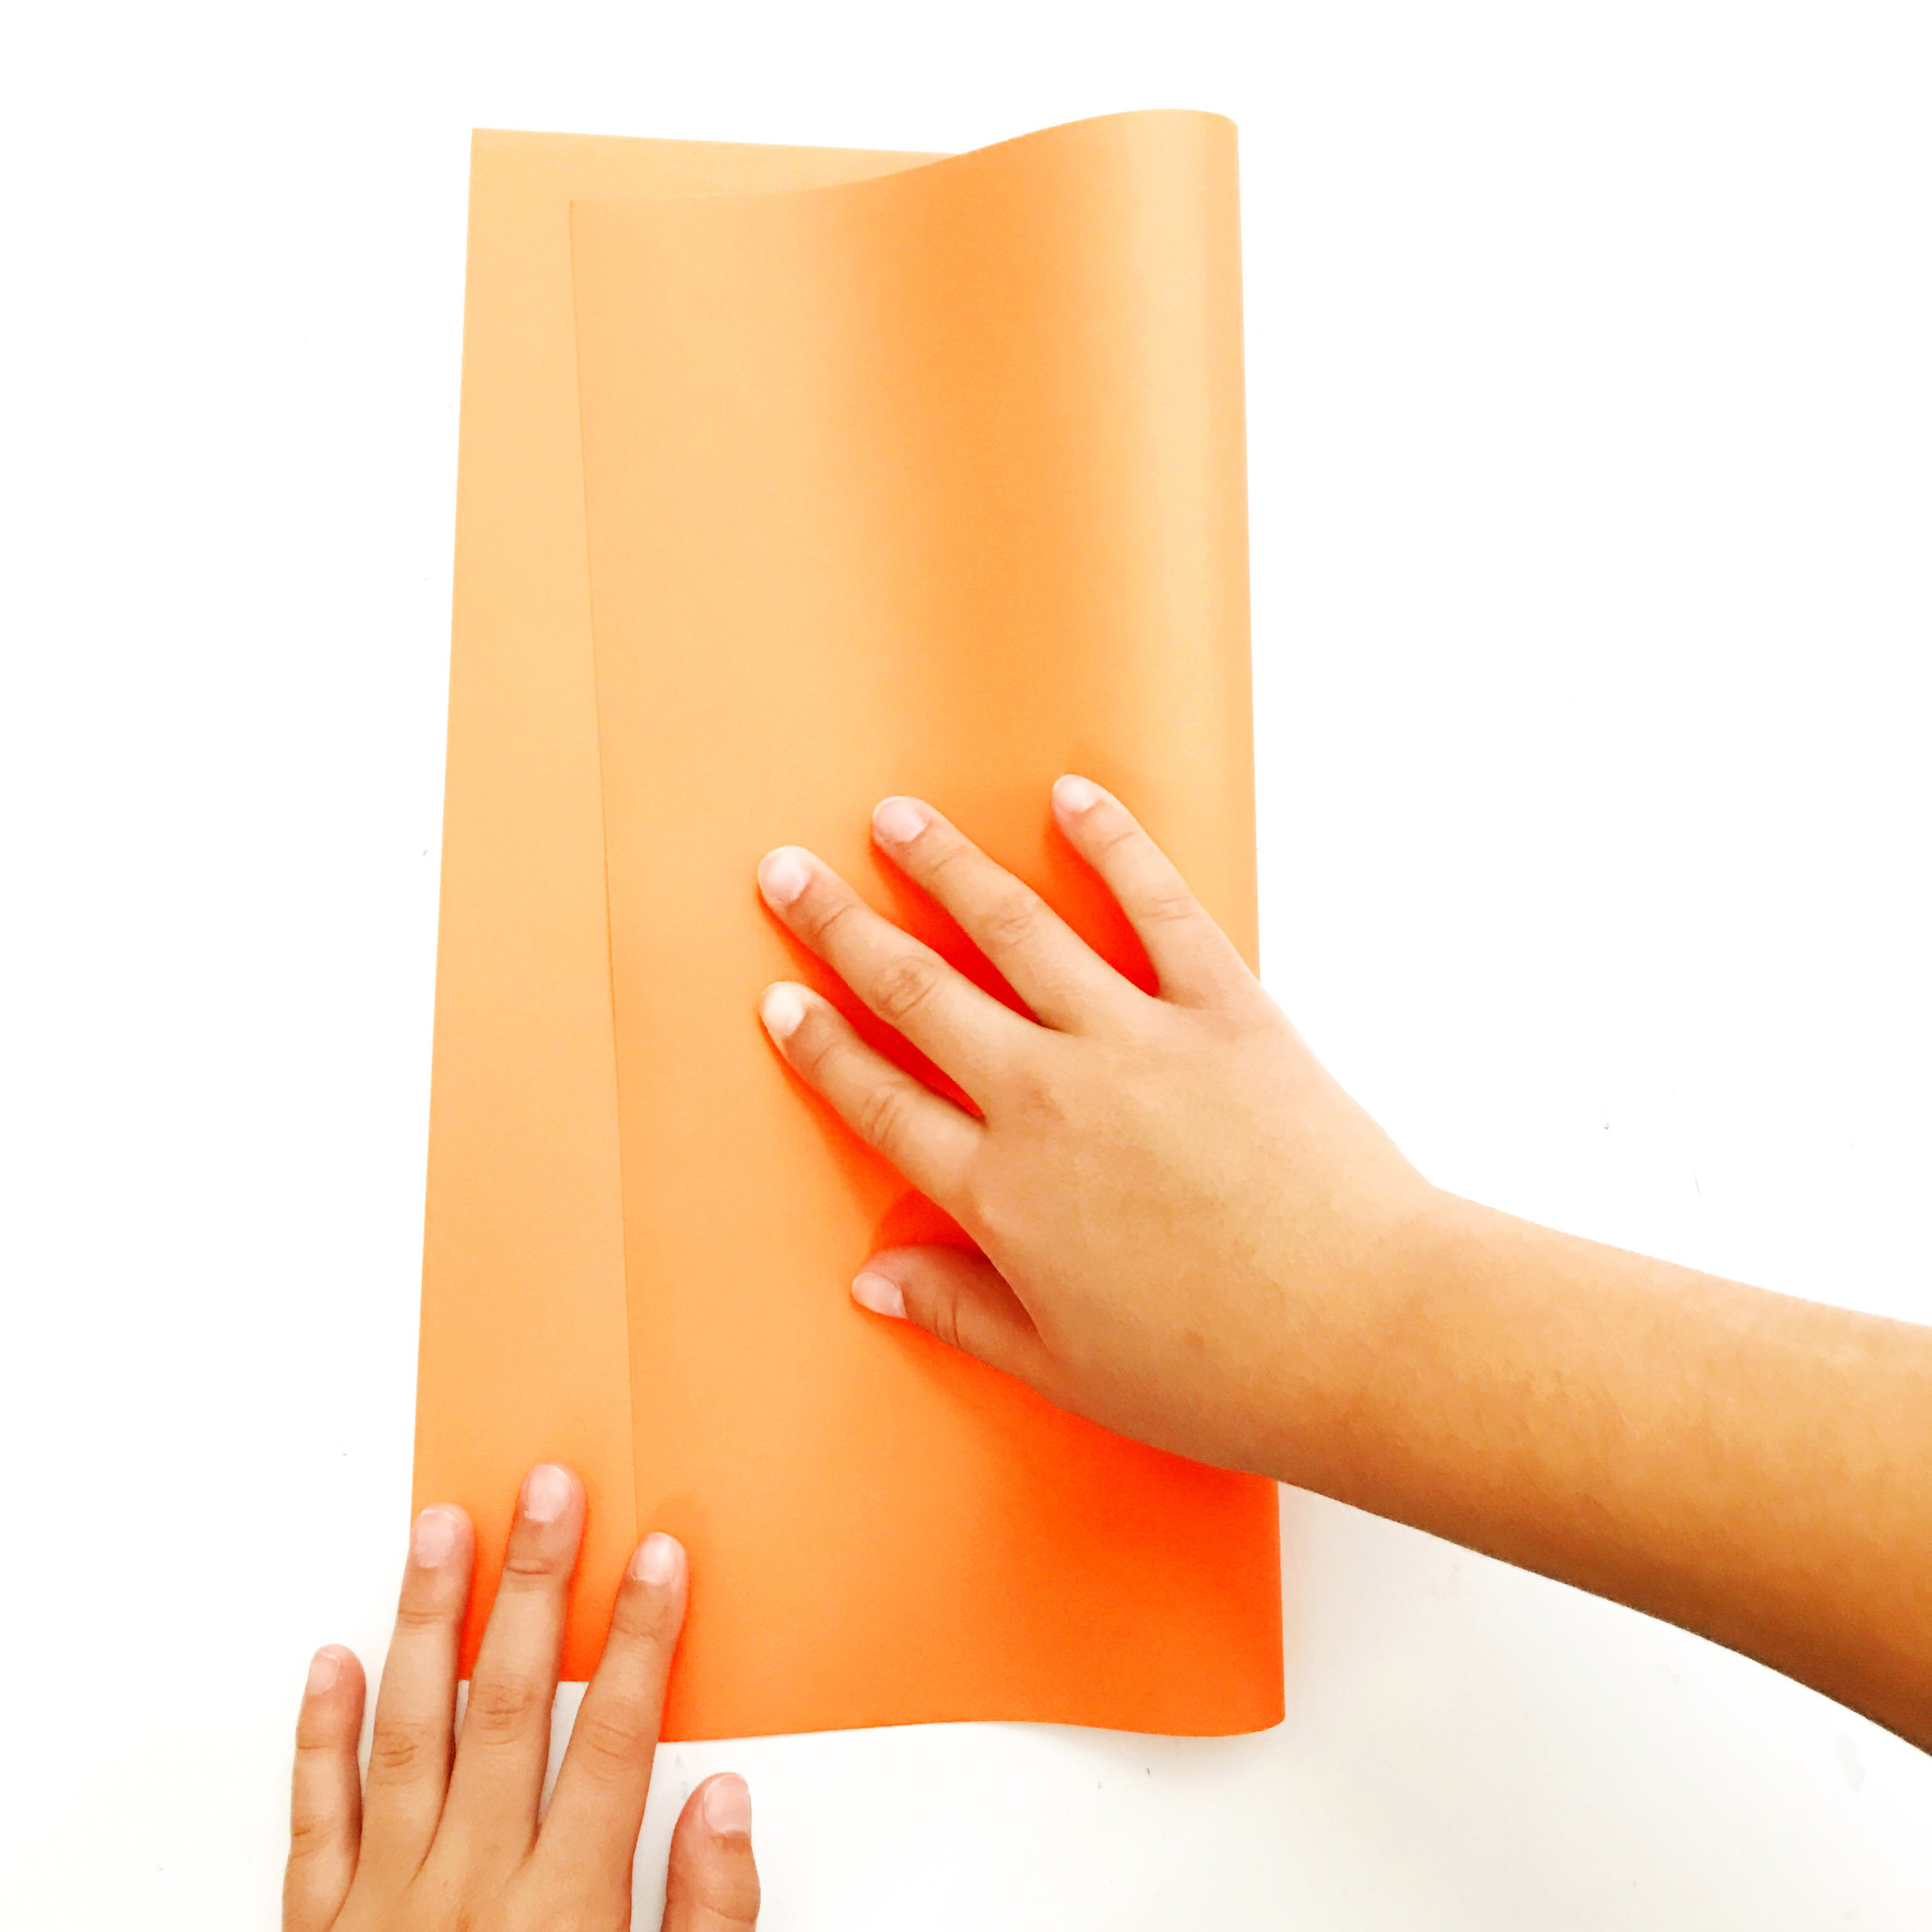
Step 2: Take a colored paper square and fold it in half, forming a crease down the middle.
Step 3: Open your fold and start to add your paint drops. We tried to loosely create one side of an insect shape with our painty drips and drabs. A little paint goes a long way. Remember to leave some negative space so that your background color can peek through.
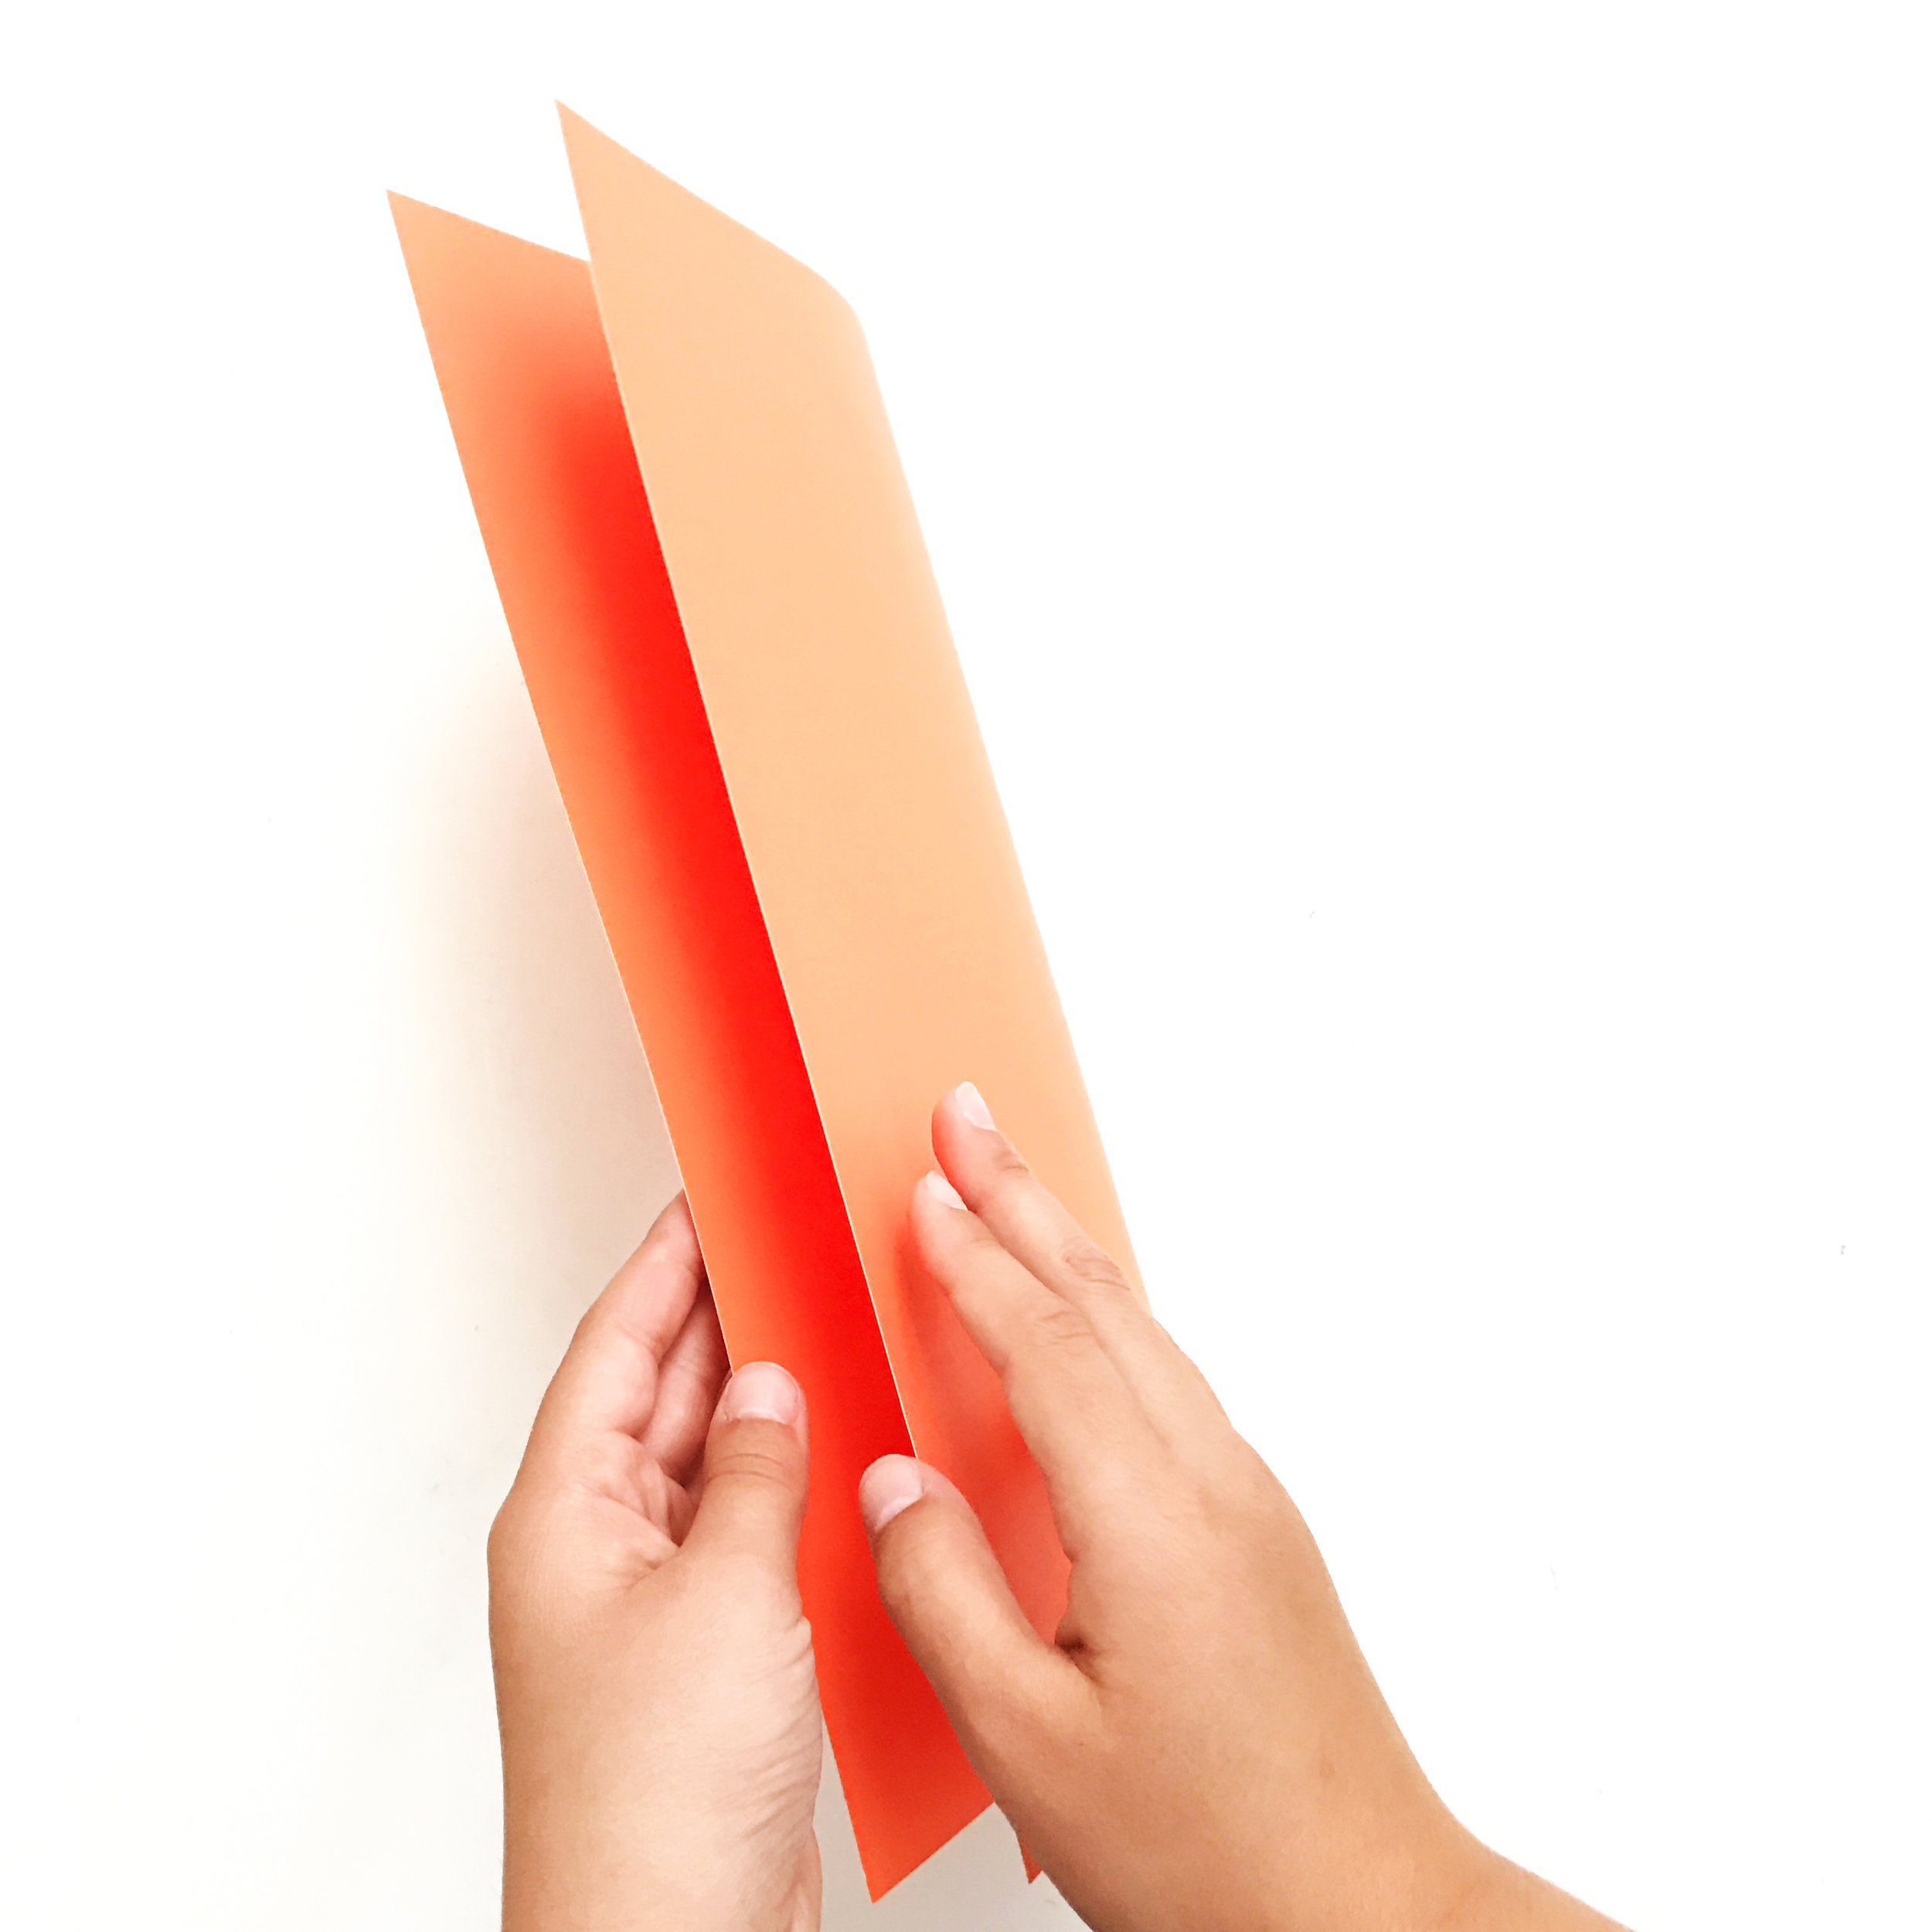
Step 4: Fold your paper in half again. Apply even pressure across the back of the paper for 20 seconds and then carefully peel back your paper. Voila! You should have a beautiful painty abstract bug shape. Set your bug out to dry for 30 minutes.
If you want to take your blot prints to the next level, add some metallic or opalescent paint! Look at how pretty the gold looks:
Step 5: When your bugs are dry you can leave them as is or you can cut your bug shapes out. To do this we used our ink blot shape as our guide. Where do we see antennae? Where are the legs? Then we used some of the negative space surrounding our beetles to extend these features. We cut one side and then folded our paper in half again and replicated our buggy outline.

