Up-cycled Cereal Box Lizards
The man who never alters his opinion is like standing water and breeds reptiles of the mind.
- William Blake
grab the complete UP-CYCLED CEREAL BOX LIZARDS project PDF + Printable pack here:
My love affair with up-cycled art projects continues with these little lizards. Sometimes when I go to execute an idea it feels close but not quite right. Other times it feels like a flop. Every once in awhile I have an idea and the end result is better than I imagined. I thought these little lizards would be fun to make. I did not expect them to be so life-like or that they would inspire so much imaginative play for my girls…that was a delightful surprise. The art teacher in me is imagining using these lizards in a lot of different projects. Here are some ideas I have been thinking about:
Build a small world habitat and home for the 3-d lizards
Decorate them with aboriginal dotty designs and mount them to a piece of tree bark
Add fantastical details (spikes, collars, scales) and turn them into alibrijes style creatures
Mount them to a grassy Warhol inspired background and create and turn them into POP ART lizards!
Add the lizards to a wild mixed media jungle painting for a 3-D pop
Are you ready to make some of your own? The process is simple, the supply list short, the possibilities = endless!
Materials:
empty cereal box, thick card stock or tag board
acrylic (what we used) or liquid tempera or tempera sticks
good scissors to cut your cereal box or thick paper
paint pens or fine point brush for details
** Please note that we participate in the Amazon Affiliate program. This means if you purchase any of the products linked here we will receive a tiny sales commission at no additional cost to you. We only link to products we use and love. Your support helps us keep this site running - thank you!
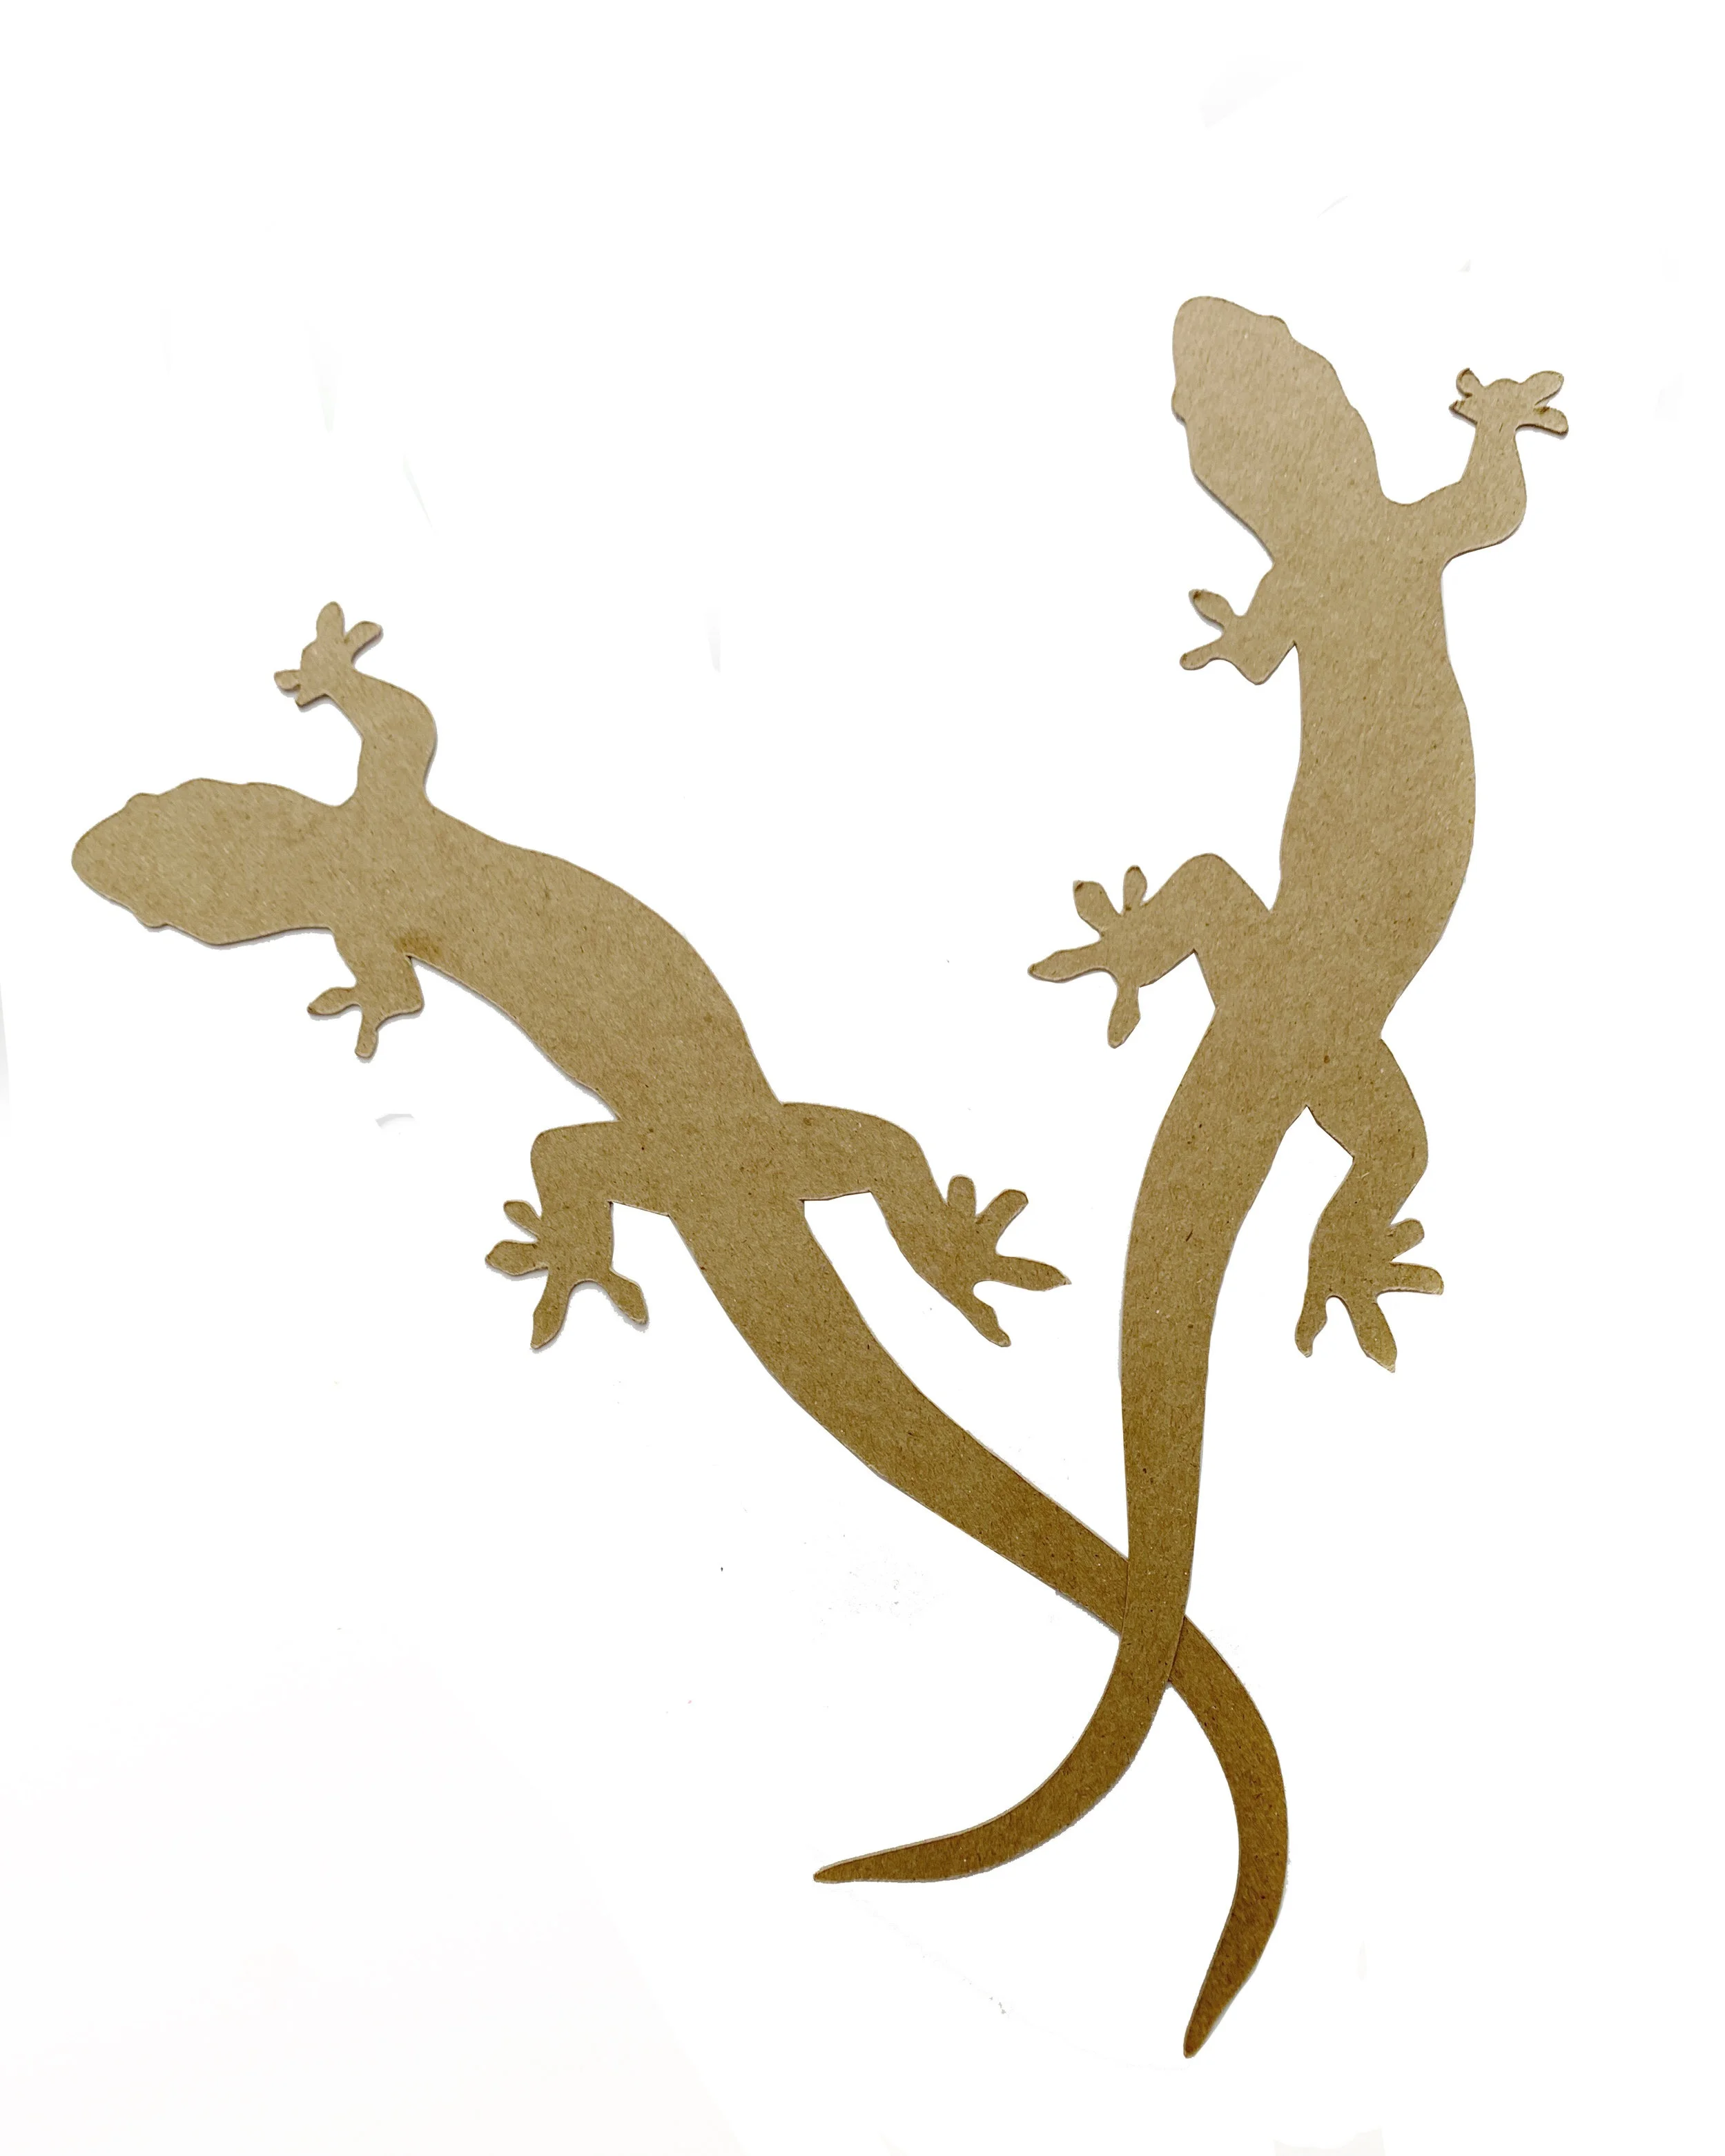
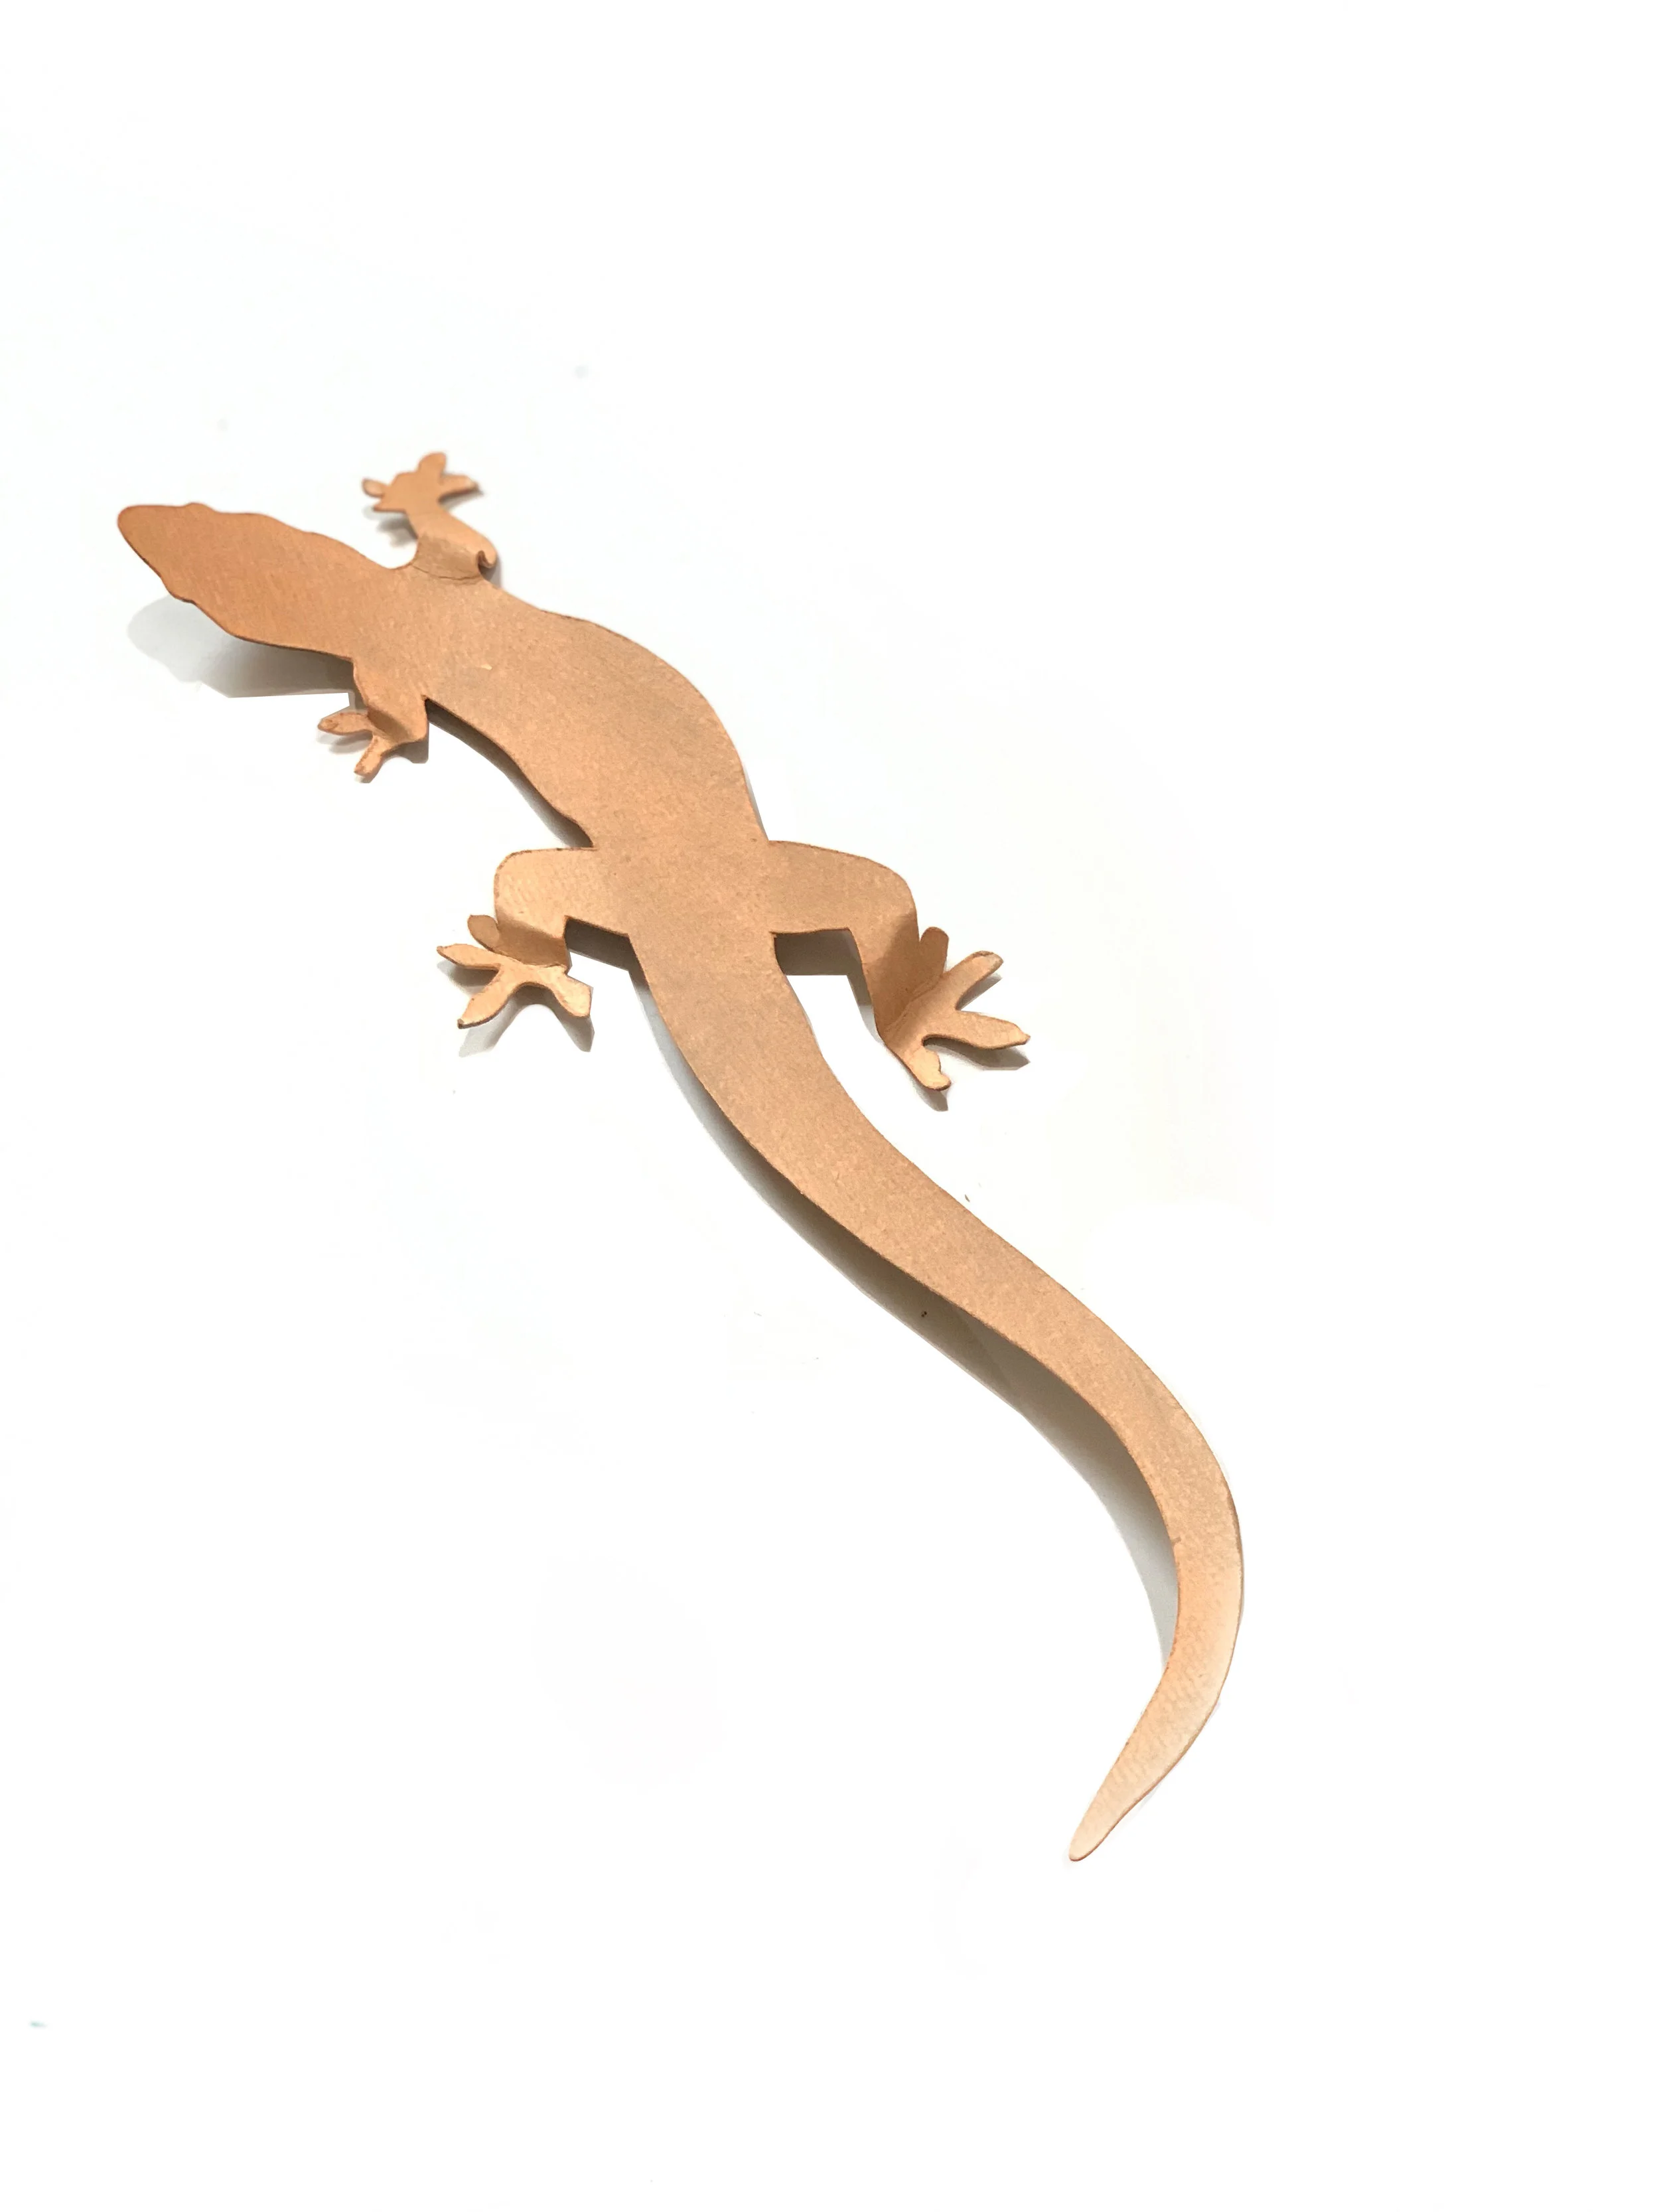
Print out your ART CAMP lizard template. If you are using card stock and not a cereal box you can print directly on your card stock and simply cut out the lizard shape. If you are using a cereal box (like we did) you will have to print, cut, and trace the lizard shape onto the inside of your cereal box. If you have a good pair of scissors the cereal box should be pretty easy to cut.
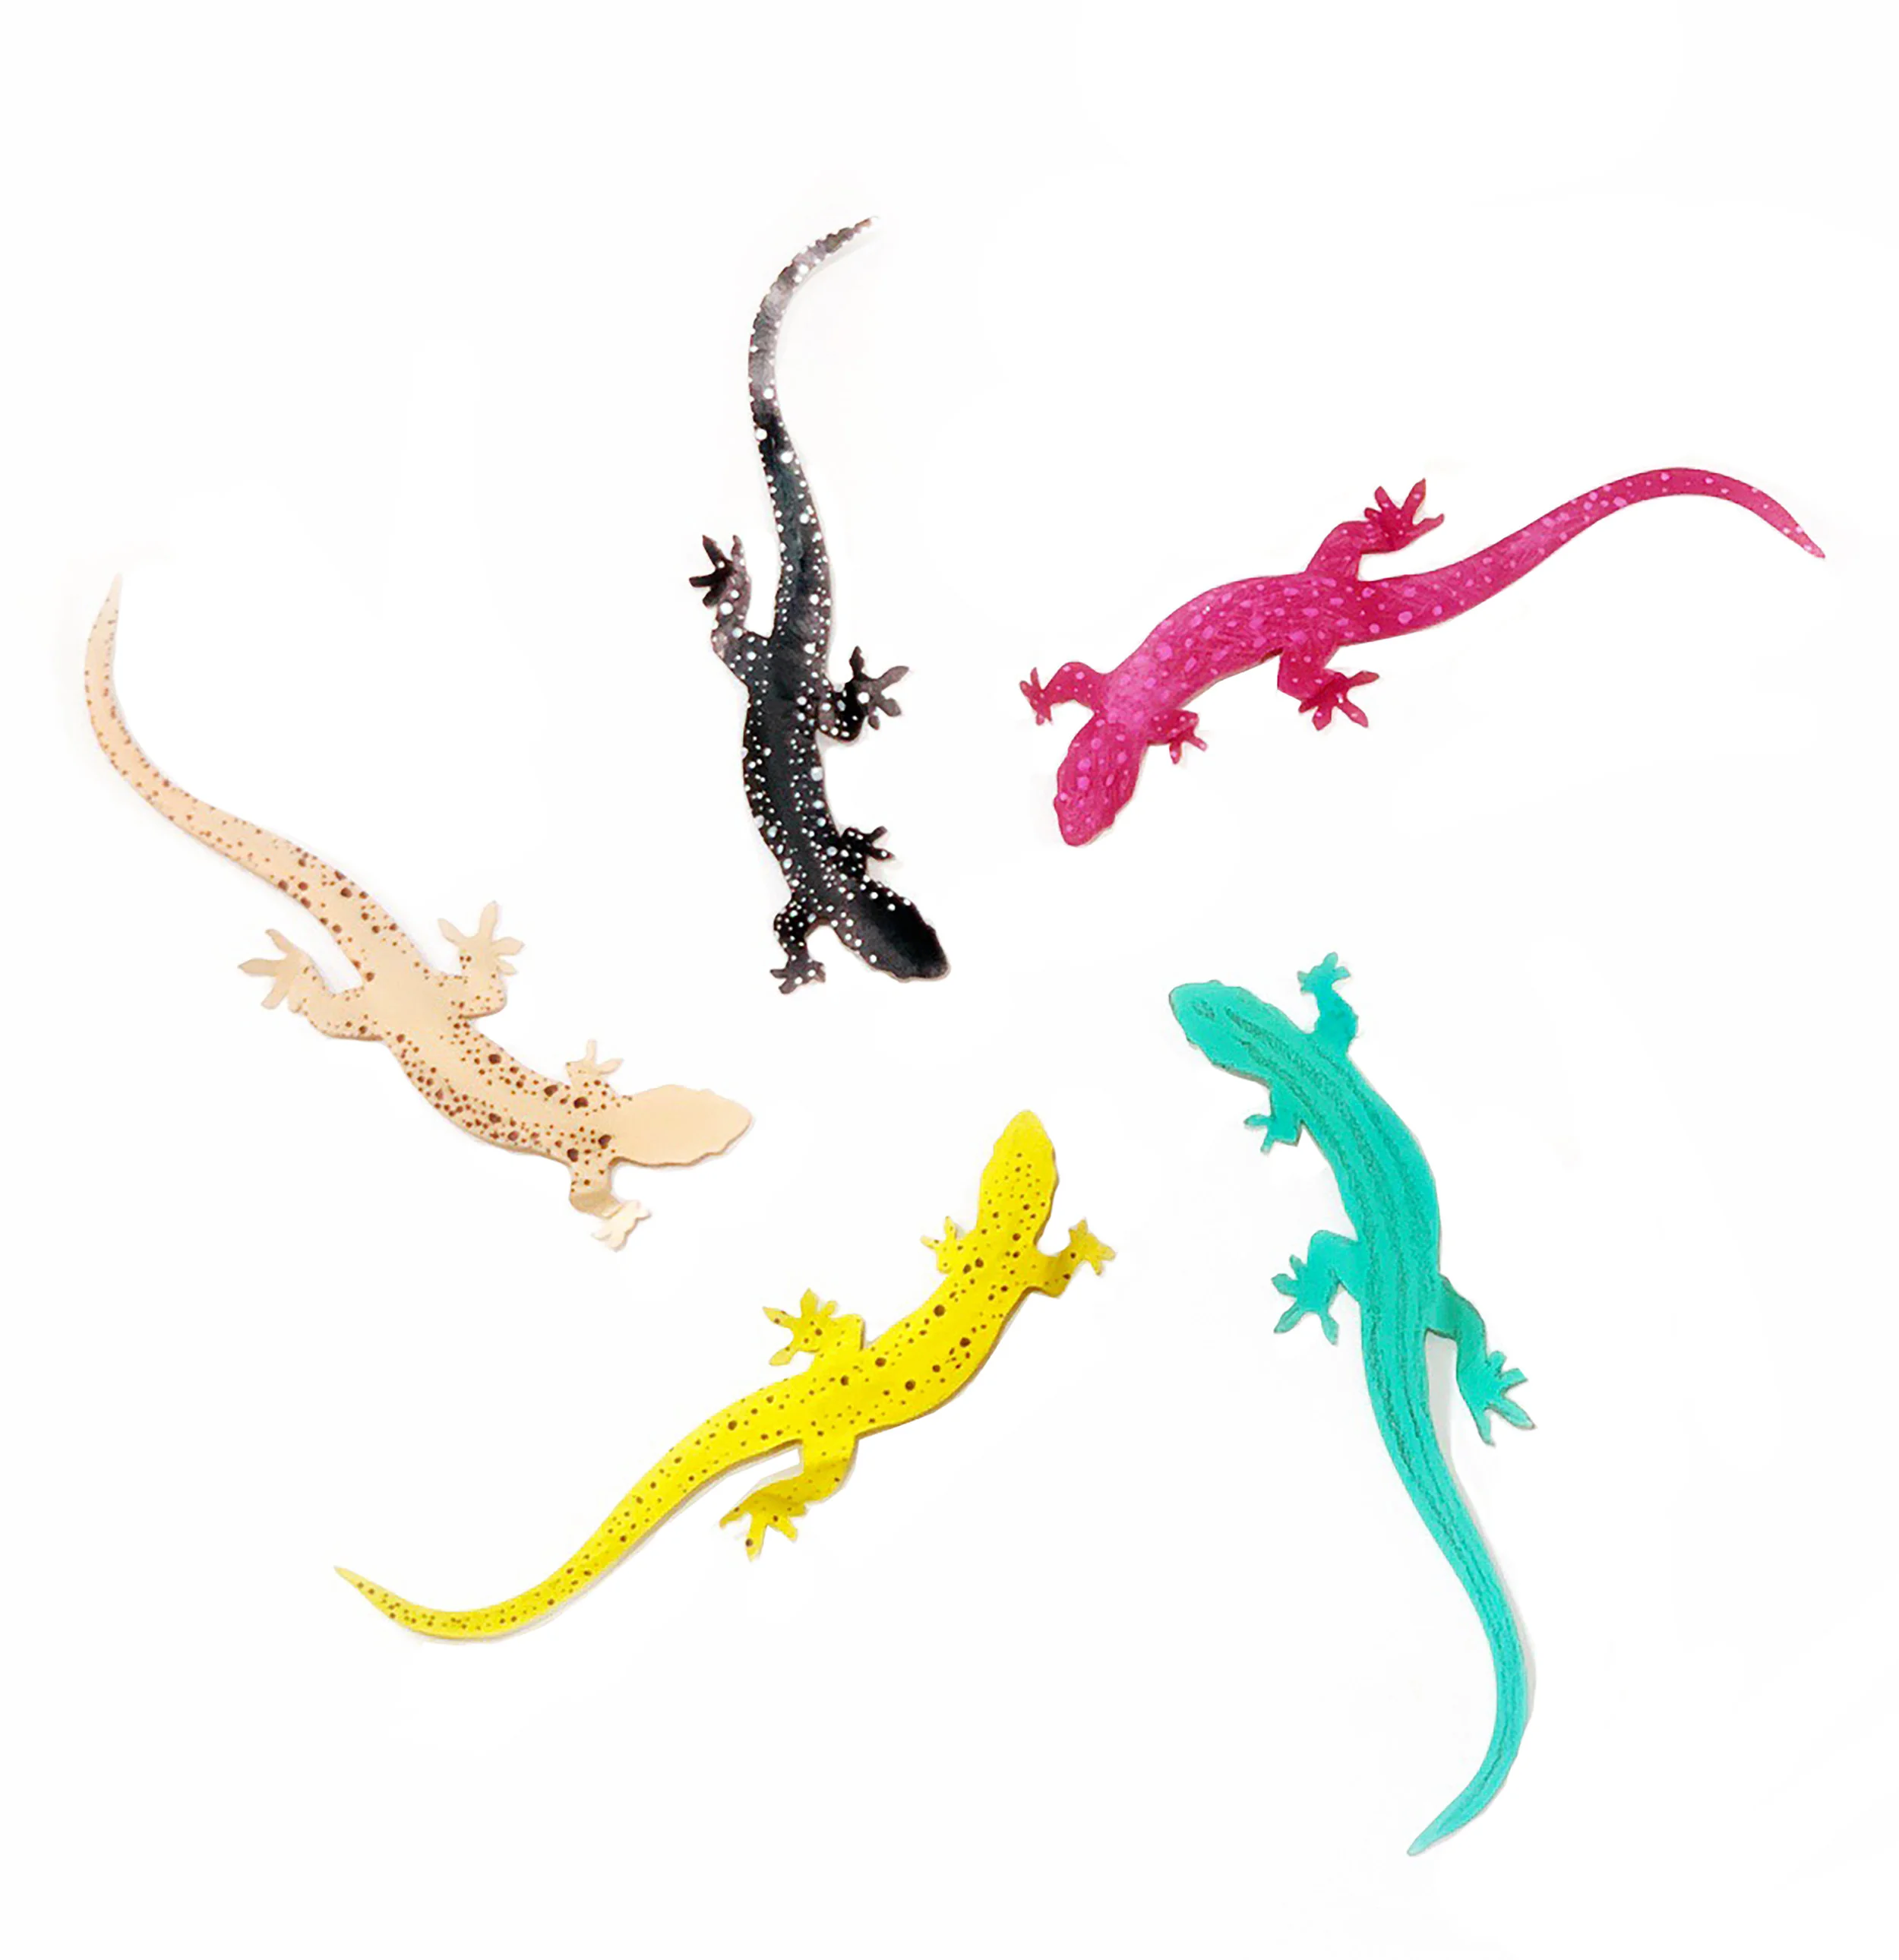
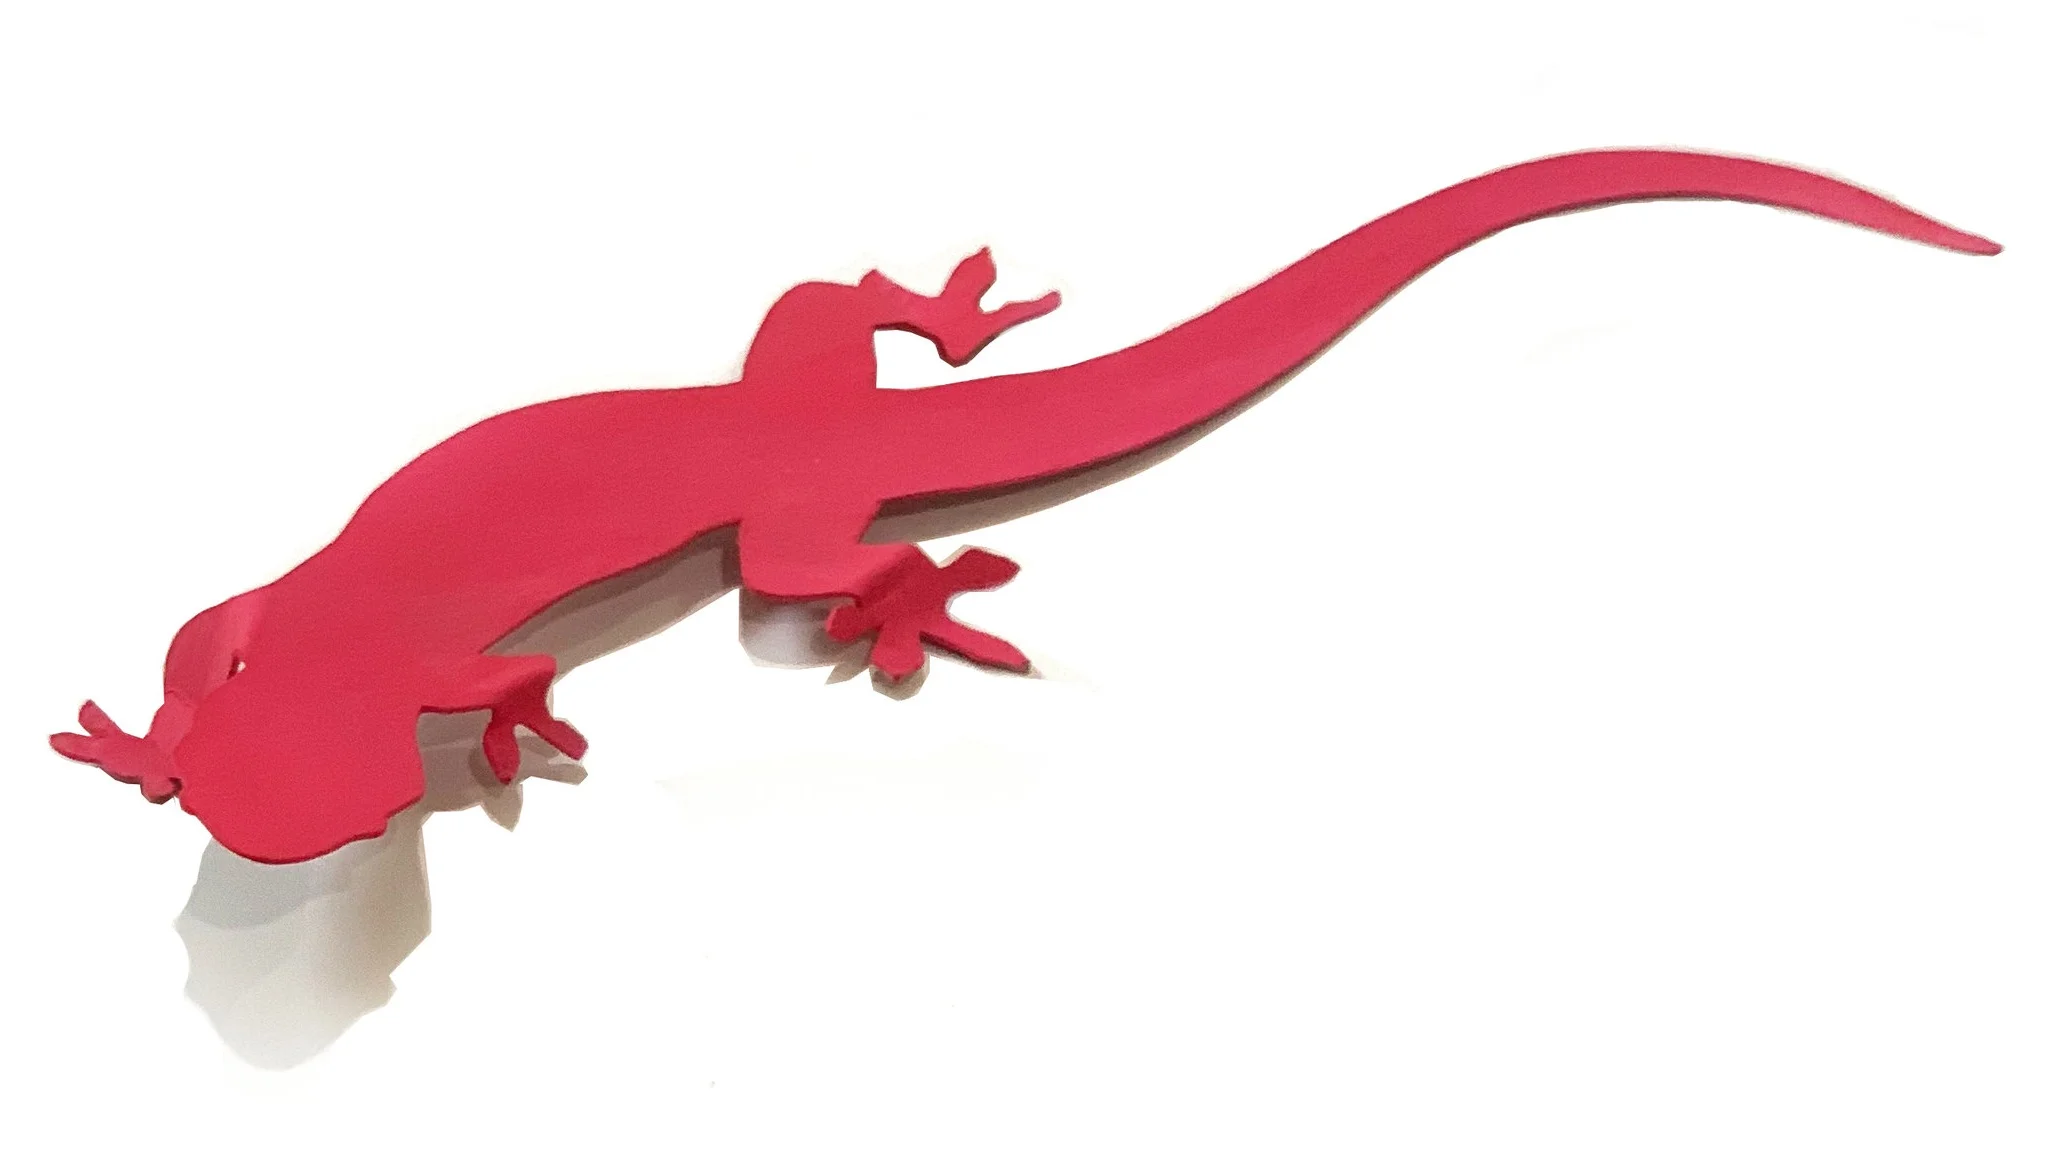
We painted our lizards with acrylic craft paint but you could certainly use tempera paint or even tempera paint sticks. Once your paint has dried you are going to bend your flat cut-out lizard into a more realistic standing body. See how the red and peach lizards are bent at the “joints”? Also kind of round out your lizard head and body. Use your thumbs to create a spoon like bend of the head. Press the under belly of your lizard and pull down the sides so he is a little more “puffed up”.
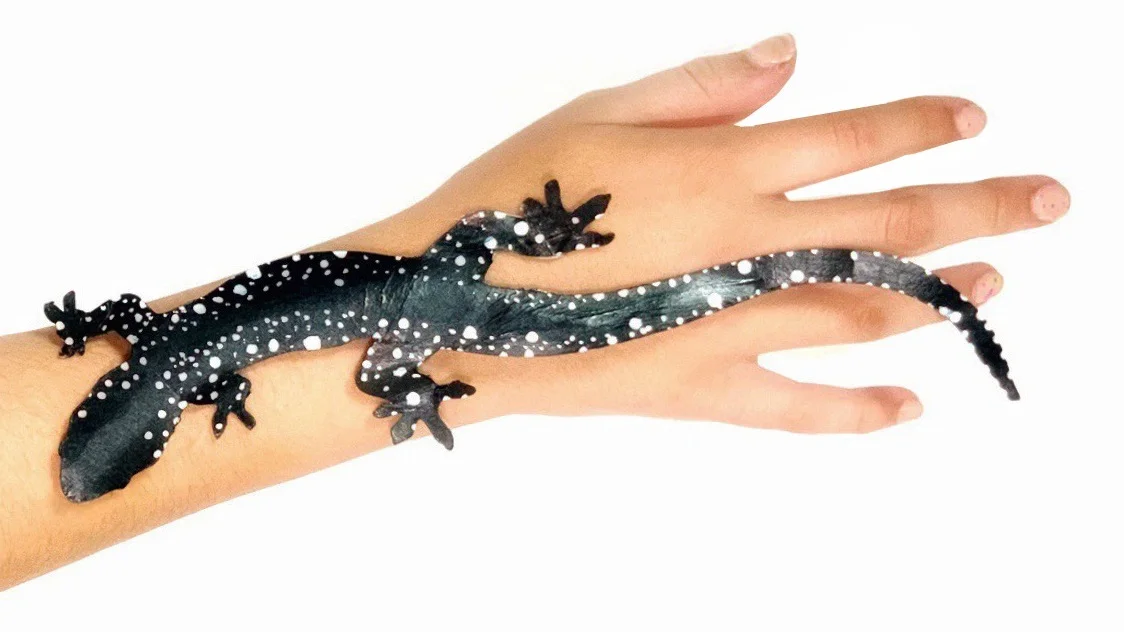
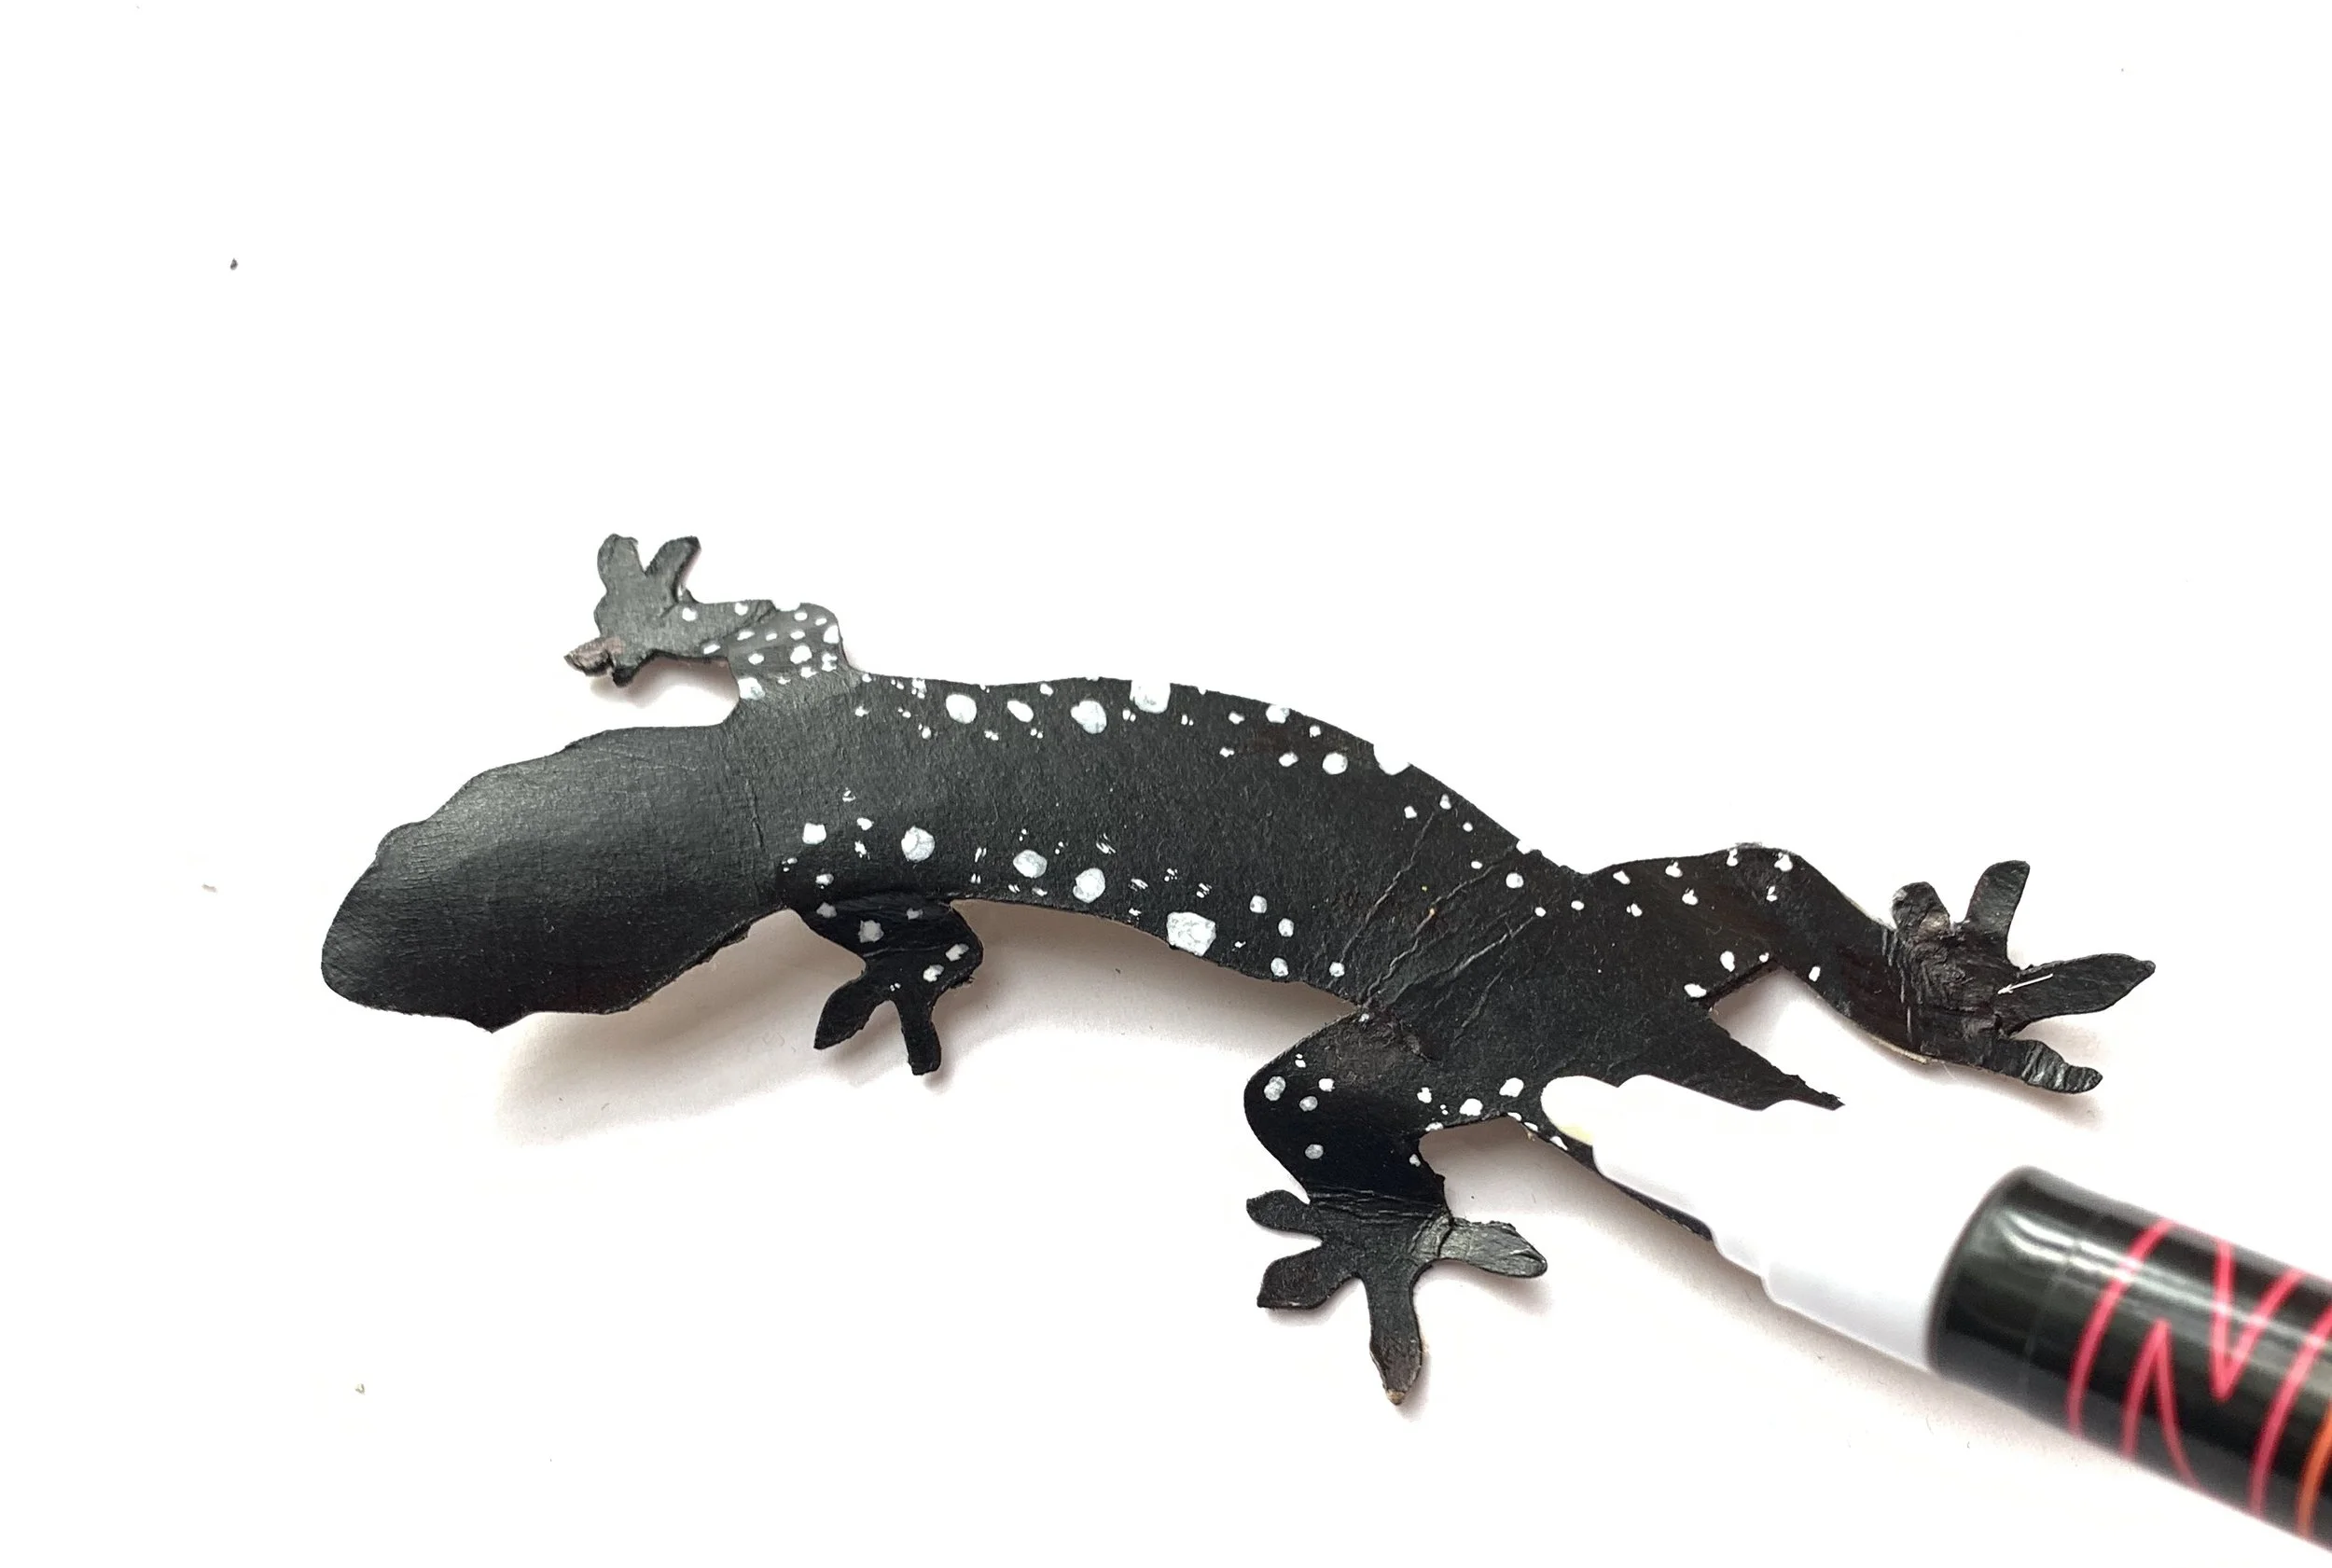
See how the black lizards head has a pretty nice shape? That just takes a little finger tip manipulation. We weren’t sure if we wanted to add designs on top of our paint or not so we waited until they were fully formed before adding spots and stripes. The dots were created with paint pens. Please note: If you know you want to add details it is probably a bit easier to decorate a flat lizard.
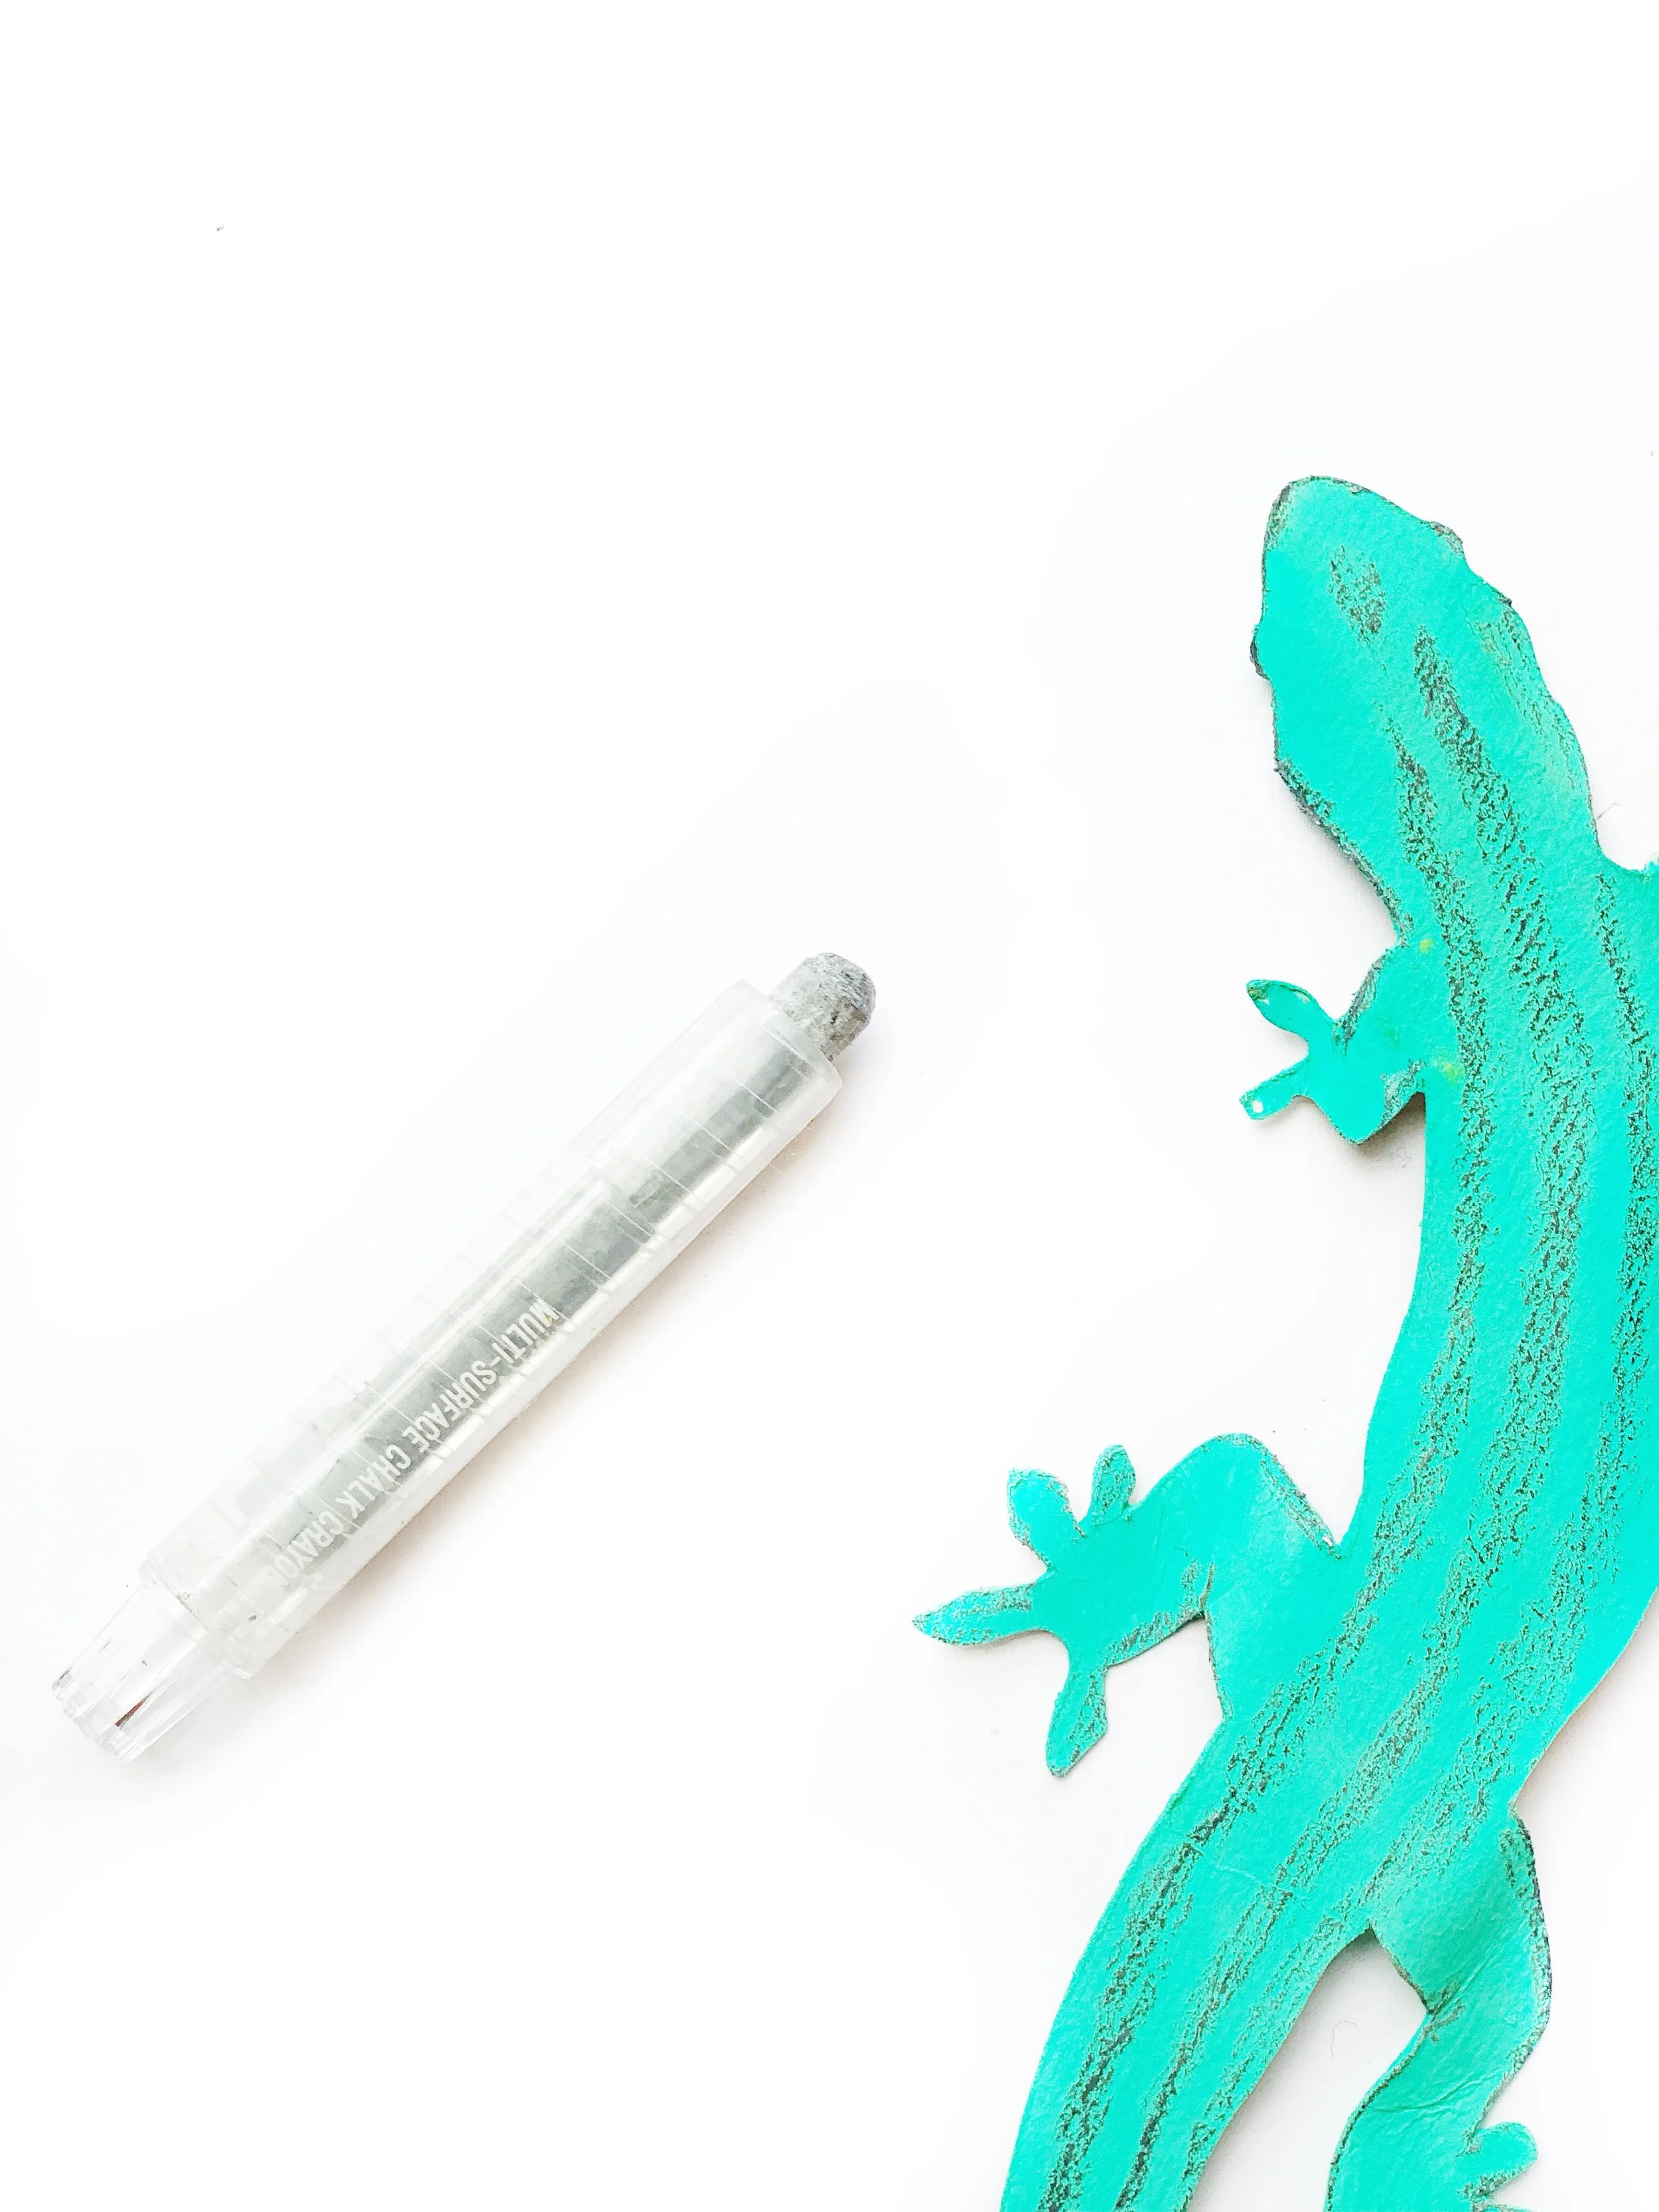
The scaly, dusty, stripes on this guy were created with chalk crayons
You might want to look at some lizard photographs to get ideas for designs. We took a peek at some spotted lizard examples and tried to emulate the varying types of spots and streaks.
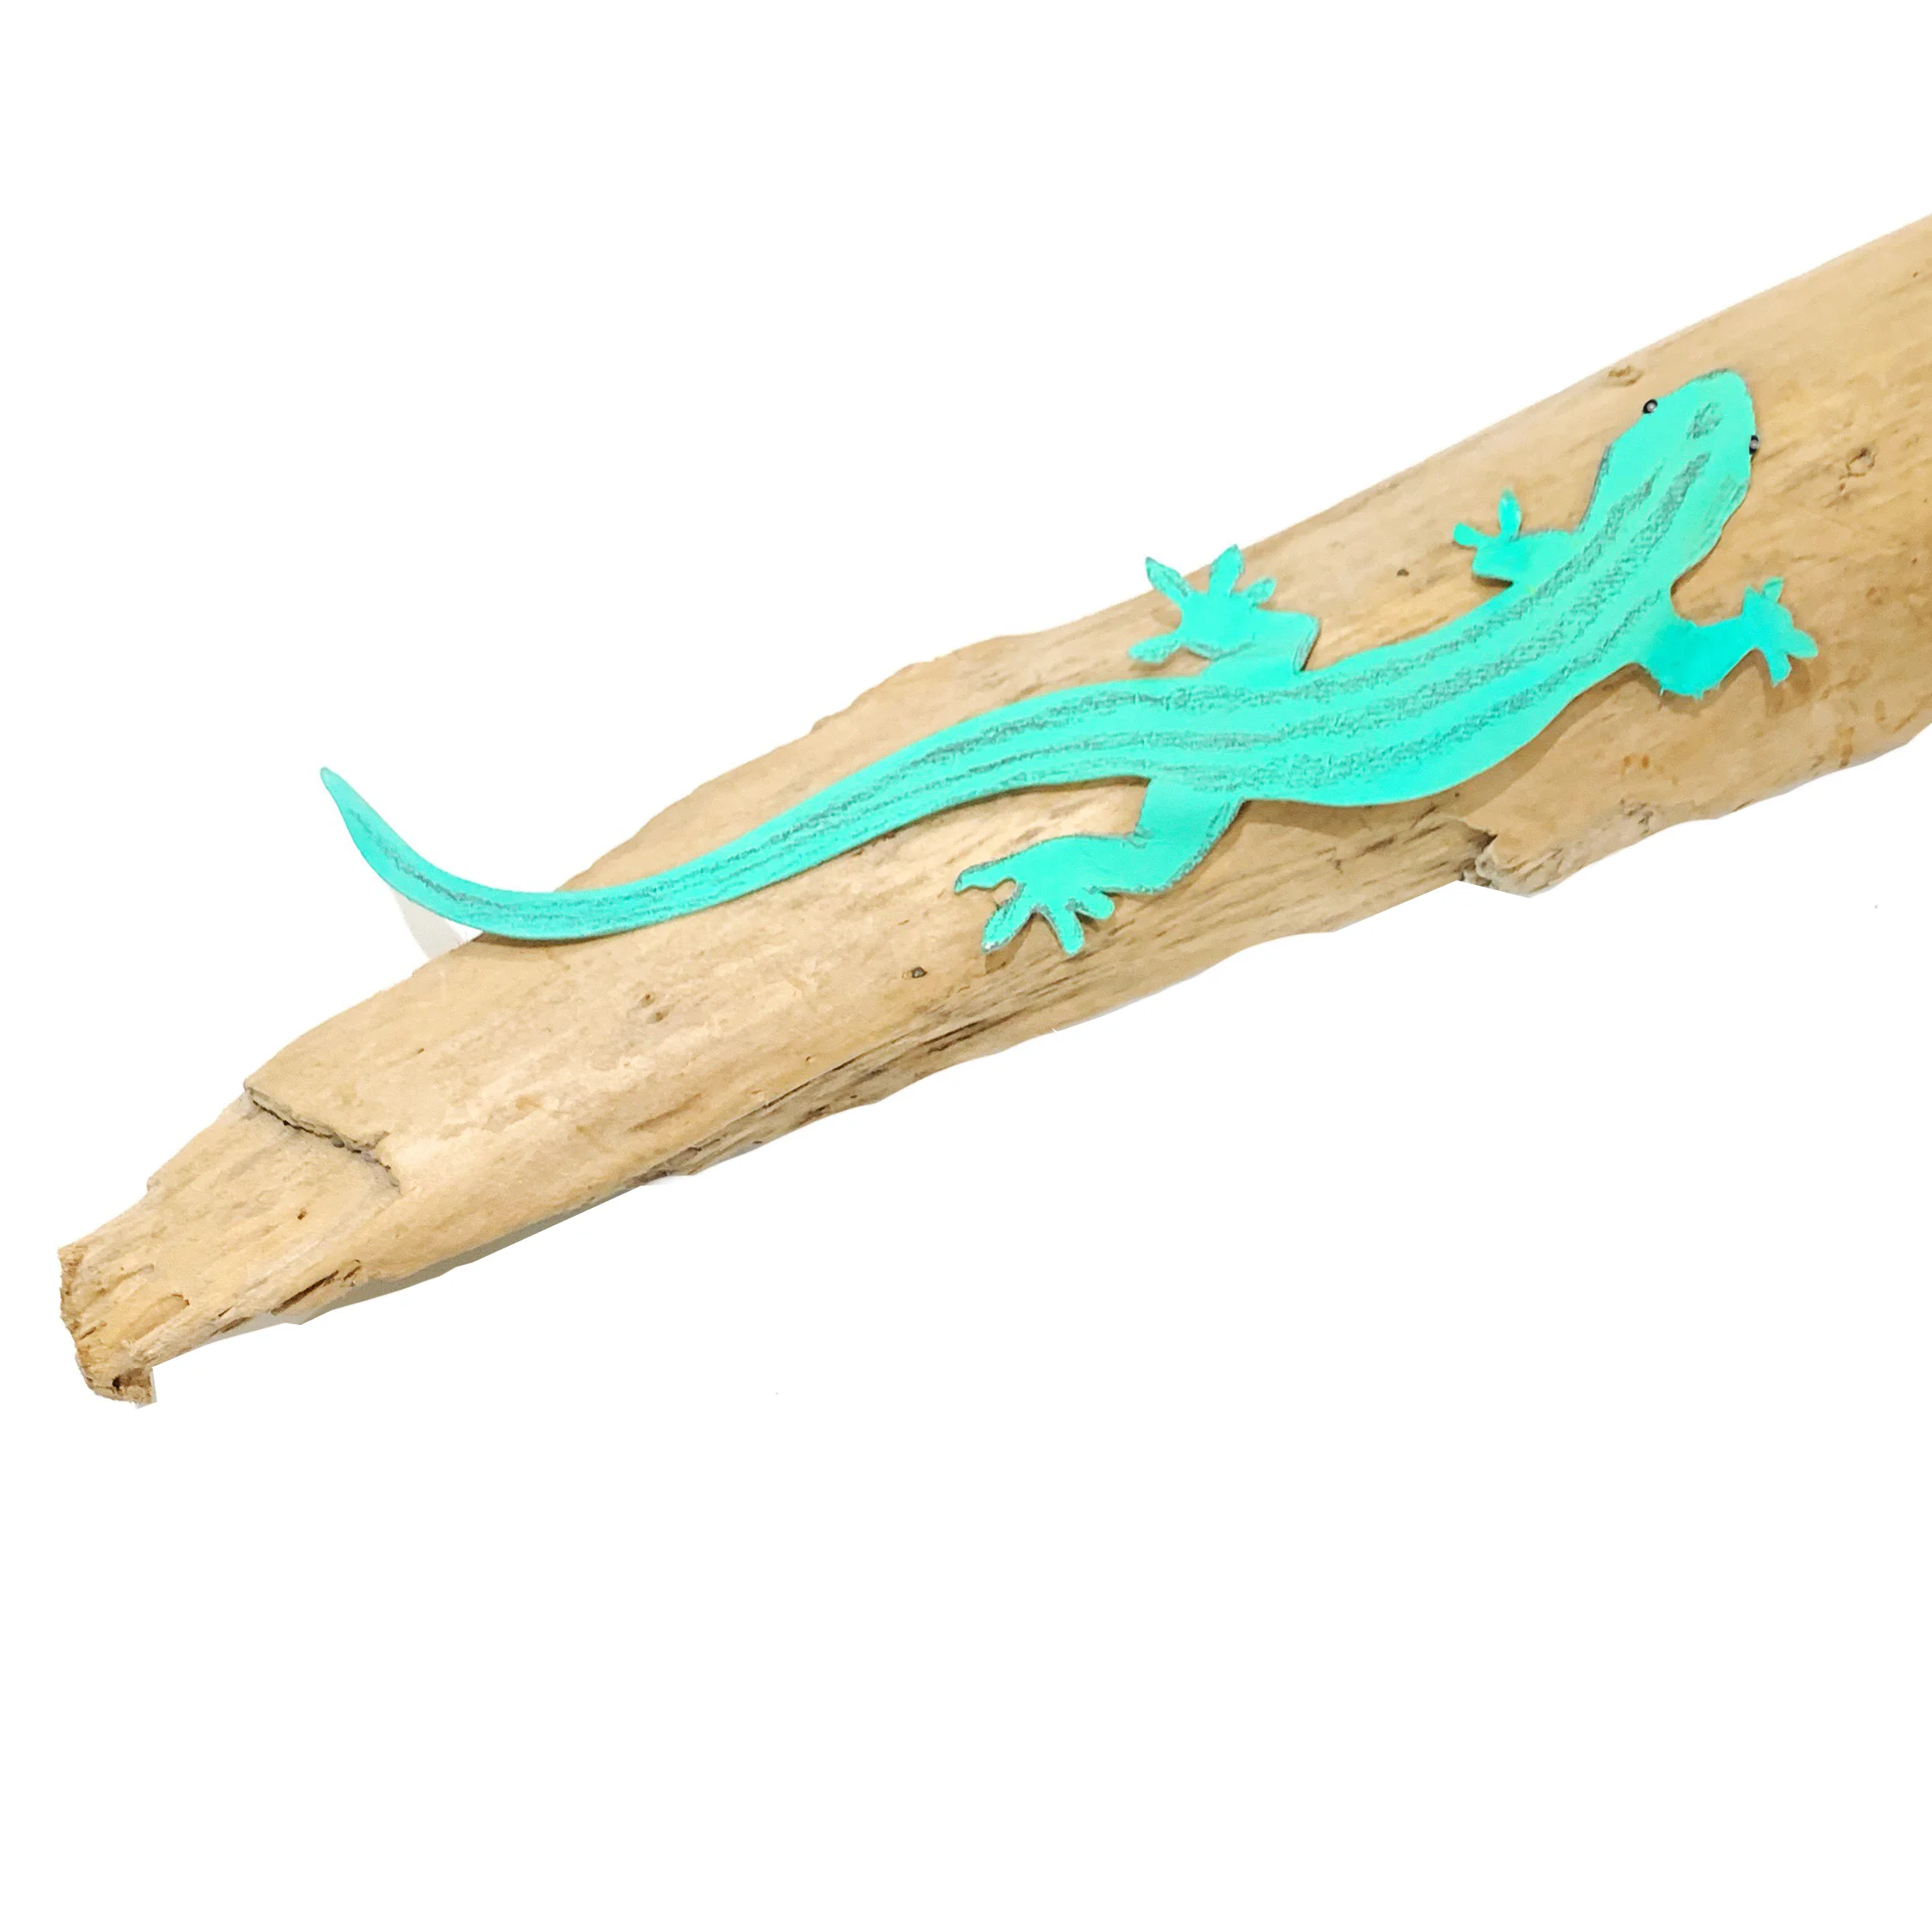
Don’t forget to give your lizard a branch to sun bathe on!

