
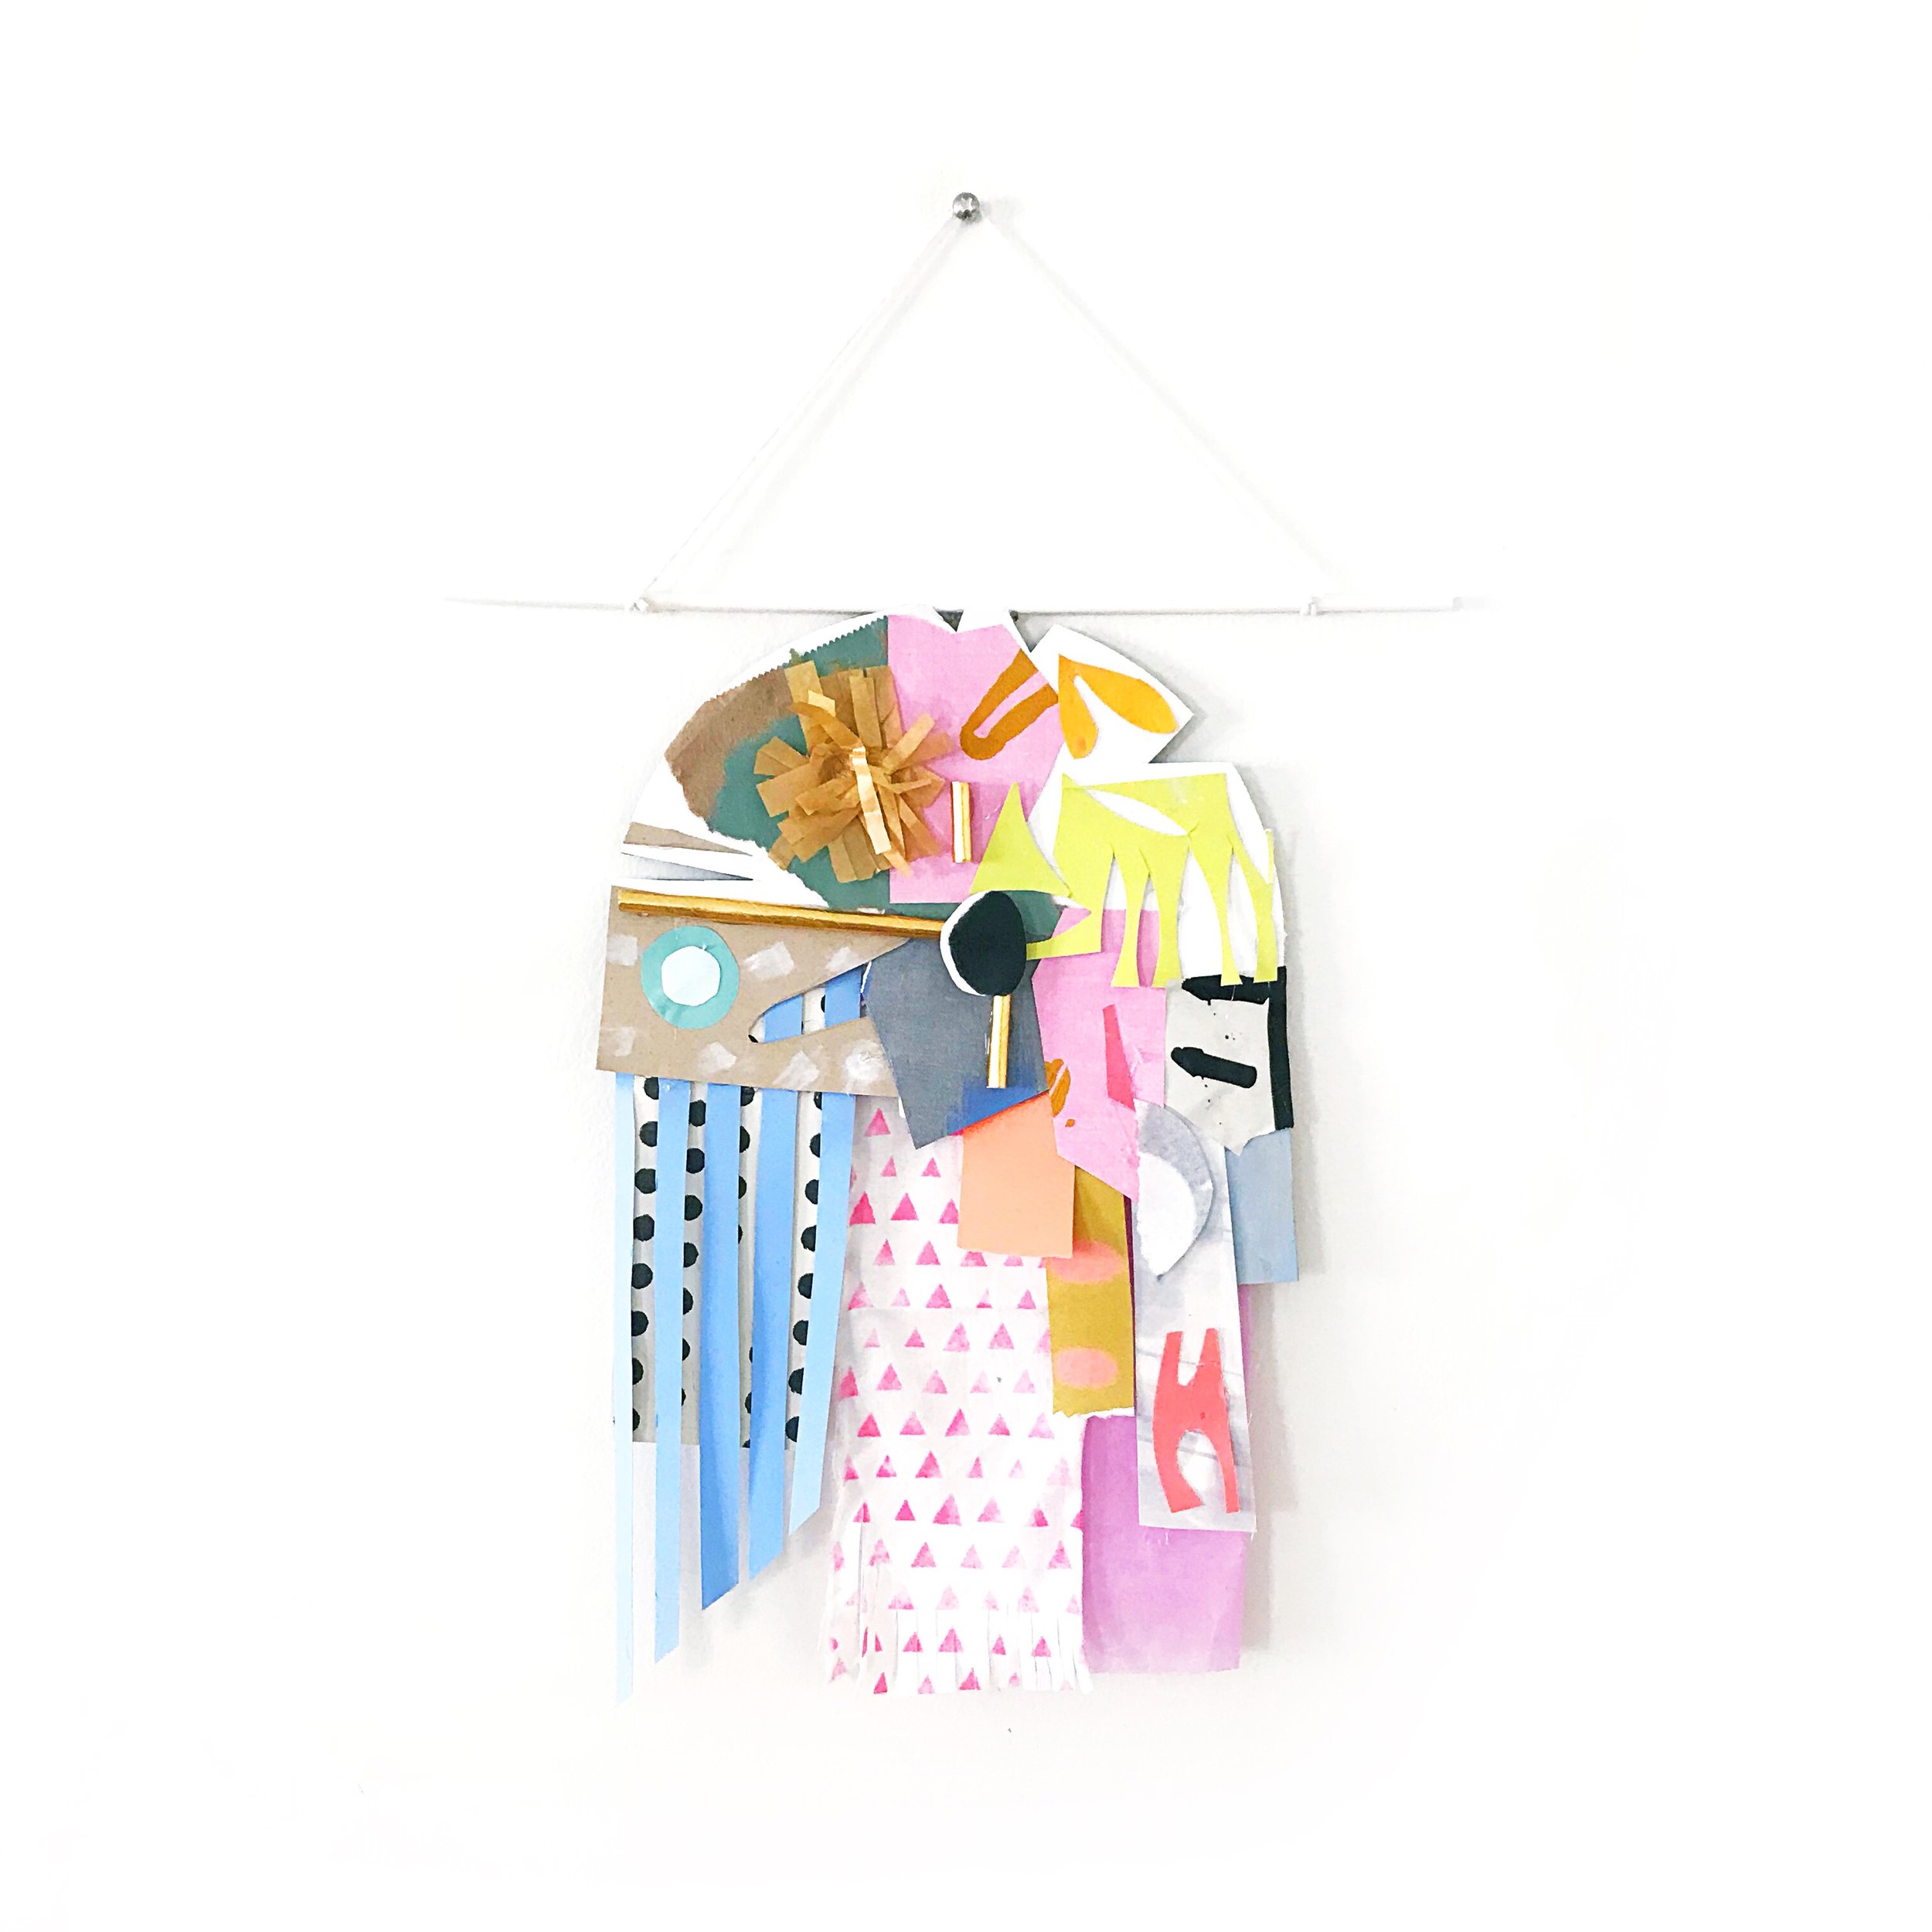
Scrap Paper Collage Wall Hanging
Whatever makes you feel the sun
from the inside out
chase that.
- Gemma Troy
grab the SCRAP PAPER COLLAGE WALL HANGING video class here:

This 52 min video class is a live event recording
Snip, rip, tear and stack! This process art class is great for the whole family.
After purchasing your class you will receive an email letting you know that your order is ready. Click the link “SCRAP PAPER WALL HANGING CLASS BUNDLE.PDF” to download the suggested materials list, and a link to your private class page + password.
** Please note that this video class + class bundle is for personal/individual/non-commercial use
If you are interested in incorporating ART CAMP curriculum into your fee-based classes, art program or business please visit the Pro Page and join the ART CAMP Pro Community.
Take me to ART CAMP Pro sign up
The hidden treasure of a festive holiday season filled with parties, presents, and arts and crafts o' plenty is an overflowing amount of scrappy goodness. Bits of wrapping paper, snippets of magazines and colorful catalog pages, fancy tissue paper, and greeting cards, ribbons and cloth... patterns, colors, and textures just waiting to be turned into a work of art for your wall!
Materials:
Please note that you can absolutely use what you have, this is just a list of what we used!
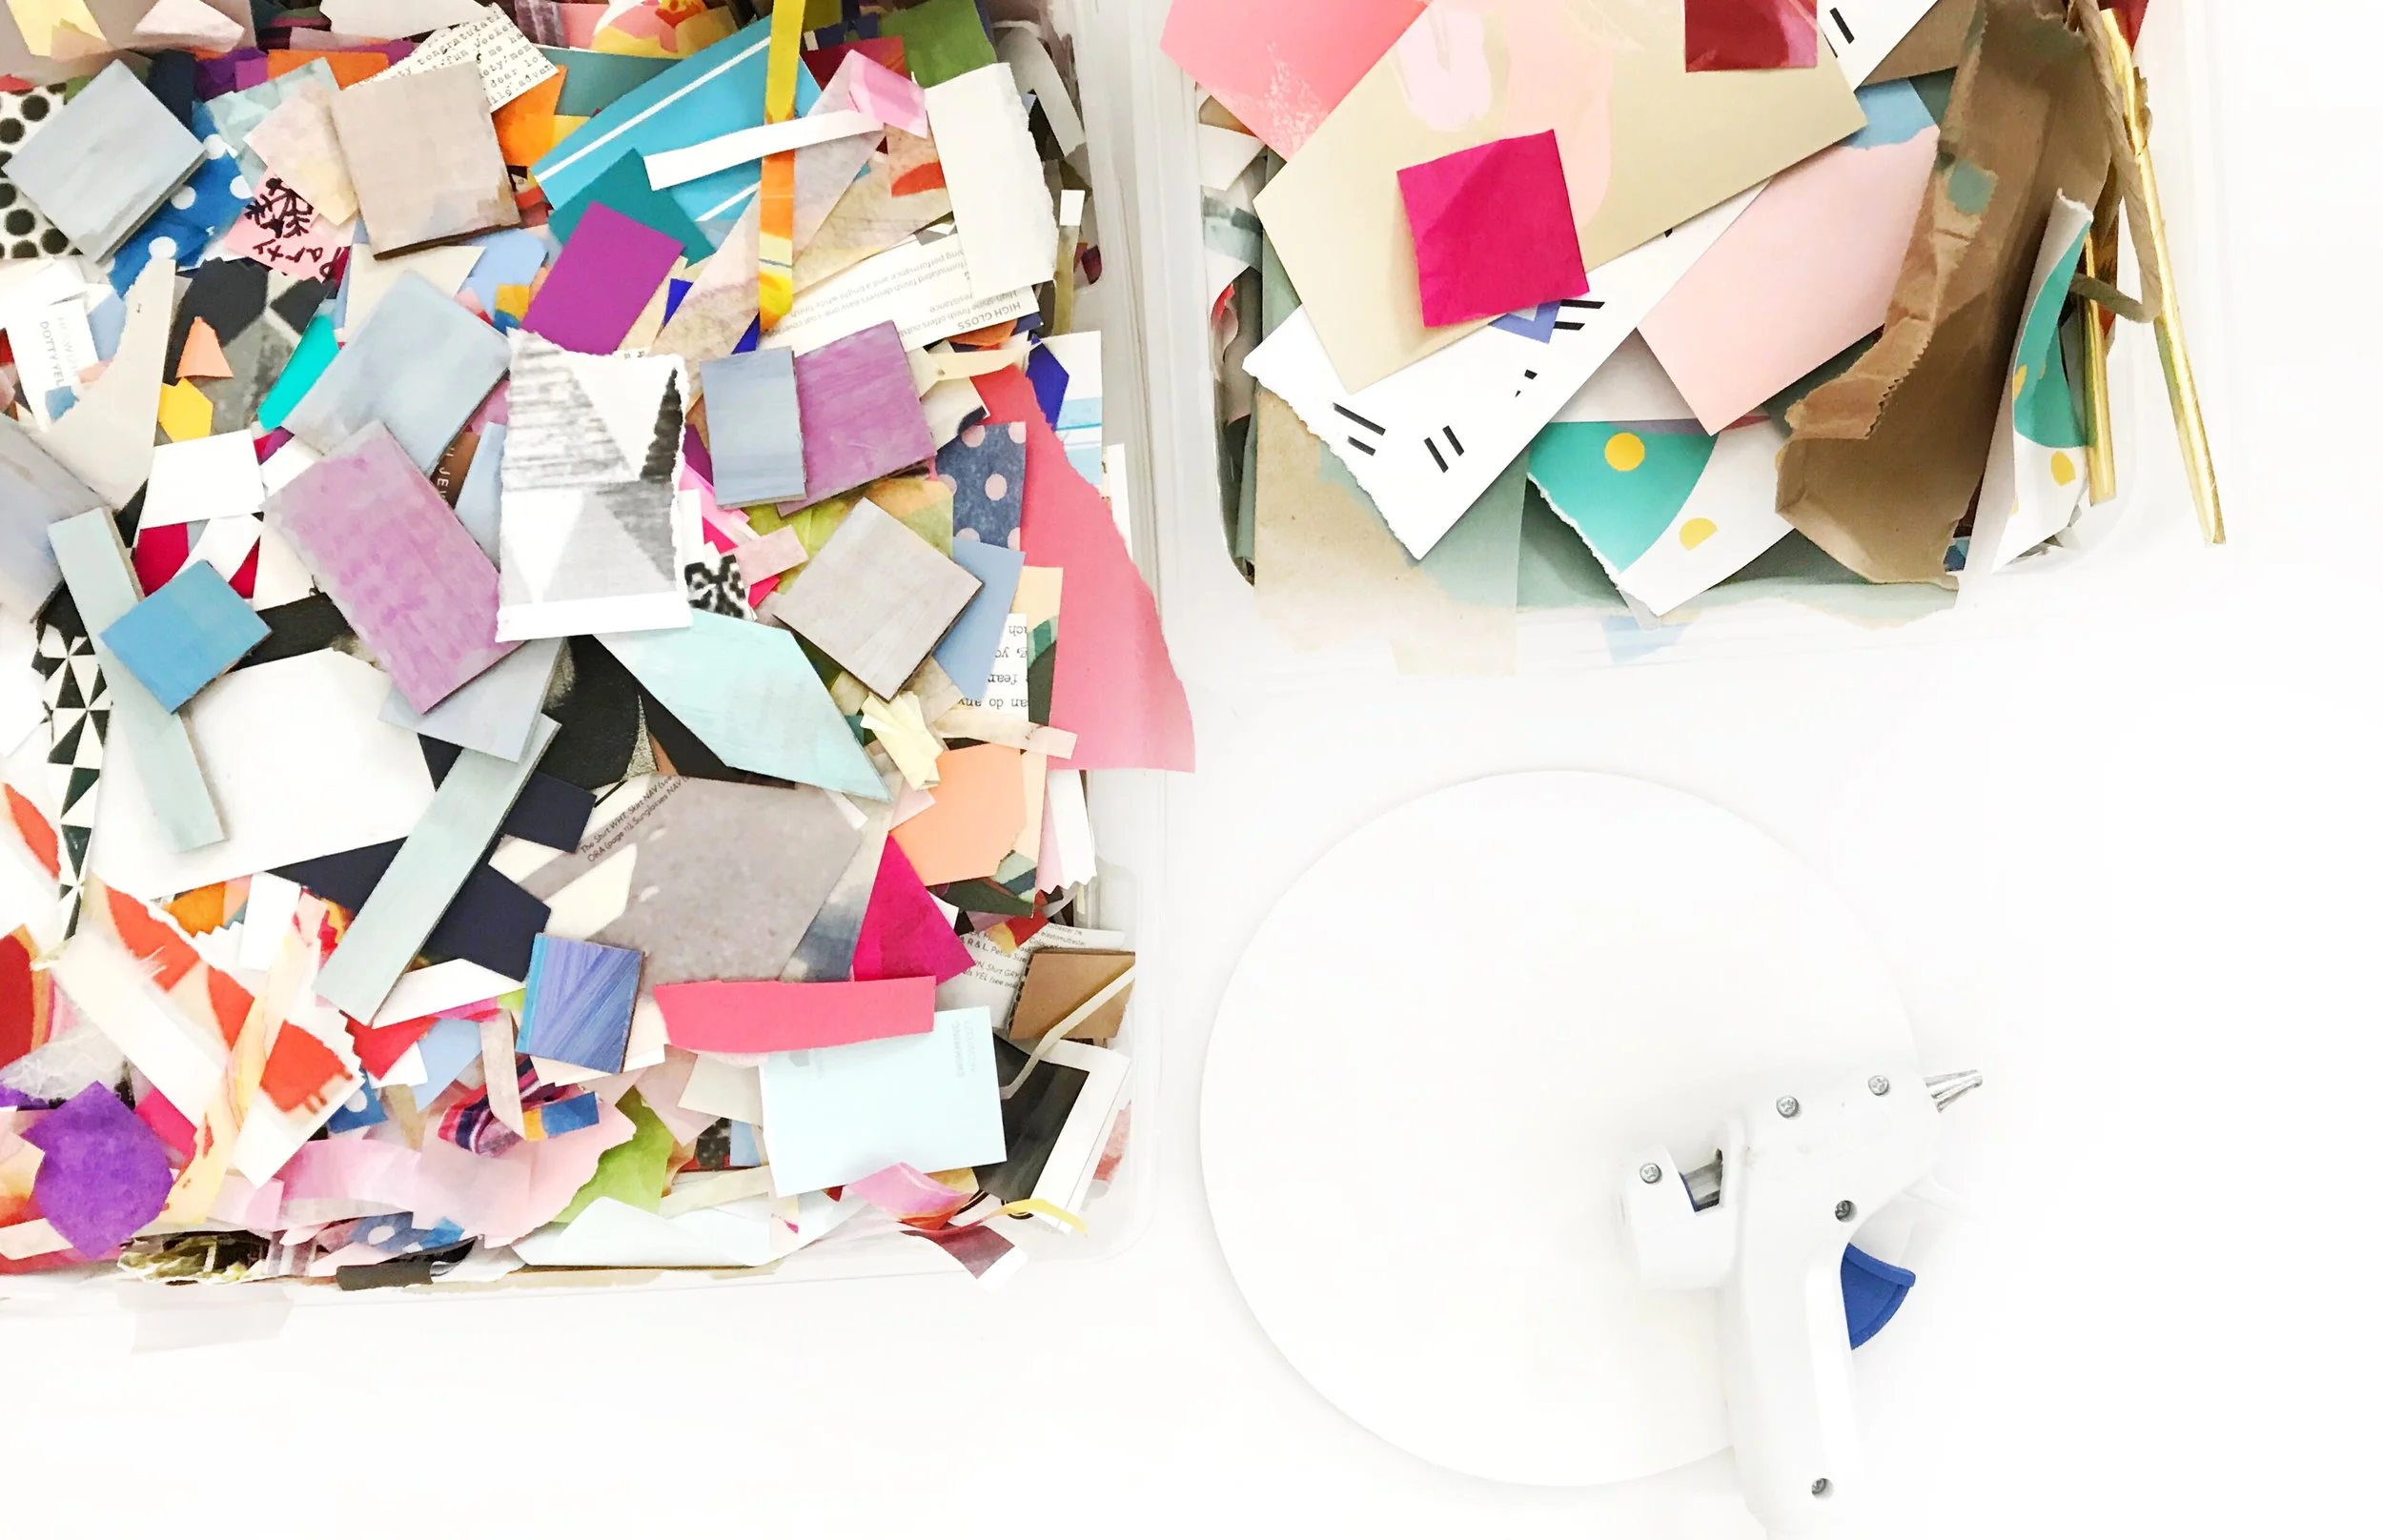
Collage materials: scrap paper, fabric, ribbon, newsprint, old artwork, wrapping paper, tissue paper, graph paper, magazine and collage scraps, deconstructed shopping bags...
Glue... you can use a glue stick, school glue, mod podge, and/or a glue gun
white cardboard cake round for base (we cut ours into 2 halves).
** Please note that we participate in the Amazon Affiliate program. This means if you purchase any of the products linked here we will receive a tiny sales commission at no additional cost to you. We only link to products we use and love. Your support helps us keep this site running - thank you!
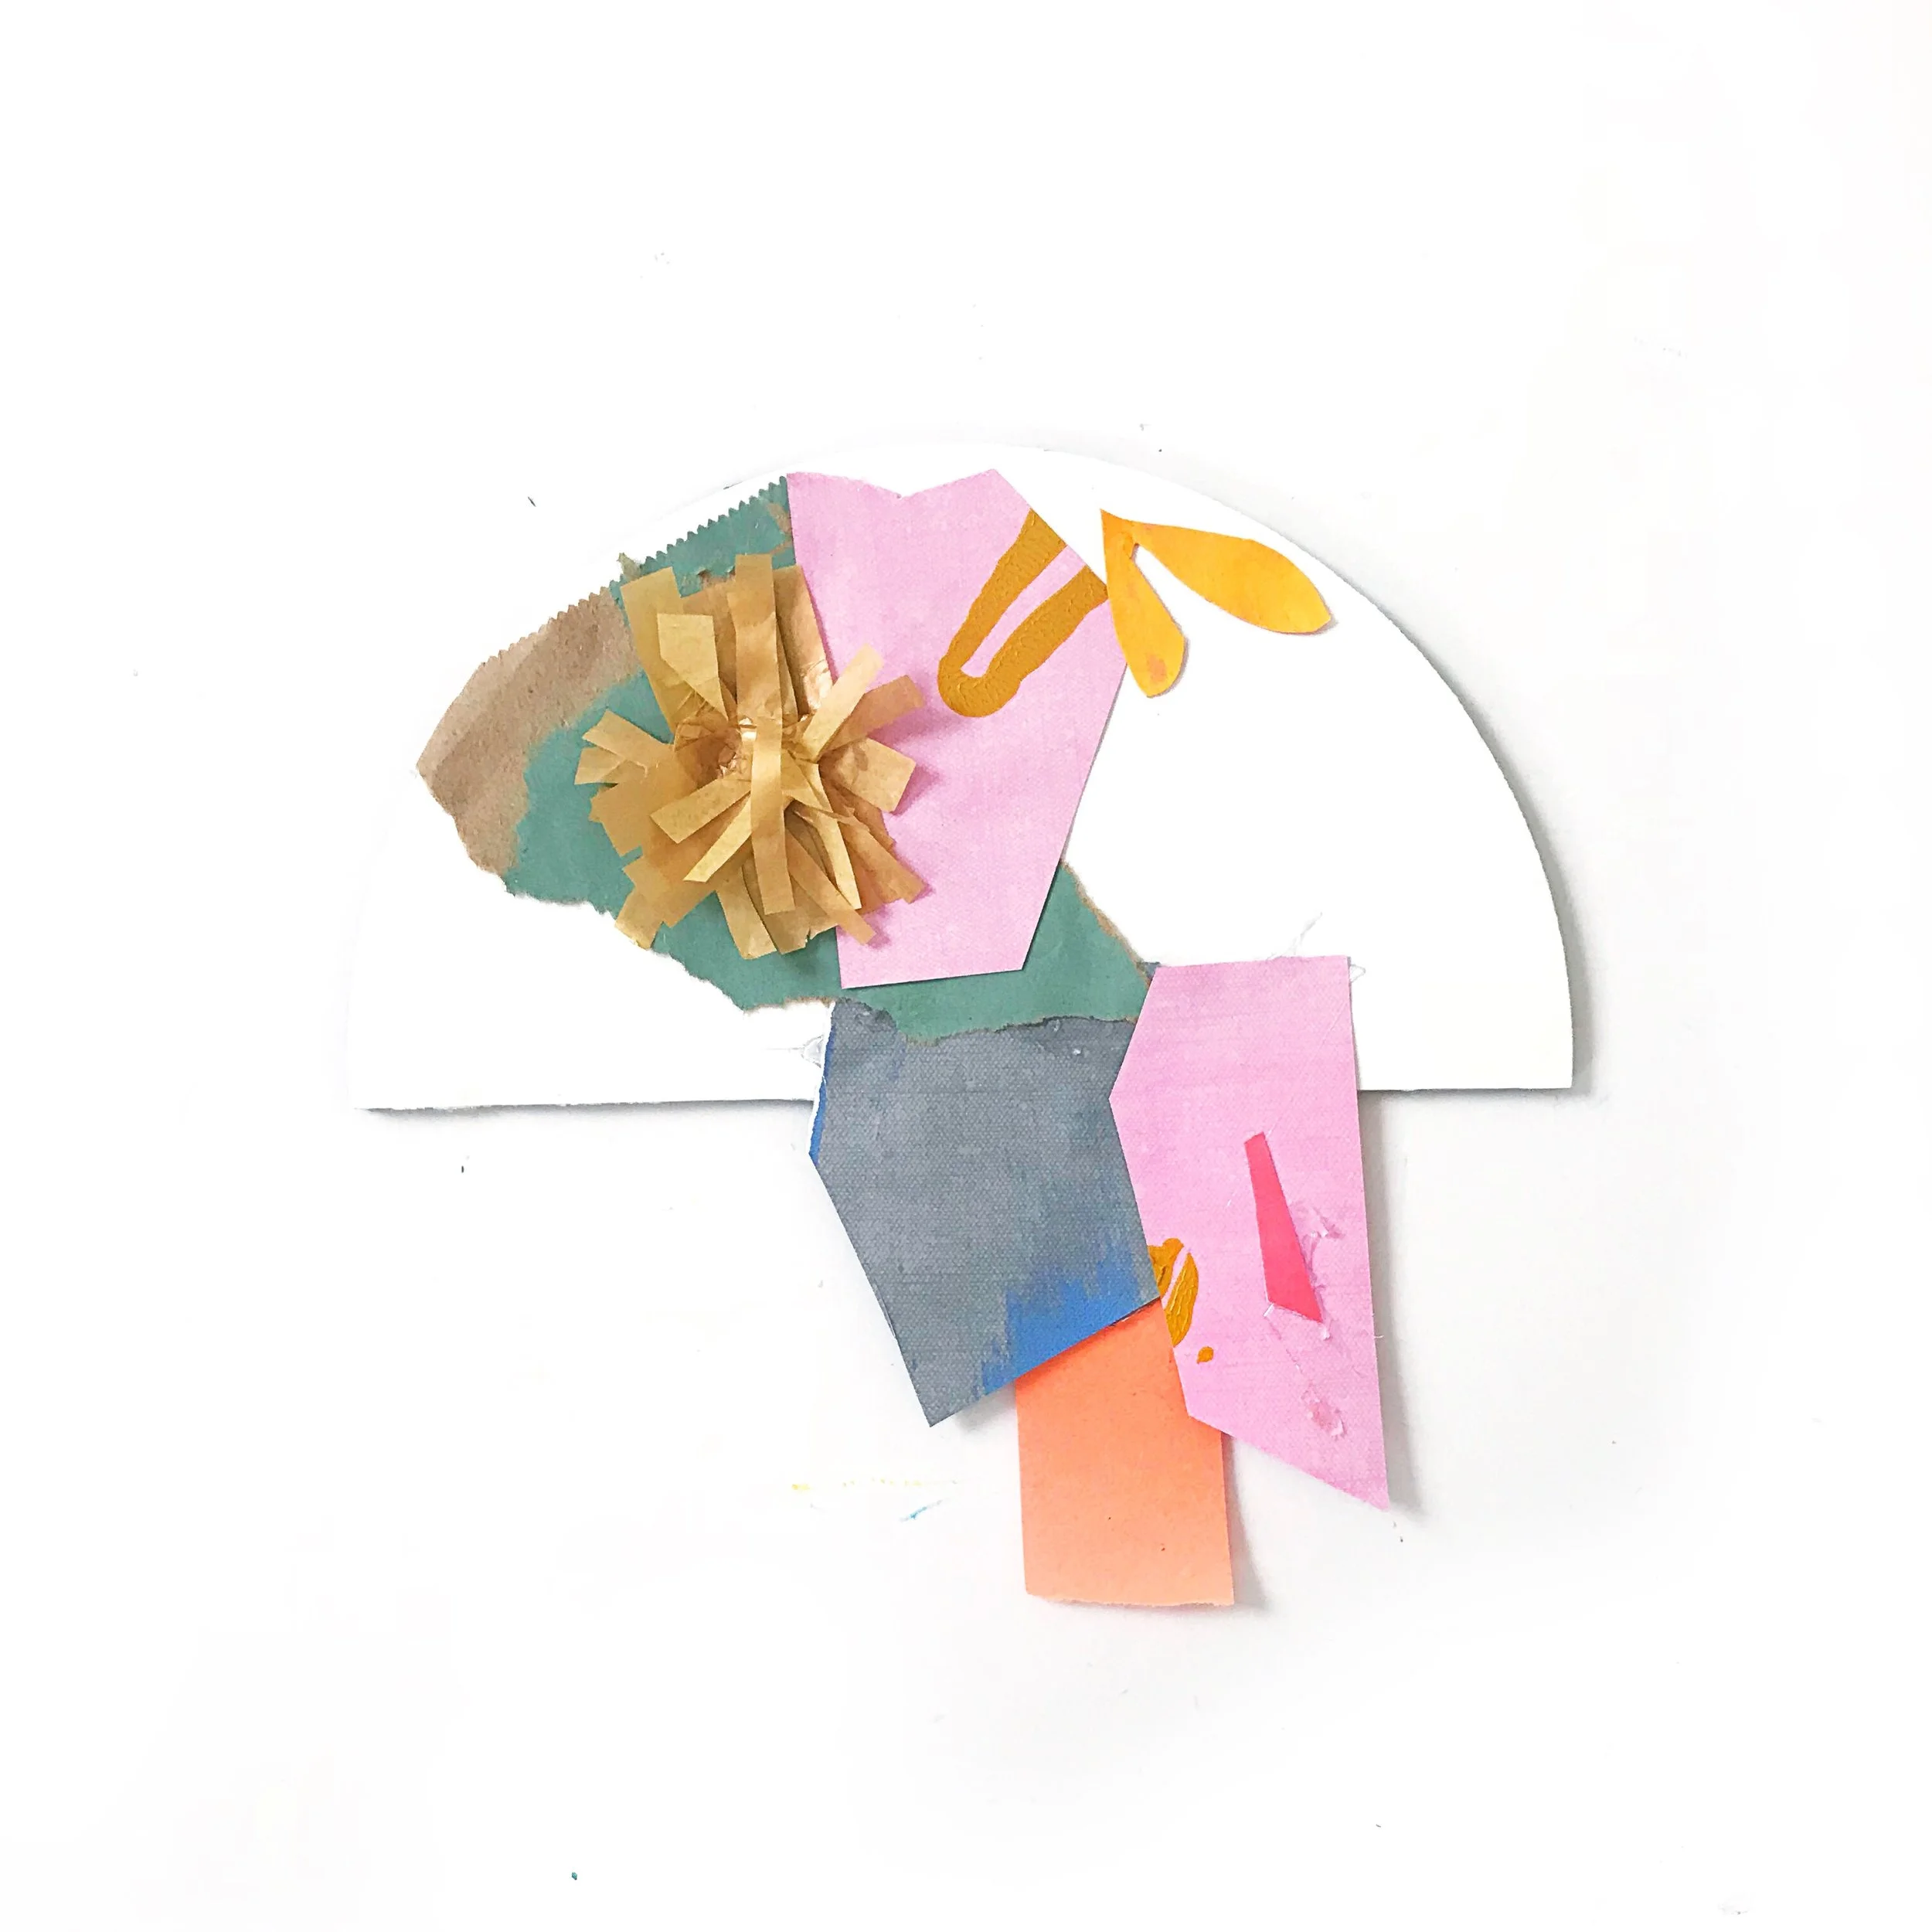
We are big fans of cake rounds. They make a really wonderful base for mixed media projects, but you don't have to run out and buy cake rounds for this project. You can use scrap cardboard, thick art paper, card stock, or a paper bag... you just want your base to be sturdy.
I cut the round in 1/2 to create two semi-circles.

Once you have chosen your base, you will start to build your collage. Grab some paper scraps and play around with composition before you glue down your first layer. Keep stacking, tearing, and cutting. If you are working on a flat surface, remember to hold up your piece from time to time, and stand back from it a bit to gain a different perspective. Think about repeating colors and textures in different areas. Layer behind and on top. Cut crazy angles and stack your scraps in unique ways to make them pop. There are no rules, just enjoy the play time!

There are many ways to hang your piece. I decided I liked the look of a skinny rod and white bakers twine, but you could also just punch 1-2 holes in your piece and create a hanging loop with twine.
If you are going for the rod look, you will hot glue a dowel or a cake pop (that's what we used) to the top of your work. You want to hold it in place firmly until the glue bonds. Then you can take a piece of yarn or twine and knot both ends of your stick.


