Floating Chalk Impressionist Paintings
"May your hands be an extension of your heart and may you do the work of love with them."
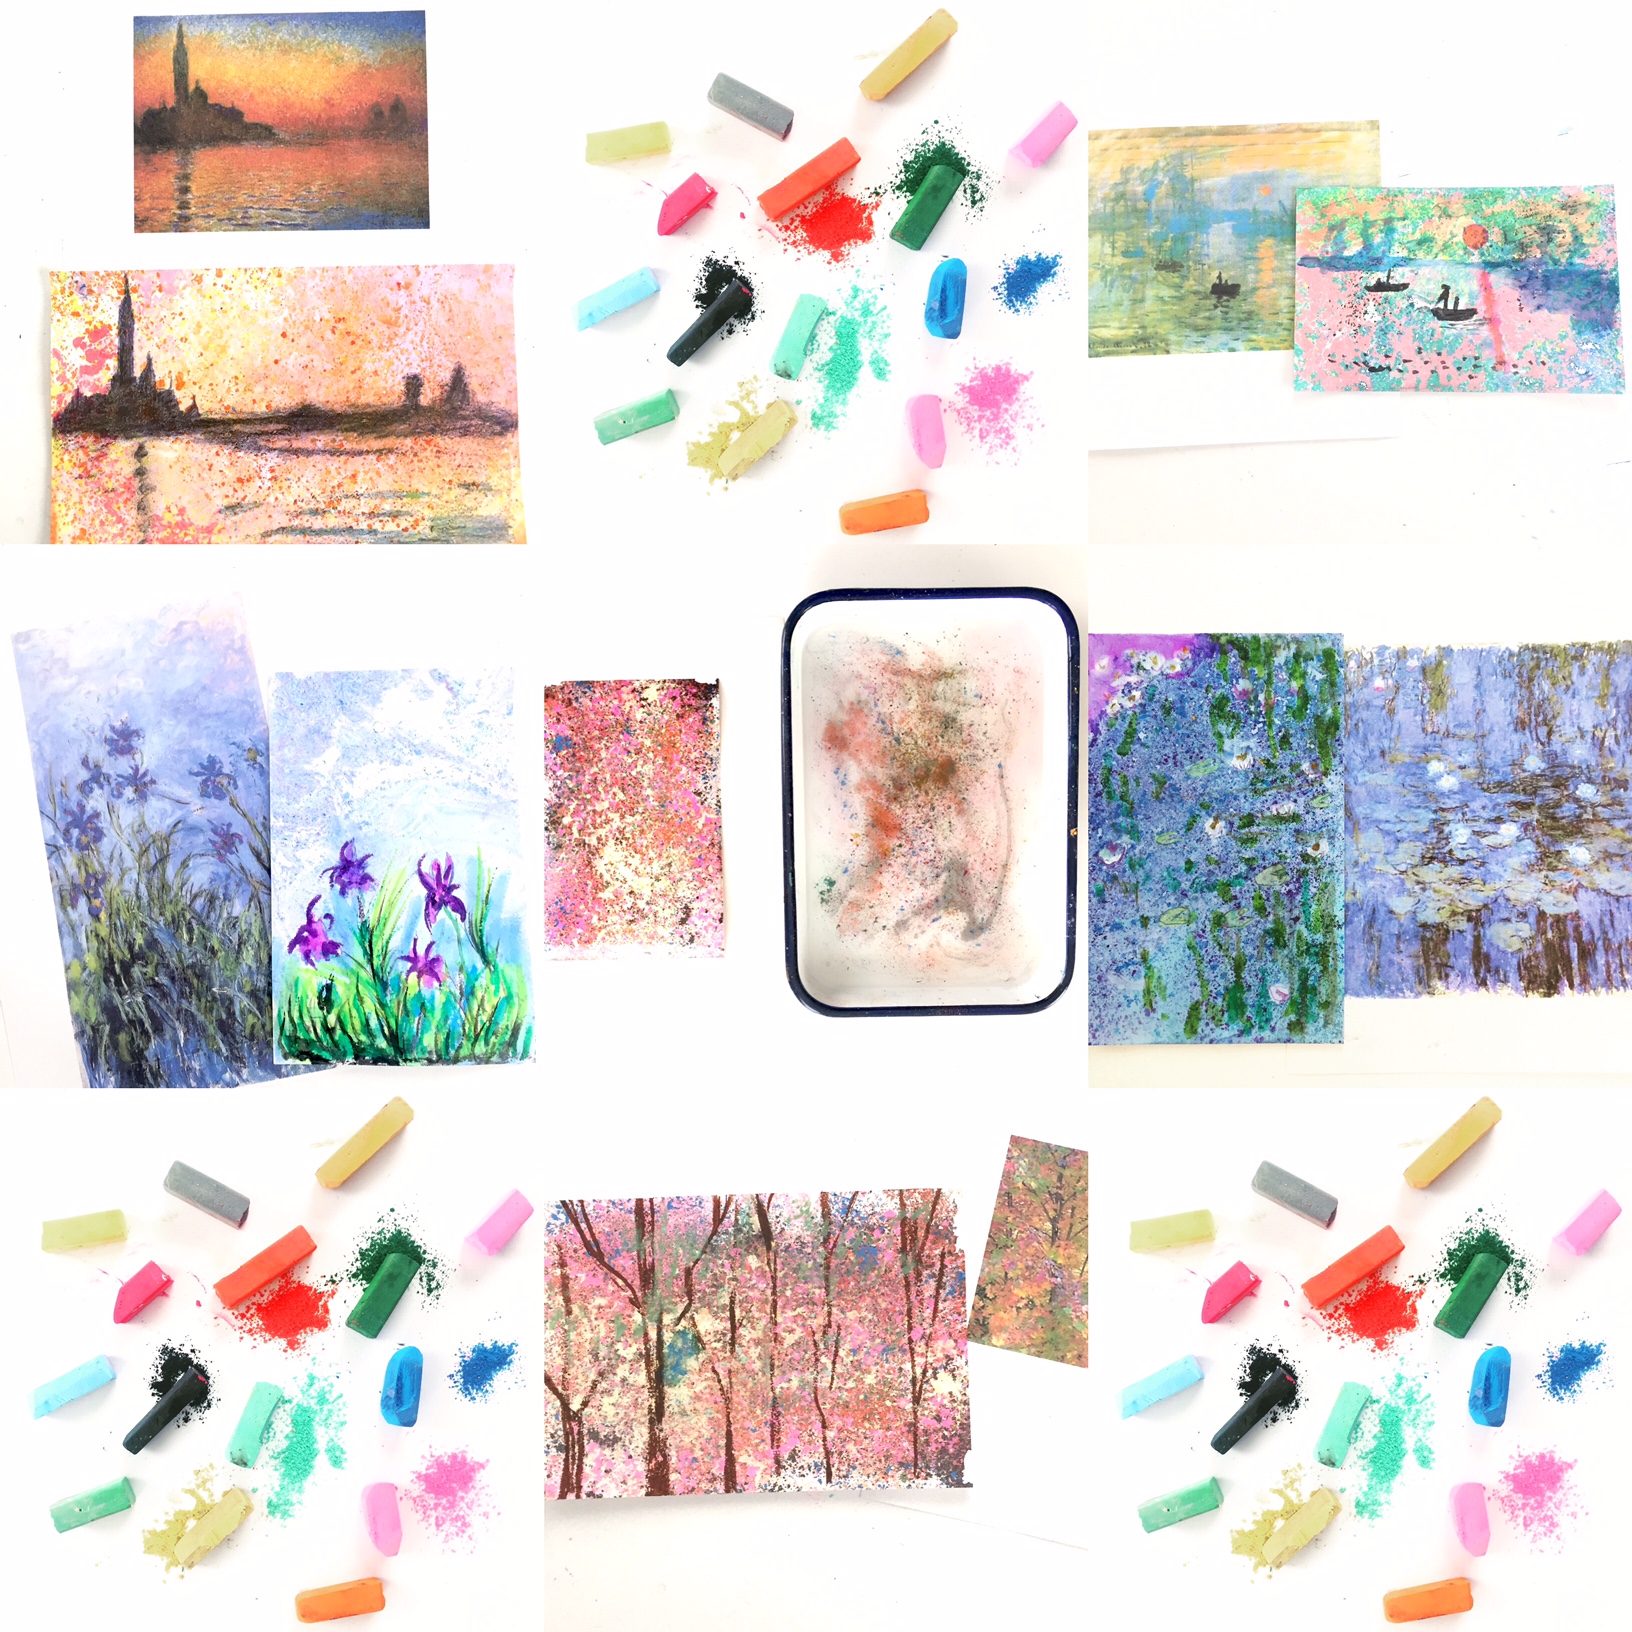
- Claude Monet

Have you ever made a floating chalk print? When we first tried this process we were struck by how much the colorful speckled prints reminded us of impressionist paintings. That’s when the Aha! moment happened and we thought to take the process a step further. Click the link below to watch this cool process from start to finish!
Floating Chalk Impressionist Painting Video
Materials:
popsicle stick or plastic knife for scraping
butcher tray or shallow basin for water
** Please note that we participate in the Amazon Affiliate program. This means if you purchase any of the products linked here we will receive a tiny sales commission at no additional cost to you. We only link to products we use and love. Your support helps us keep this site running - thank you!


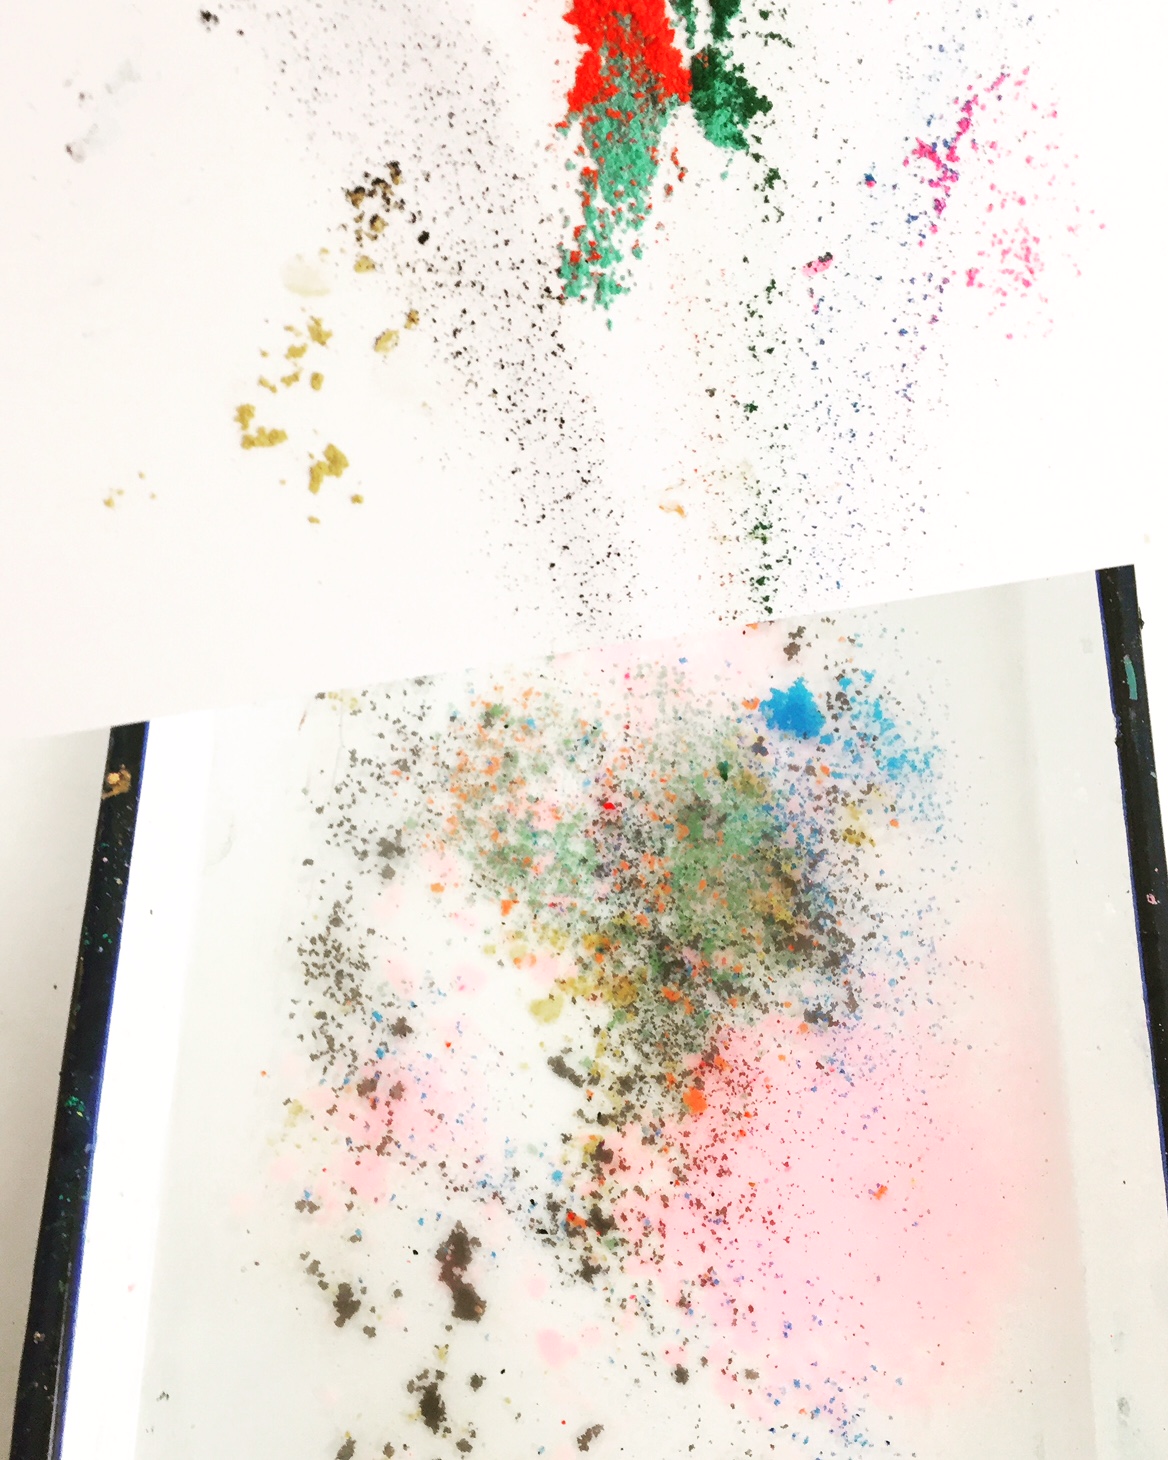
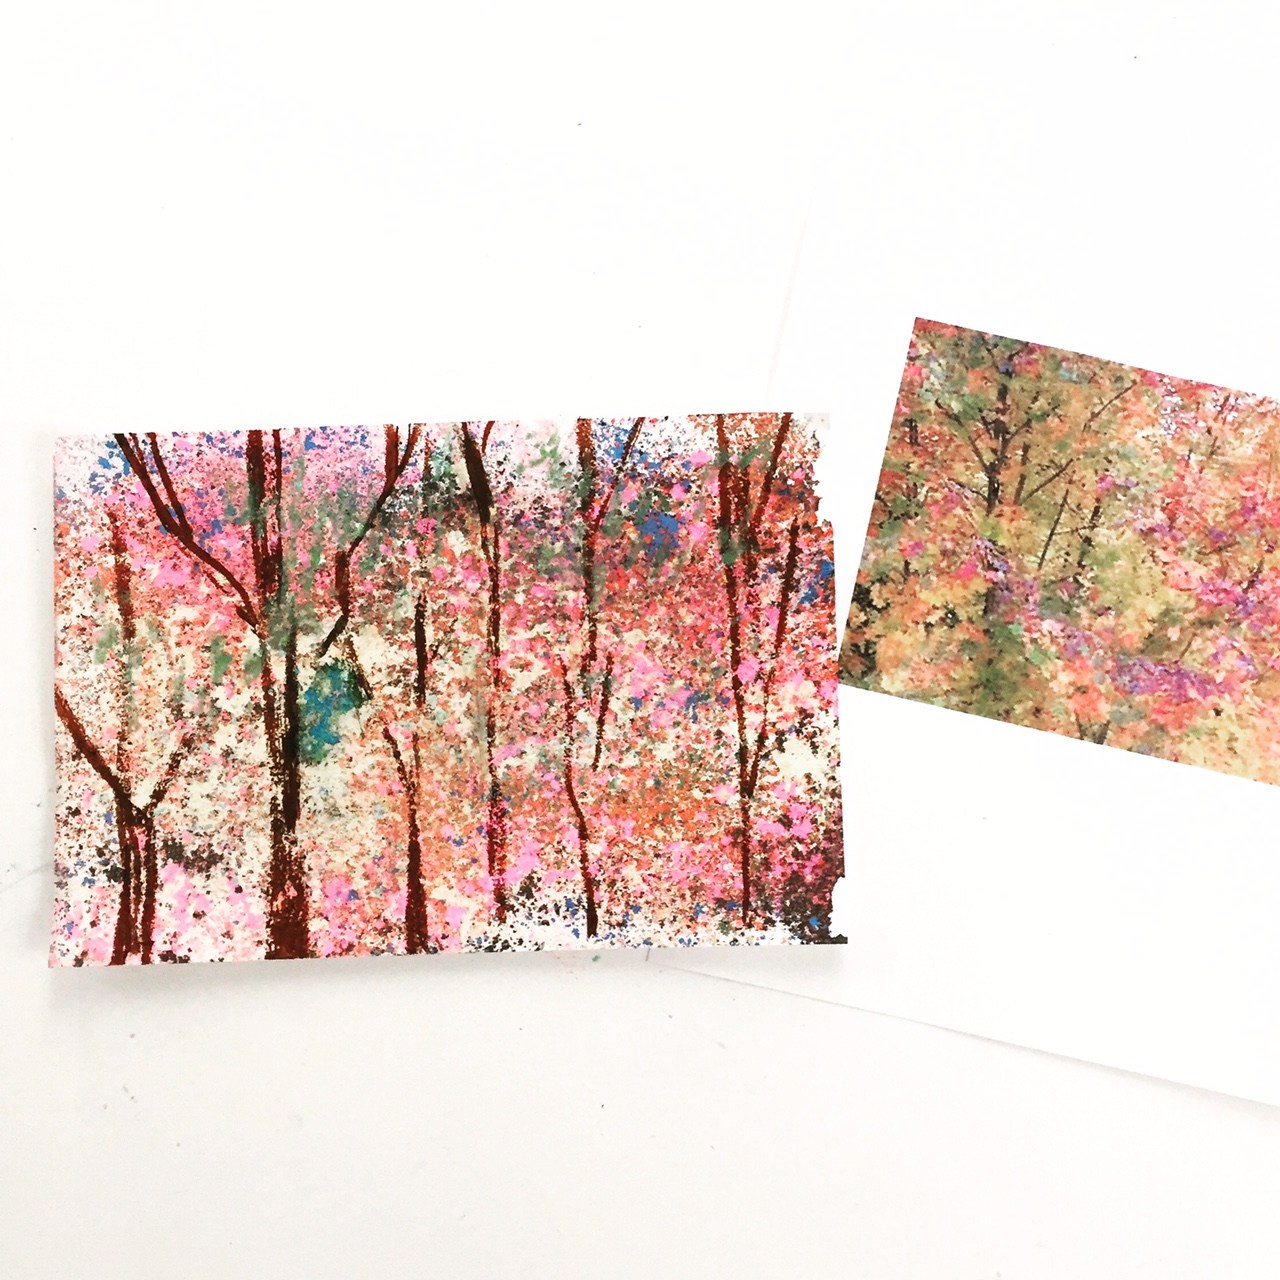
1. Print out some examples of impressionist paintings. What kind of colors do you see? 2. Gather your chalk palette. 3. Add water to your tray (about an inch and a half, it does not need to be filled all the way up). 4. Start scraping your chalk to create the dusty pigment with the side of your popsicle stick or clothespin. You can shave directly on the surface of the water or you can shave your pigment dust onto a sheet of paper, create a little paper slide, and tap it onto the surface of the water. We found that gathering the dust on a paper first and tapping it in gave us more control and a more vibrant marble. 5. Once your surface is covered with pigment you will curl your print paper in a U-shape, placing the center of the paper on the water's surface and then gently releasing the ends. Your paper should float on the surface. You do not want it submerged in the water. 6. Gently lift a corner and pull the paper toward you. 7. Hold your print over your tray allowing the excess water to drip off. 8. Set your paper out to dry. 9. Once your paper is dry you can take your Kwix Stik, oil pastel, or colored pencils and add details to your impressionist piece (tree branches, the shadow of a castle, little boats, water lilies, irises, etc...you will find examples below). 10. Hang your masterpiece!