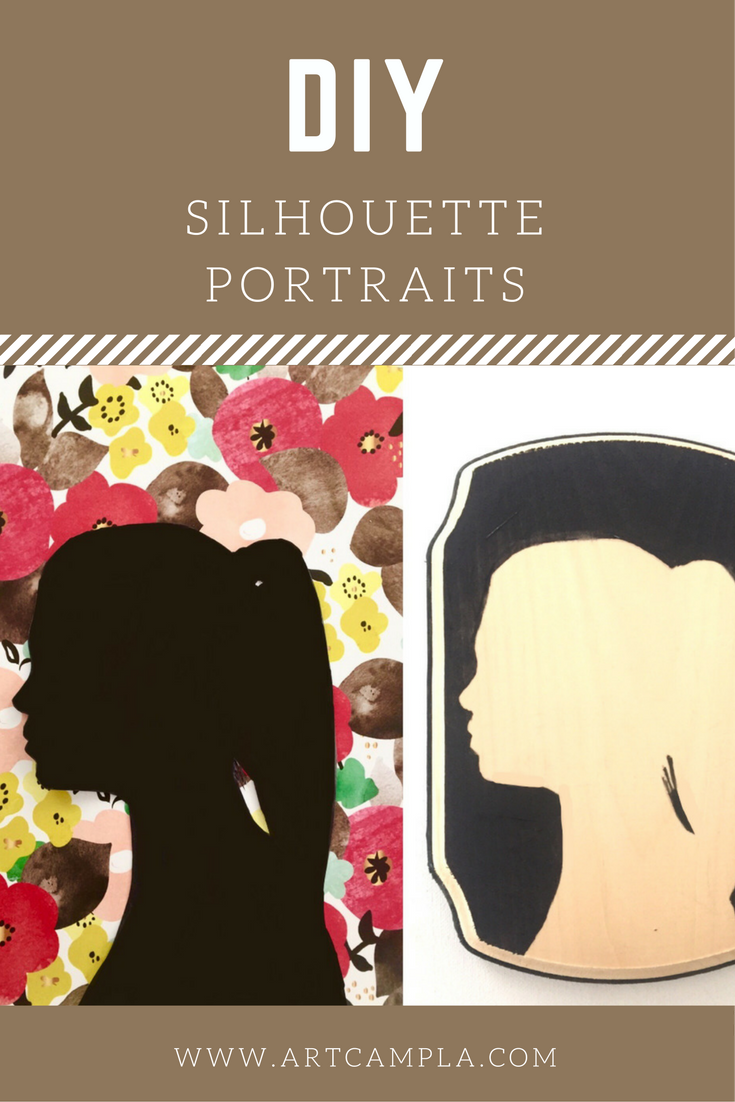
The Silhouette Portrait

"Keep your face always toward the sunshine and the shadows will fall behind you."
- Walt Whitman
We are in the final stretch of winter break. It's been pretty action-packed so far, so it was a welcome change of pace when the girls opted to read and work on puzzles this morning.
Hard to believe that we are only five days into the new year and it's already time to start thinking about hearts, arrows, and love notes. Before I launch into Valentine's Day mode, I wanted to share one of my favorite craft projects with you. It is a modern spin on the timeless art of silhouette portraits. This one makes a great party craft activity that doubles as a takeaway party favor (win/win). I don't know about you but I am a big fan of party favors that aren't made of sugar or plastic. These portraits are treasures that won't get shoved in the bottom of a toy box or pitched in the trash.
If you have photo editing software you can turn a jpeg image into a blacked out silhouette in a snap but I wanted to show you how you can do it really easily on your smart phone, cutting out the need for a computer and software entirely.

1. I took a profile picture on my iPhone. 1.2 I went into the color settings in my iPhone's (standard) photo app and selected the "Noir" photo filter. 1.3 I selected the darkest setting under black and white. 1.4 I moved the intensity setting all the way to the right (highest possible). 1.5 Then I increased the saturation as far as it would go. 1.6 I adjusted the shadows and Voila! A silhouette template ready to print from my phone in under a minute.
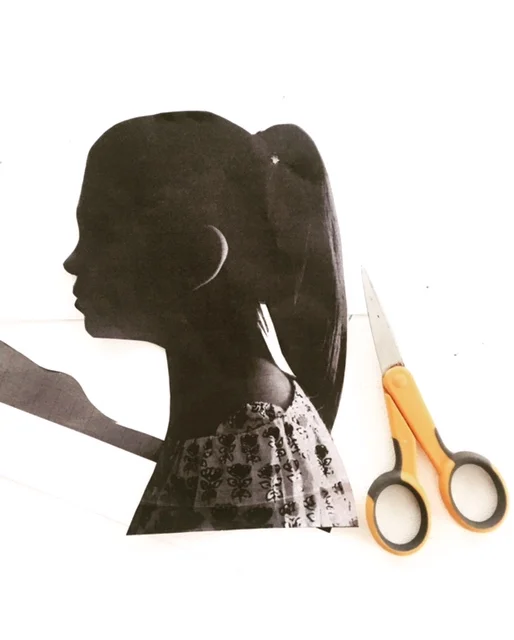
2. Adjust the scale of your print settings to fit your background. Print out your picture and cut out the profile silhouette.
3. Trace your profile onto your background. I am going to show you how to do three different versions of artsy silhouettes.
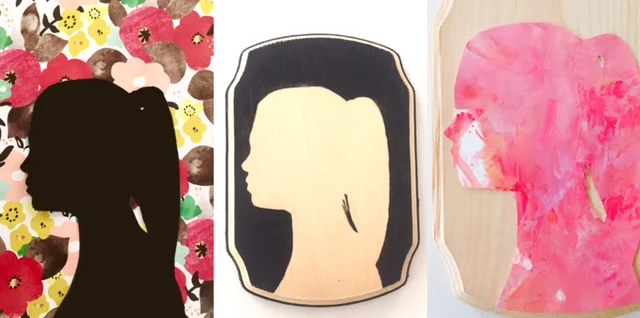
L - R: 1. black paper silhouette mounted on flower print scrapbook paper 2. negative space silhouette on wood 3. painted paper silhouette decoupaged on wood
A. WOOD GRAIN CAMEO - Here we have traced our silhouette on a wood mount. Painting around our portrait, we create a negative silhouette. We finished off the piece with black details on the sides. This is a classic cameo style portrait made modern with the unfinished wood grain portrait.
Materials:
smart phone with camera
printer
black acrylic paint + paint brush + water cup
fine point scissors
pencil

B. CLASSIC BLACK PAPER CUT WITH A FLORAL POP - Here we have traced our portrait on black craft paper, cut out our blacked out image, and mounted it on a floral background.
Materials:
smart phone with camera
printer
black scrapbooking paper, card stock, or fine art paper
bold floral print scrapbooking paper
fine point scissors
pencil
glue stick
frame or matte for hanging

C. ABSTRACT DECOUPAGE - This option is a great one to do with the little ones because it allows you to combine their paintings with their portraits. Trace your portrait onto a colorful abstract painting. After you cut out your abstract portrait you can mount it to wood, canvas, or paper with Mod Podge. Make sure to seal your decoupage with a thick coating of Mod Podge.
Materials:
smart phone with camera
printer
painted paper
small point scissors
wood plaque, canvas, or card stock for background
Mod Podge to glue and seal your decoupage + small foam brush for application

Can you see why I love this craft so much? The results are so stunning and you can do it so many ways. These portraits make great gifts. Got a favorite furry family member? Make a pet portrait. Got a kid who is crazy about sports? Make a sports portrait...SO good!
xx
a.